Get ready for a TON of decorating ideas, this is a MUST READ!
Again, here is a little background on Bachman's, similar to what I wrote in the Holiday post:
Bachman's is a Floral and Gift Garden here in Minneapolis. Their Idea House was their original founder's house built in the 1920's (
similar layout and details as our house!). The company now uses it for their seasonal Idea House creating entirely new rooms for each of the four seasons.
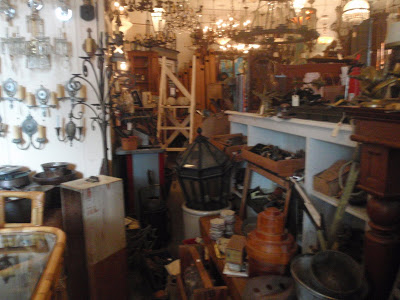
Everything in each room is different for every season's idea house, right down to the paint on the walls. When you enter the house you get a brochure that lists all the details for each room including the paint color and 'ideas'. The cool part? Everything in each room is for sale! Bachman's mixes new and vintage items, so you can score some antiques if you visit the house early.
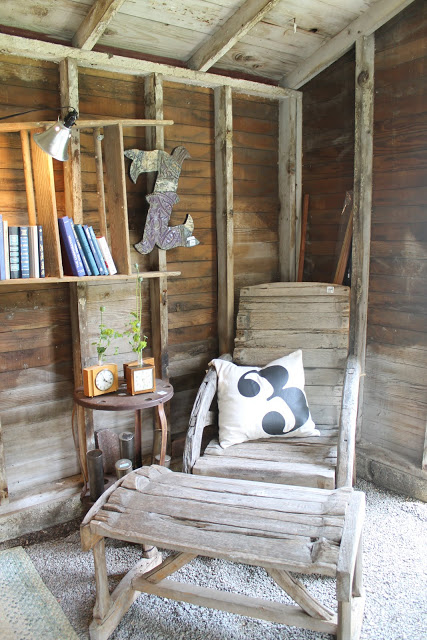
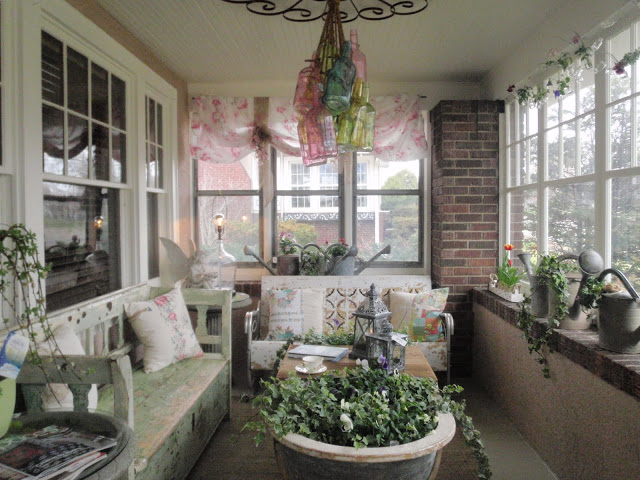
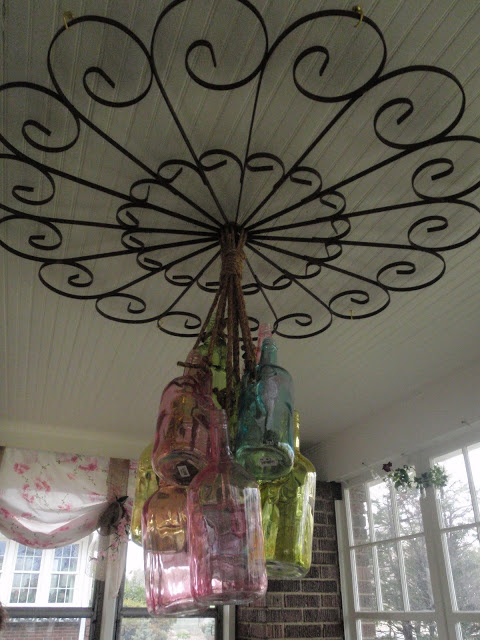
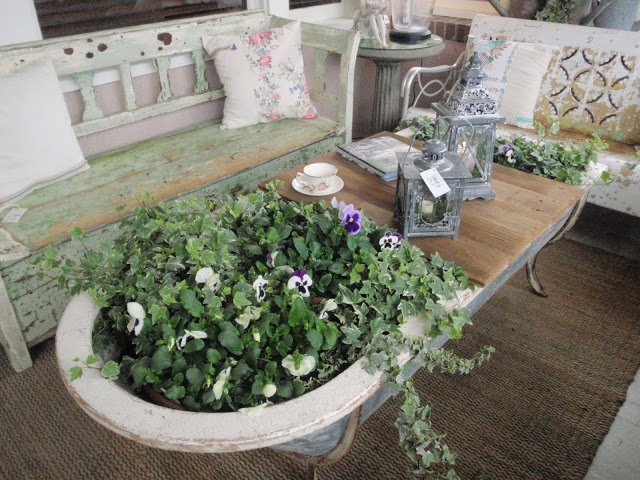
Front Porch
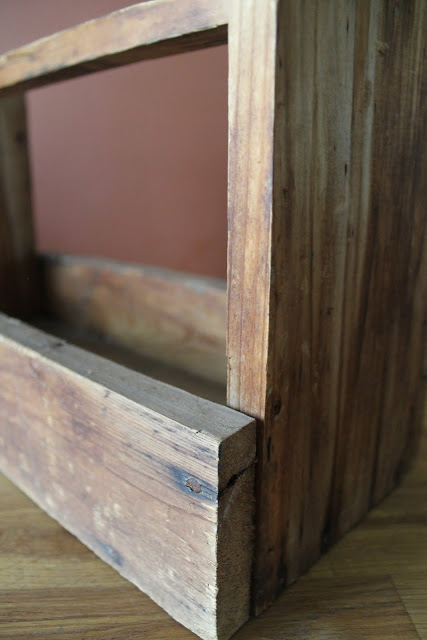
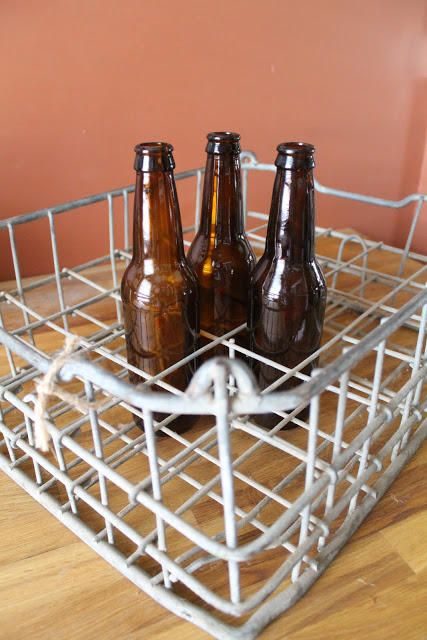
My favorite part of this space was the glass bottles that had been turned into a hanging ceiling fixture.
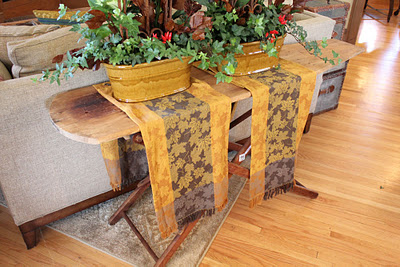
Also, how fun is this tin bathtub converted into a coffee table/ planter combo?
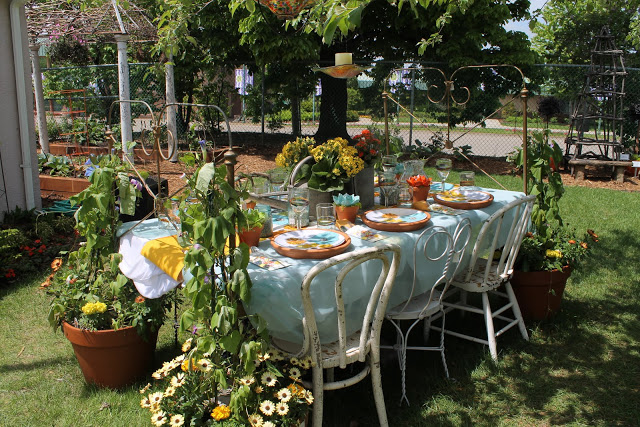
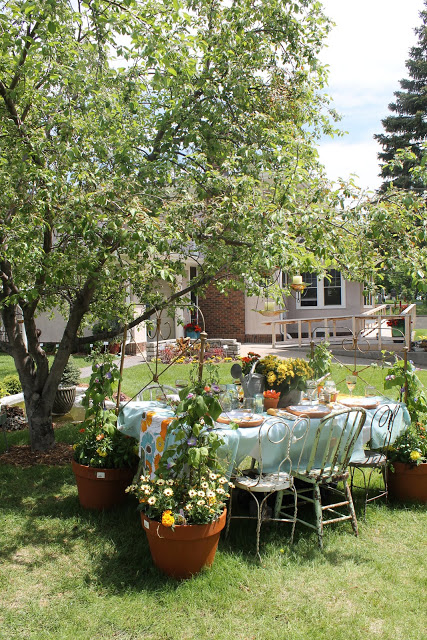
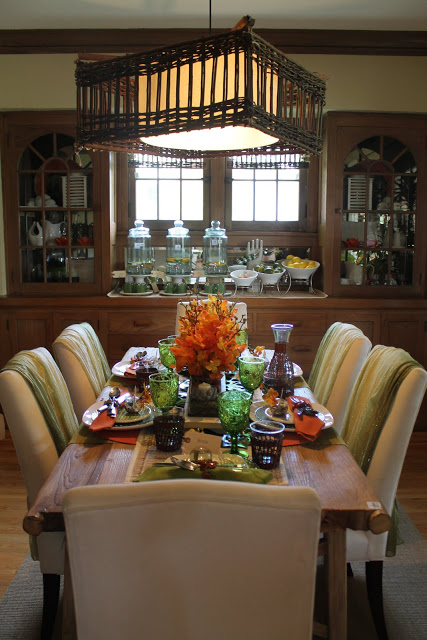
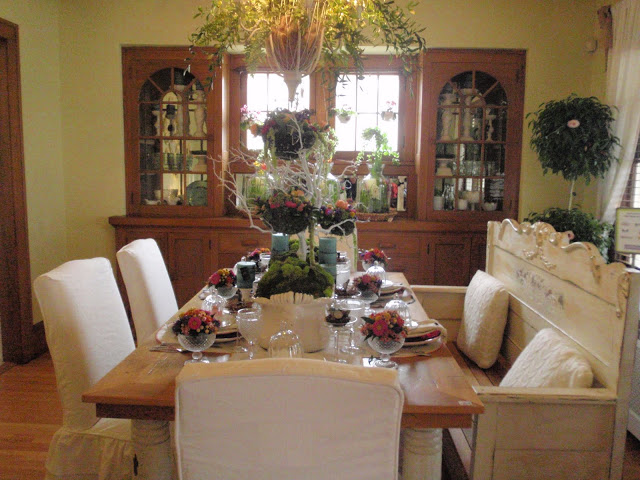
Dining Room
Isn't that wood bench gorgeous?!?
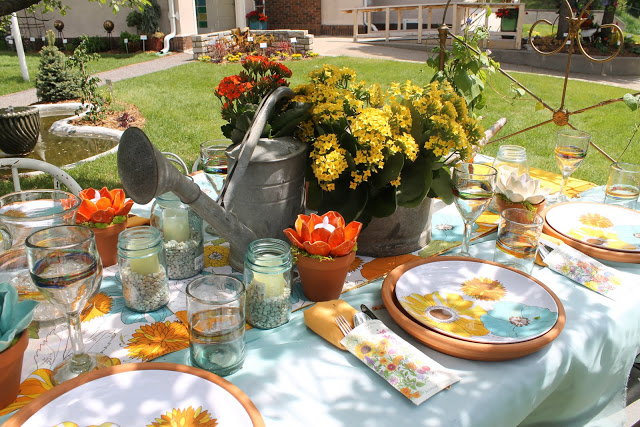
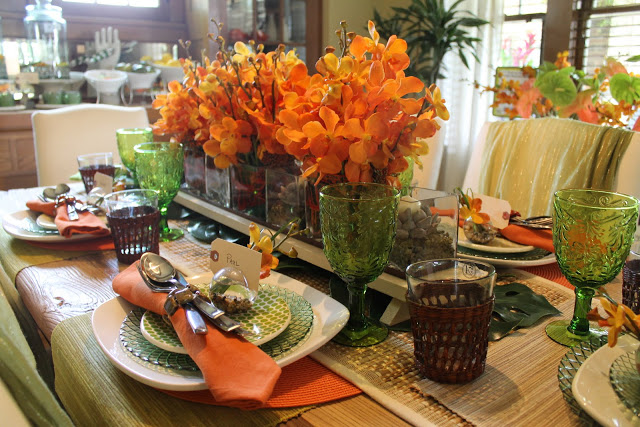
I love the centerpiece made from floral foam covered in moss. Looks so fresh, bright, and springy!
The buffet was also covered in flowers. The tulips in the glass jars with candles is so clever!

This was probably my favorite detail in the room. They turned decorative sugar containers into hanging planters by using vintage necklaces, so adorable!
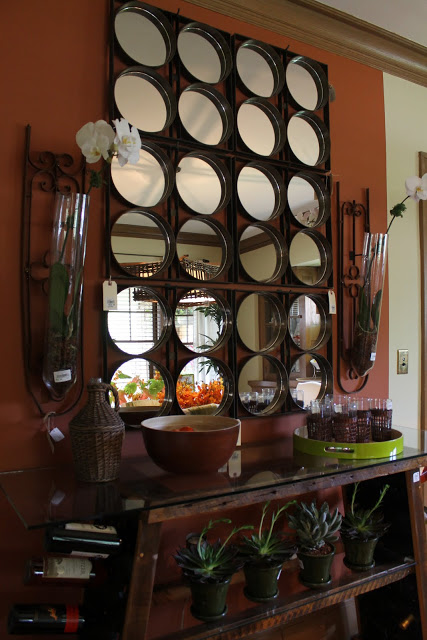
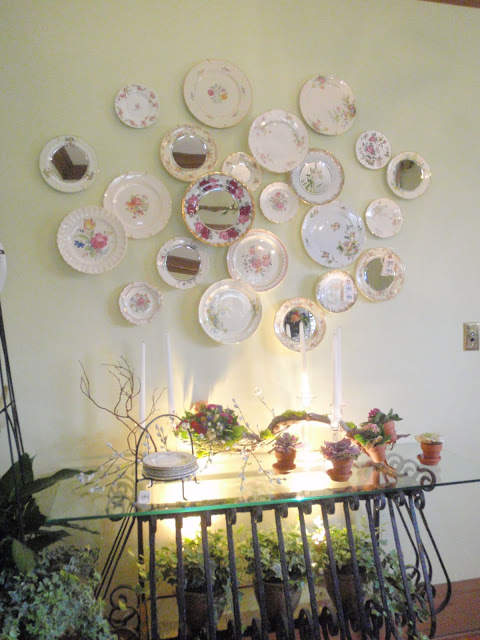
On the left wall they had a side table made from a salvaged decorative fence, which complimented the decorative plates and mirrors that were used as a wall collage.
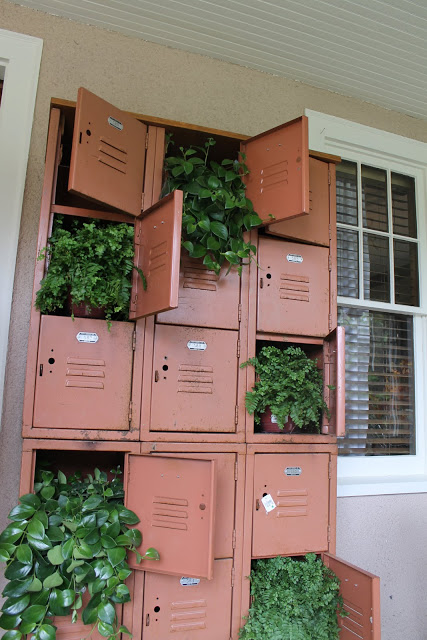
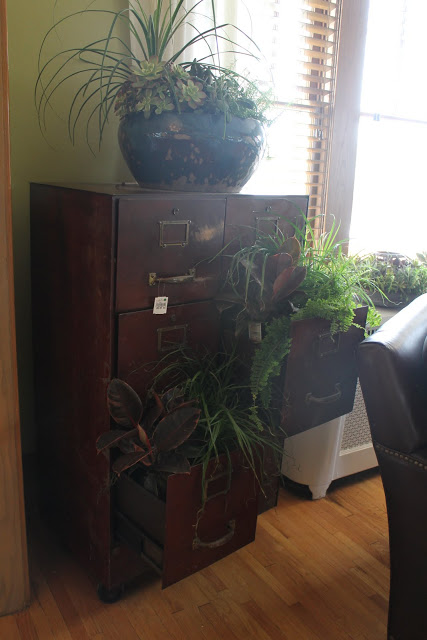
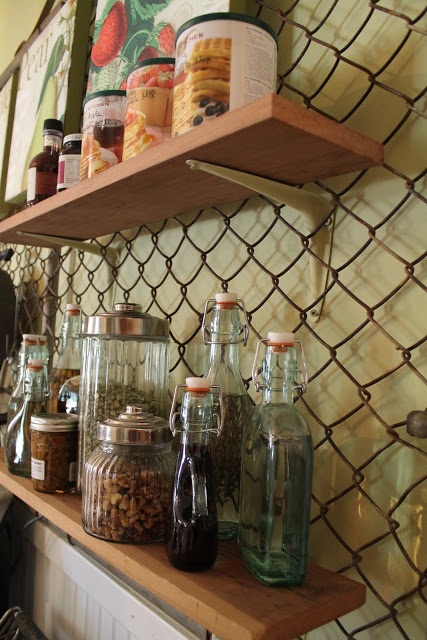
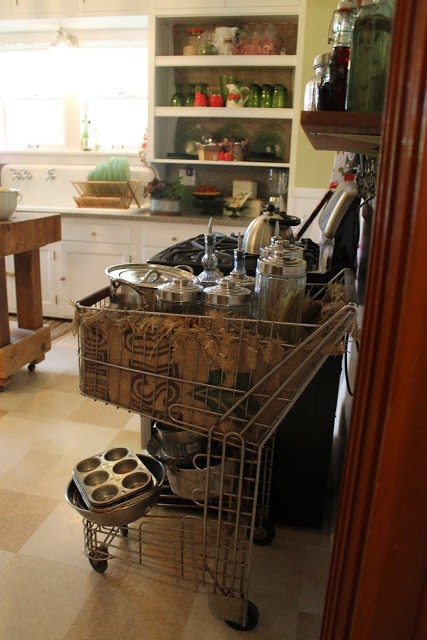
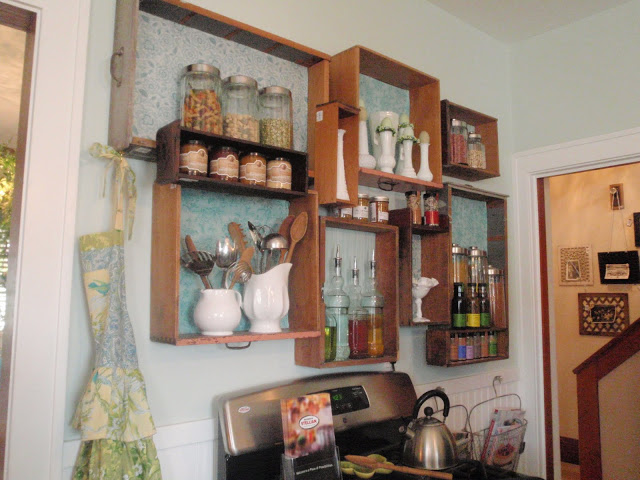
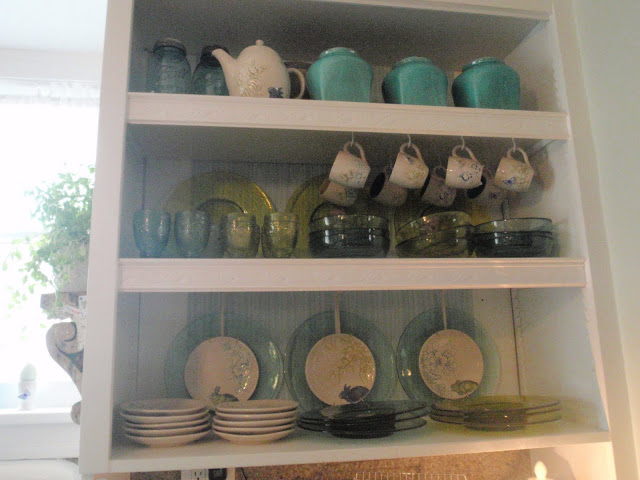
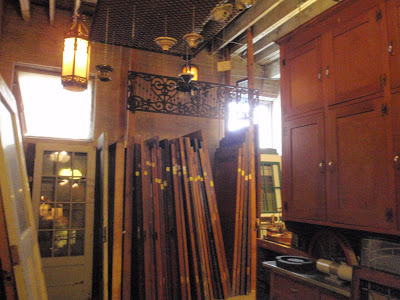
Kitchen
Don't you love the salvaged wood drawers repurposed as wall shelving? Such a fantastic idea!
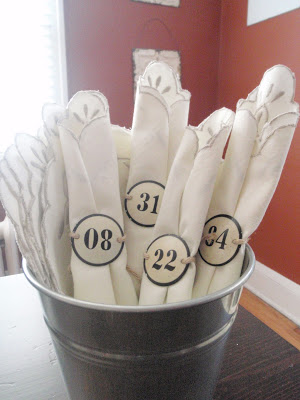
Back during their holiday idea house they used cookie cutters around this light fixture. Now they used vintage silverware to create a chandelier.

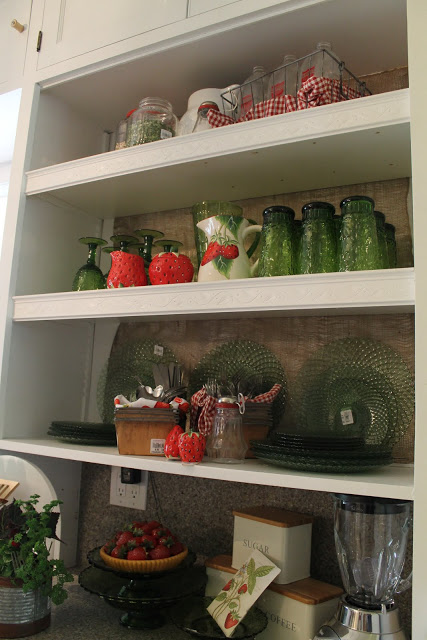
The opening shelving adds to the decor and style of the room with colorful dishes.
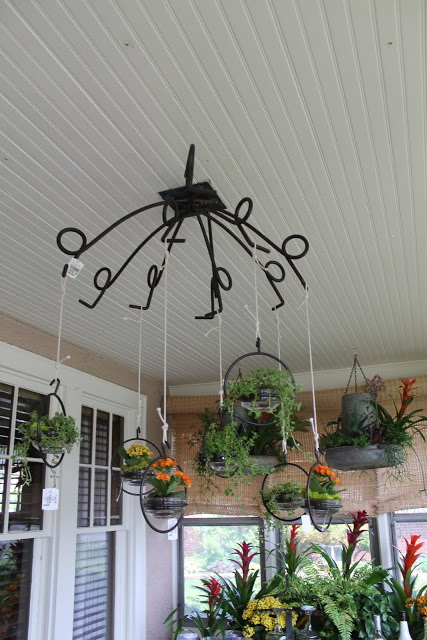
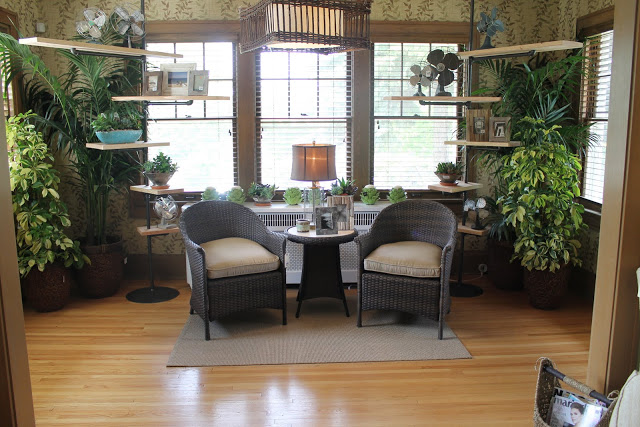
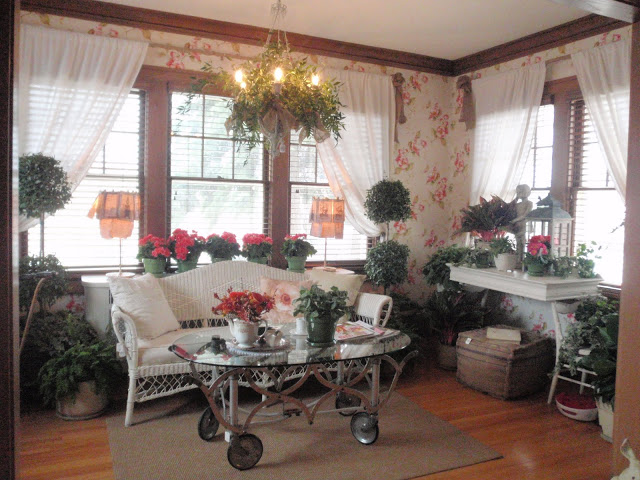
Sunroom
The big surprise in this room... a casket carrier turned into a coffee table. Yep, CASKET carrier! Not sure if I'd like that in my living room, but it's all about the crazy ideas that make this place special. That items is still for sale if you are interested :)
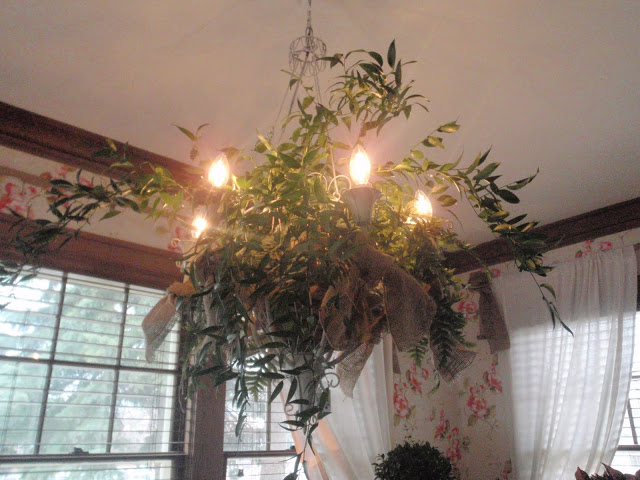
I thought this chandelier had a fun spring look with a planter inside and burlap bows.
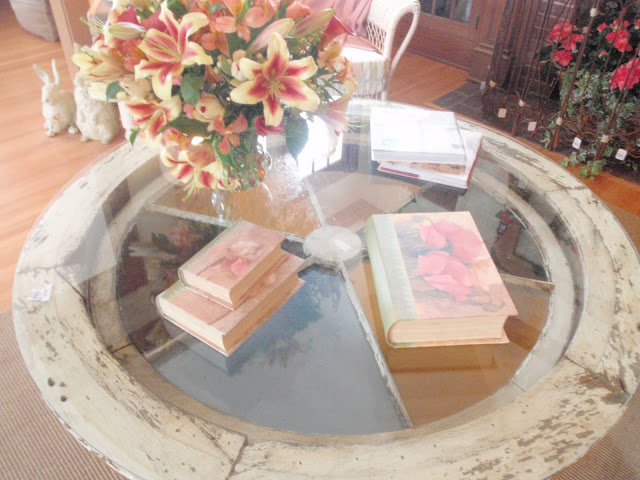
They had these in a few rooms, but I just loved this little lamp shades made from old book pages.
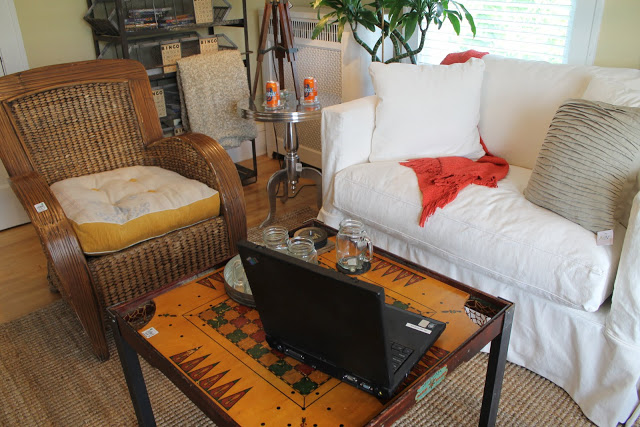
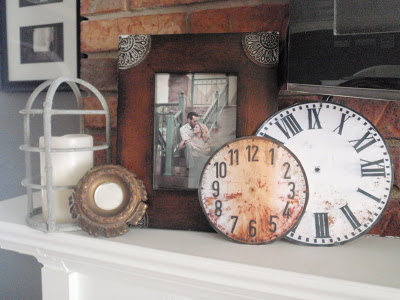
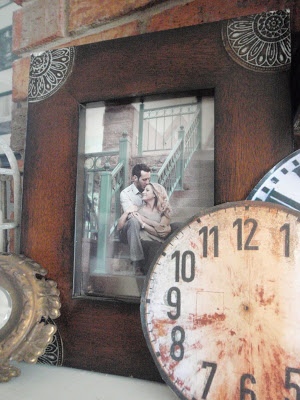
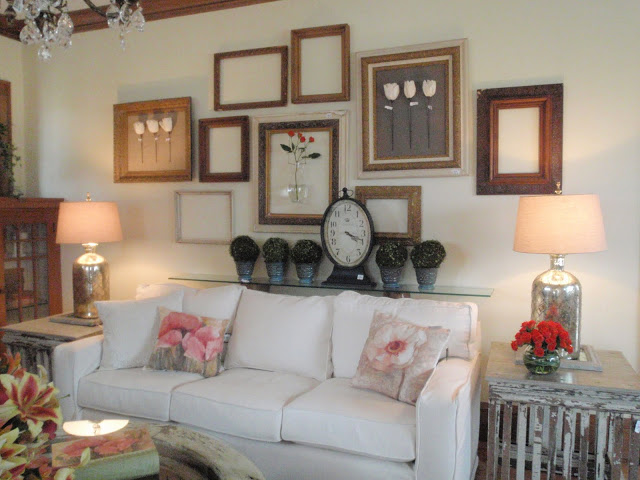
Living Room
Lots of beautiful things to note in this photo. The two side tables are made from salvaged fence and trim pieces. I love the way they arranged the wood frames to create a wall collage. They used some burlap and silk stems in a few of the frames.
Here a salvaged round stained glass window is given a new chance to 'shine' as a coffee table.
This side table is made from a vintage suitcase and salvaged trim pieces. Oh, and how fun are those little bunnies?!?
Here they created wallpaper out of old book pages, I never would have thought to do something like it, but it looked so beautiful!
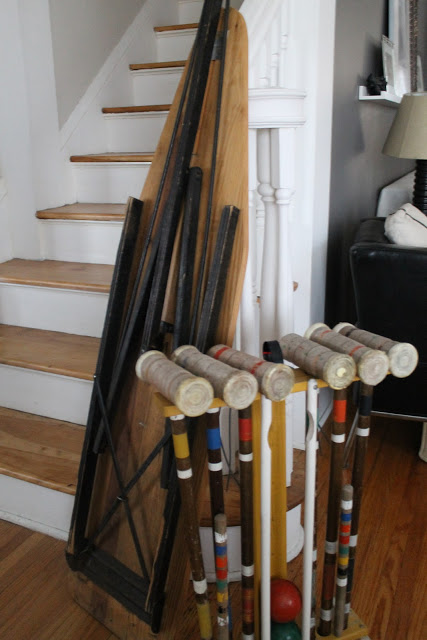
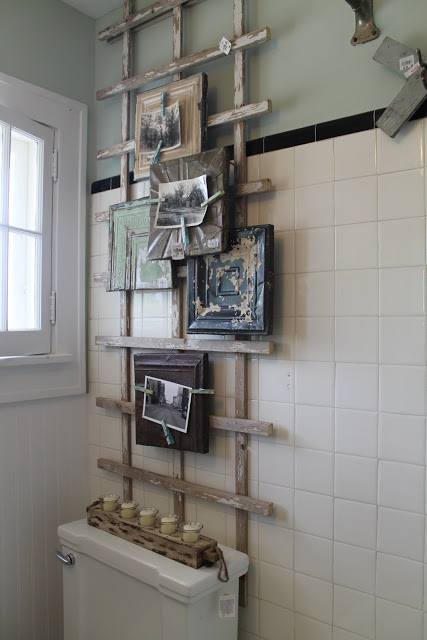
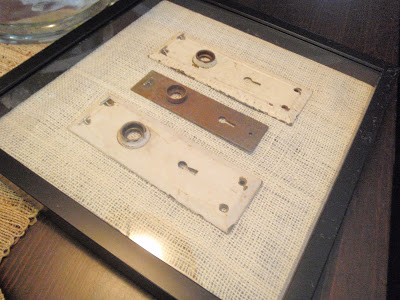
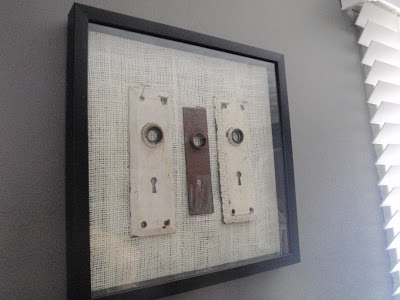
Stairwell
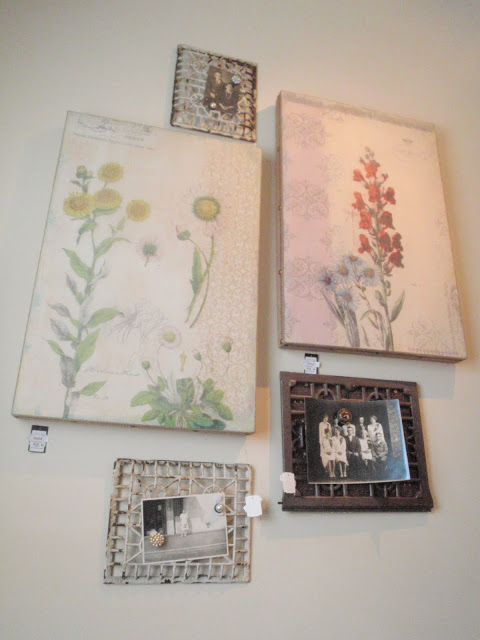
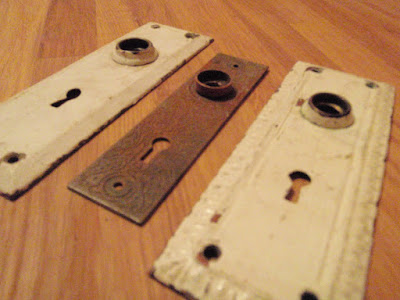
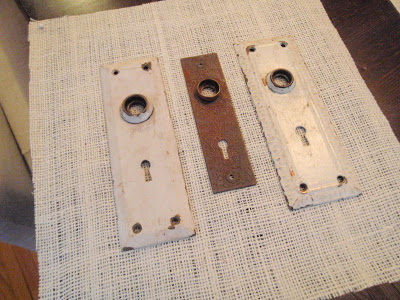
I always love what they do with the stairwell and this time I was even more amazed! Here they used assorted salvaged grates as wall decor and photo holders. I see grates all the time at salvage stores! Now that I've been given a little inspiration, I need to get some! They also have an old doorknob used to hold one of the grates.
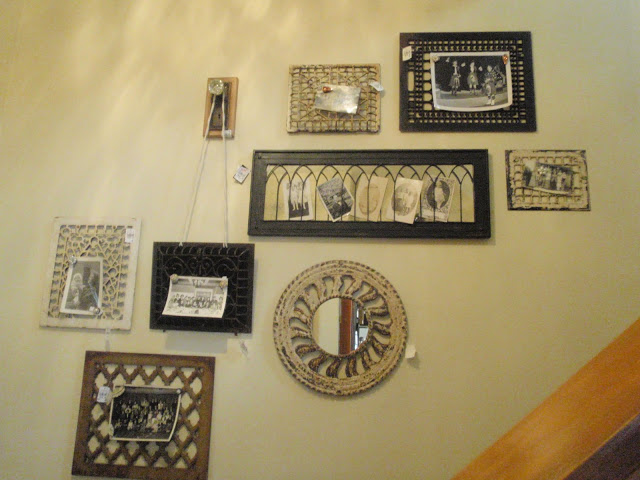
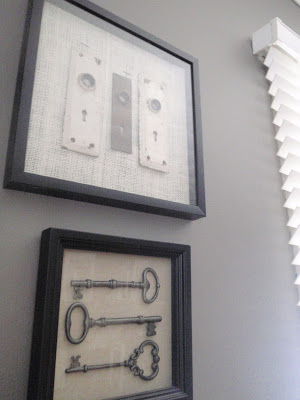
In this closer look, you can also see they added magnets to the backsides of vintage jewelry to hold the antique photos in place.
The opposite wall had a mix of artwork and more grates.
At the top of the stairs (where they had a hanging window for the holidays), they had planters hanging from vintage pulley system wheels.
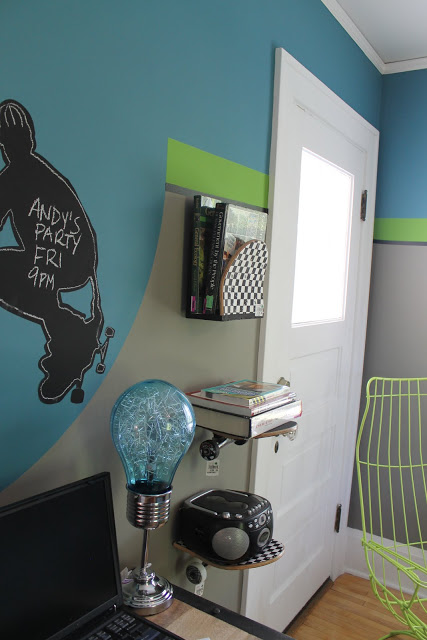
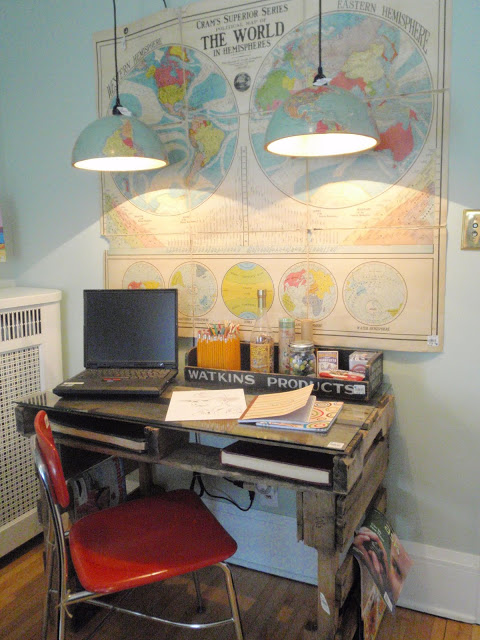
Boy's Bedroom
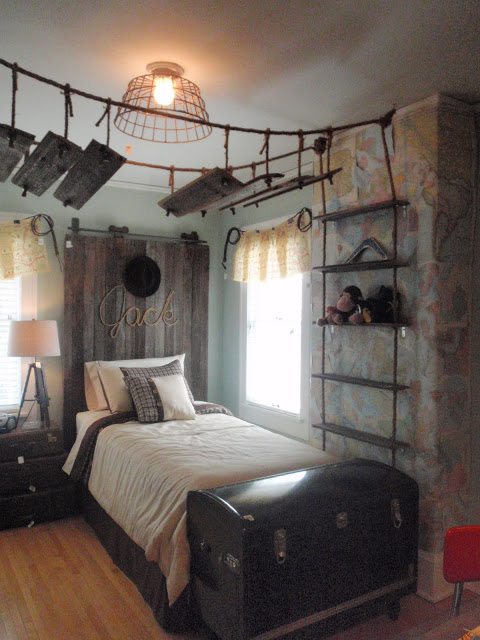
Okay, I am NOT 8 year old boy, but I totally thought this room was so stinkin' cool! It had an Indiana Jones/ treasure hunt/ world adventurer feel to it!
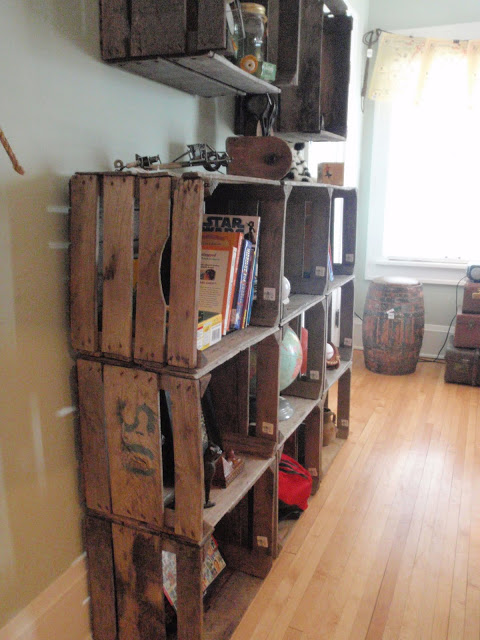
How fun is the barn wood turned into wall shelves and suspension bridge- yea, who has ever had that in their bedroom? Love it! The maps used as wallpaper are so fun too!
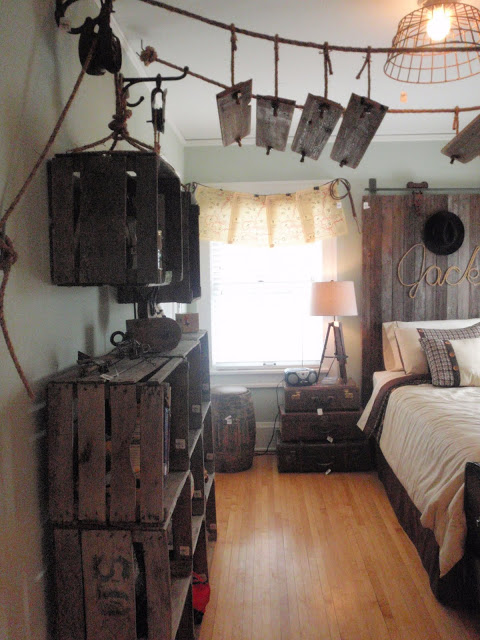
Here is a look from the other side, they also hung apple crates for storage.
For the headboard they reused a wood sliding barn door and wrote the name Jack with a rope.

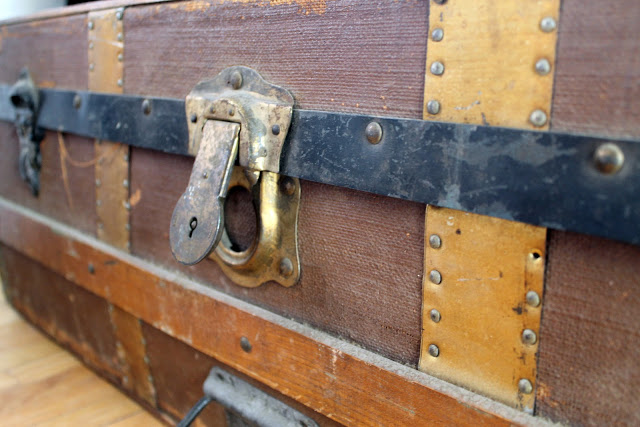
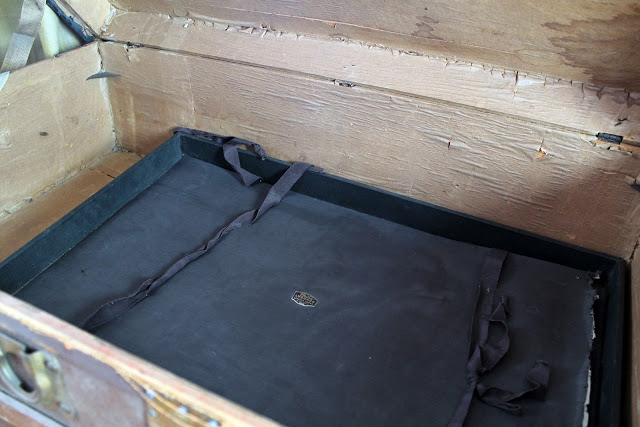
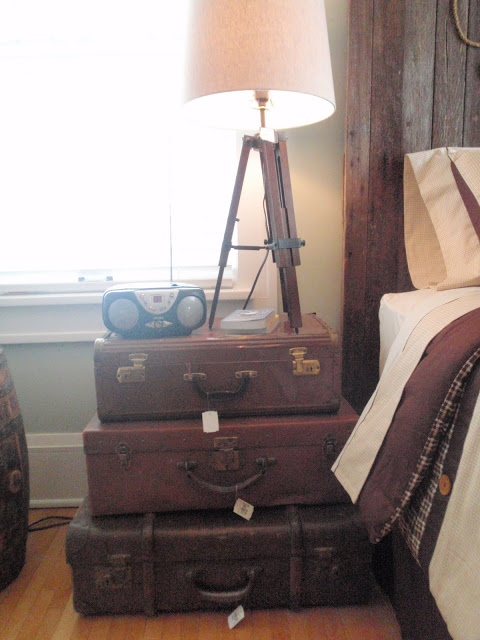
Here they have vintage suitcases stacked as a nightstand.
Bullwhips! Yes, bullwhips used as a curtain rod complete with a curtain valance made from treasure maps.

The desk is made from salvaged wood pallets and the pendant lights are made from a globe cut in half.
Wasn't this whole room just awesome inspiration for a little boy's room? I was really impressed!
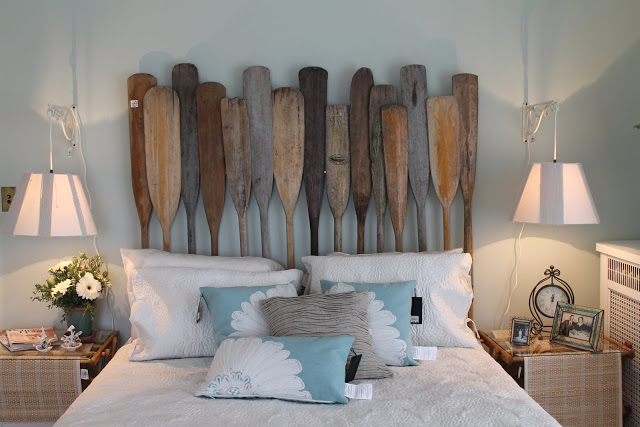
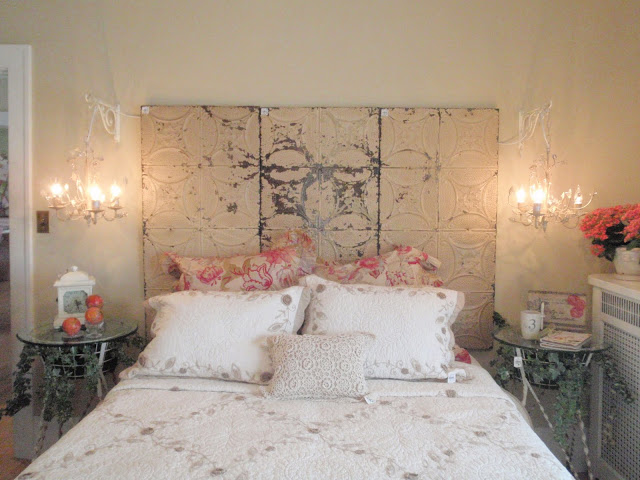
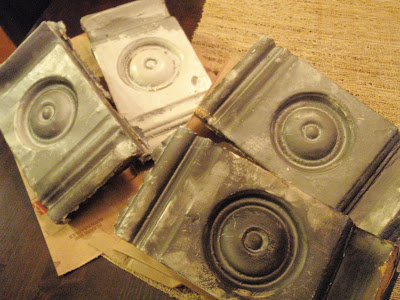
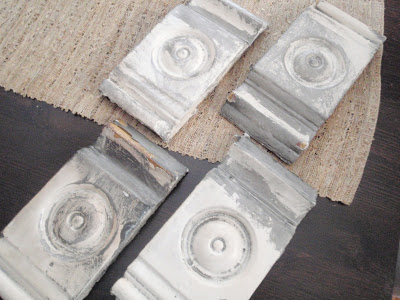
Master Bedroom
The headboard is made from vintage ceiling tins. I just love the chandeliers on both sides, so romantic!
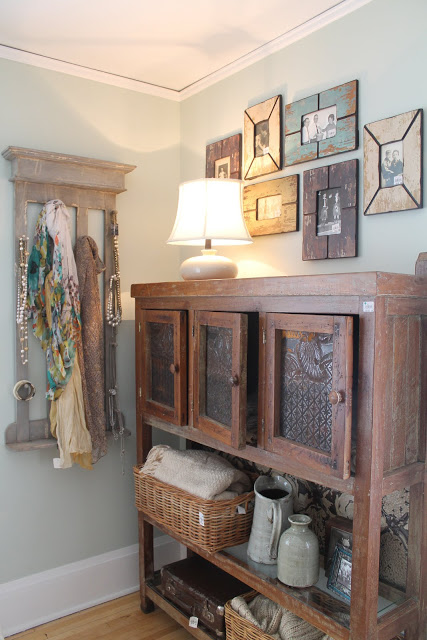
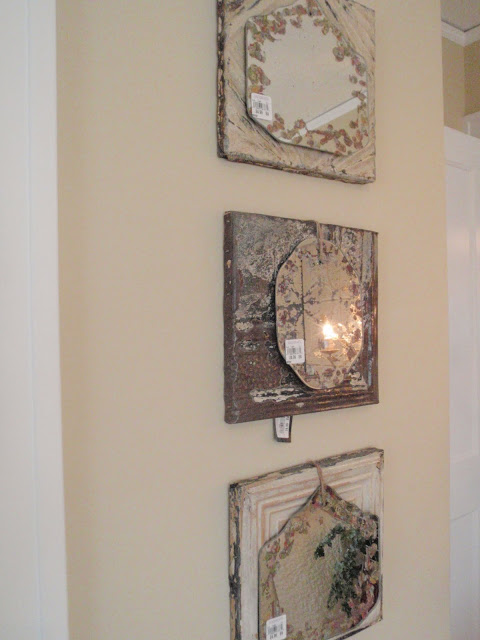
On another wall they had more vintage ceiling tins hung with mirrors on the walls.
I loved this decorative metal railing repurposed as a scarf organizer.
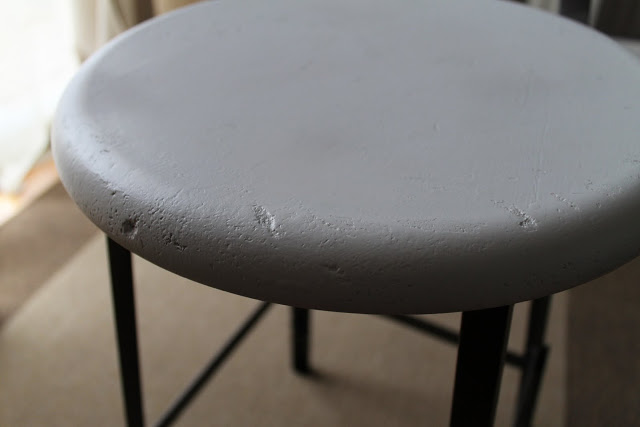
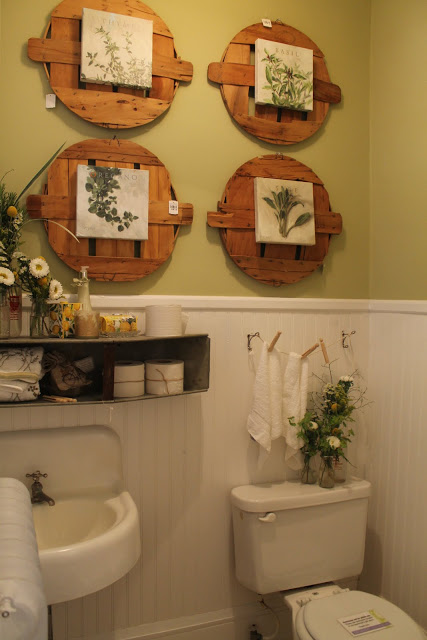
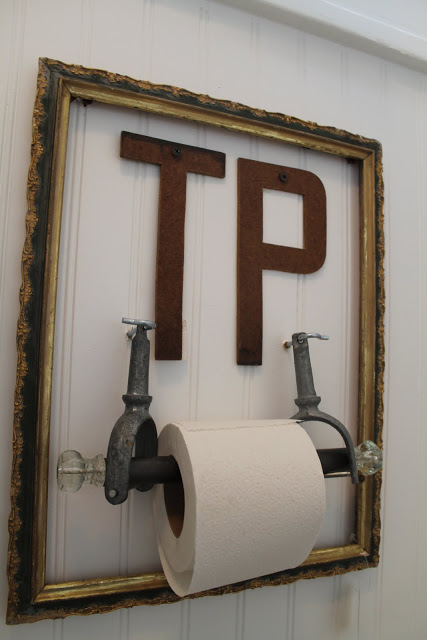
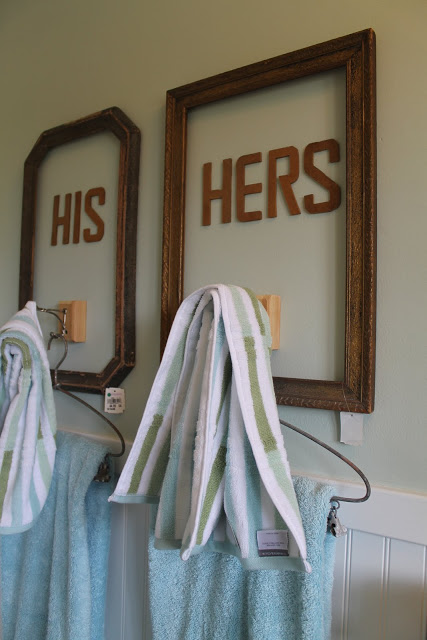
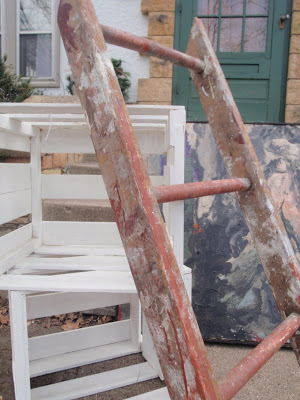
Upper Level Bathroom
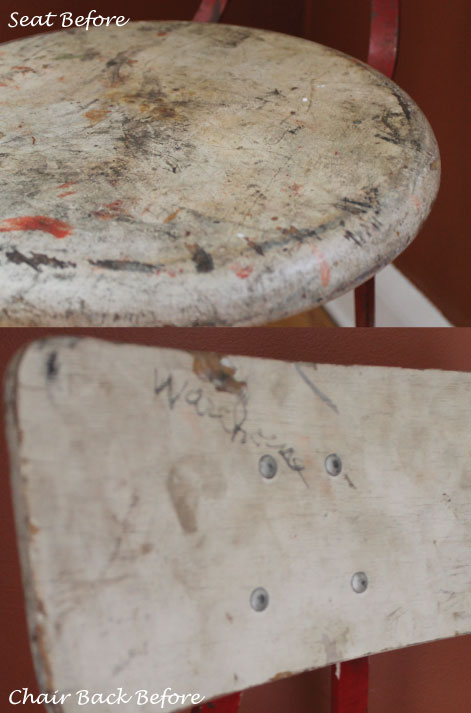
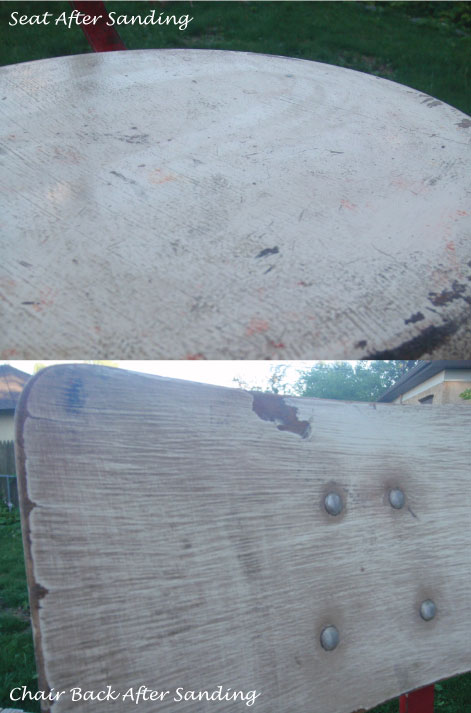
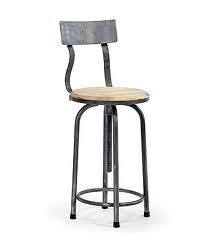
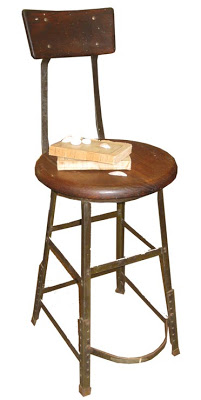
Here they have a storage table made out of a vintage ladder/ step stool (
).
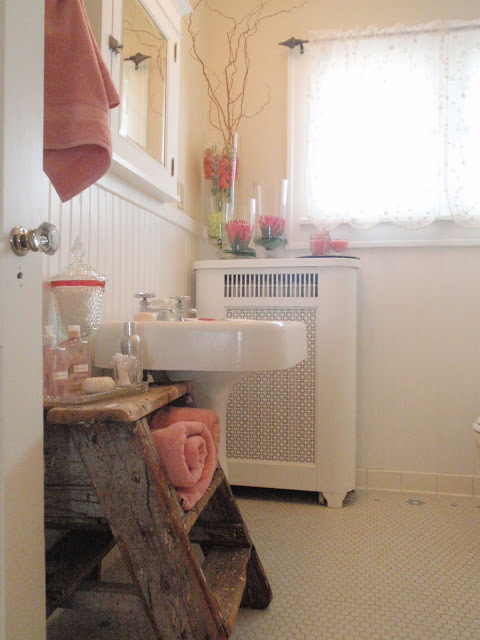
Wood shoe forms are used as wall hooks. "Hey don't wander off with my towel"-hehe, get it?

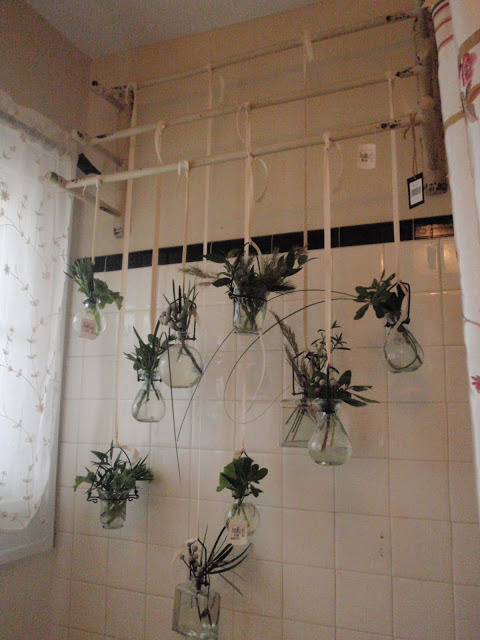
Towel holder repurposed as a vase hanger.
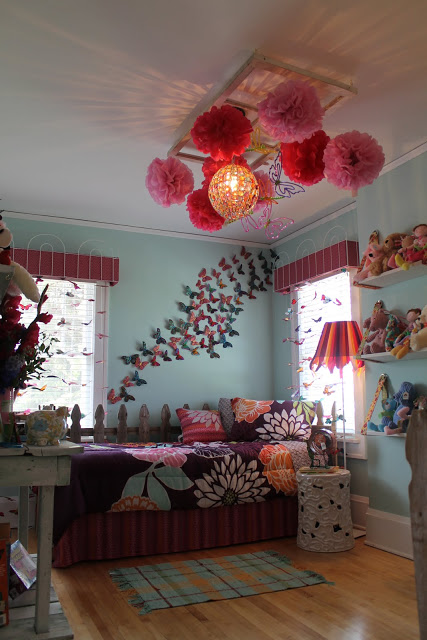
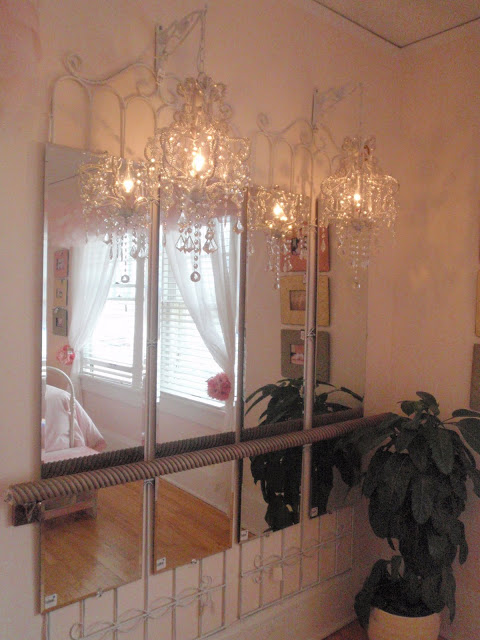
Girl's Bedroom
The girl's bedroom had a ballerina theme. Sorry for the dark photo, the lighting in there was tough! Note the rosettes on the bedding and ballerina tutu window valence.
I just loved this chippy old cabinet rebuilt into a desk unit with built in pendant light.
This was just the most adorable thing in the room! They put a garden trellis behind the 4 mirrors and used a decorative hand rail and made a ballet bar. Isn't it so cute with the chandeliers?
Over on another wall they used 'sap' buckets and turned them into decorative wall bins for stuffed animals.
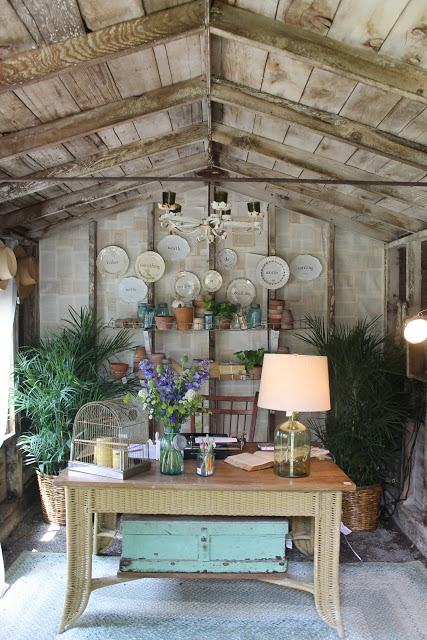
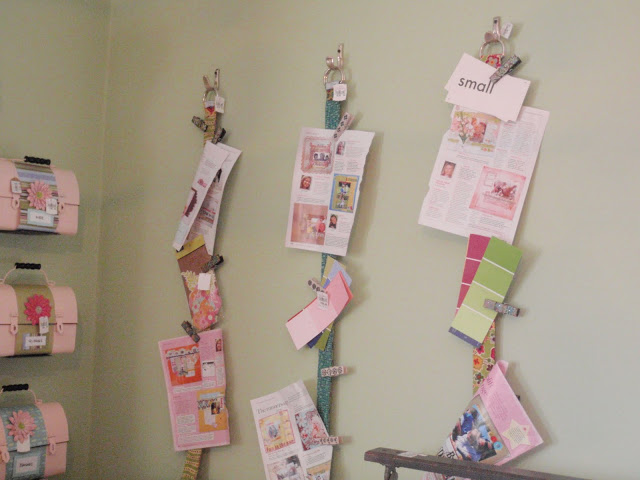
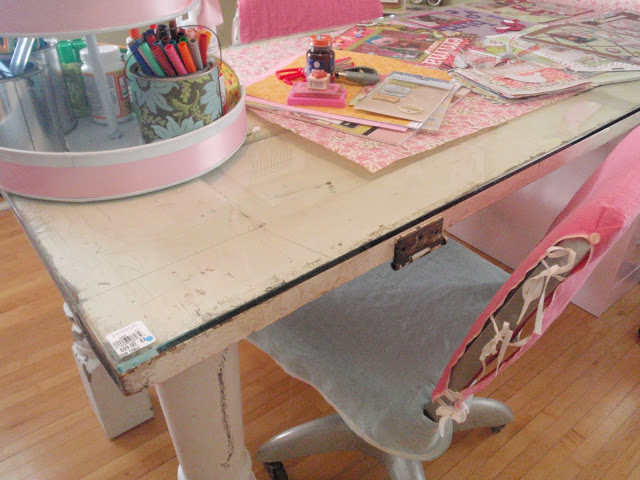
Scrapbooking Room
Yep, a whole room just for scrapbooking (which would not be for me, I made 1 scrapbook and it took me 2 years to finish it). But back to the Idea House...
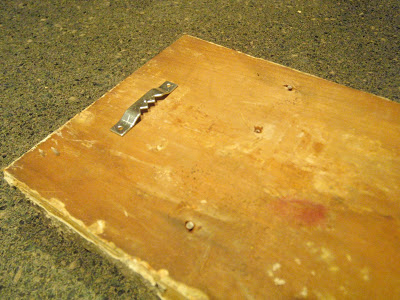
The coolest part of the room was the salvaged door and porch posts turned into a worktable. See those old hinges?
Here they used belts and decorative clips as wall organizers. Also, they have little lunch boxes hung as storage containers.
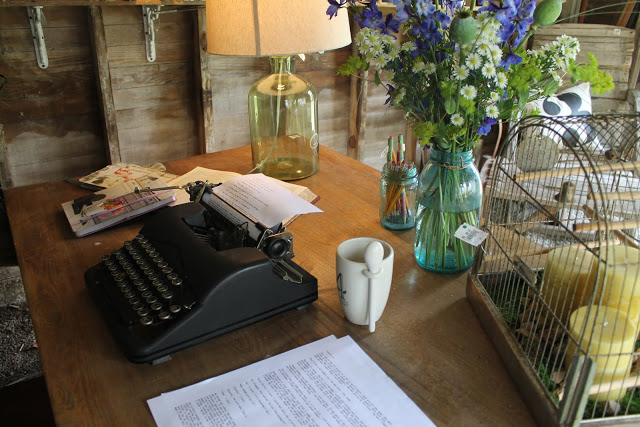
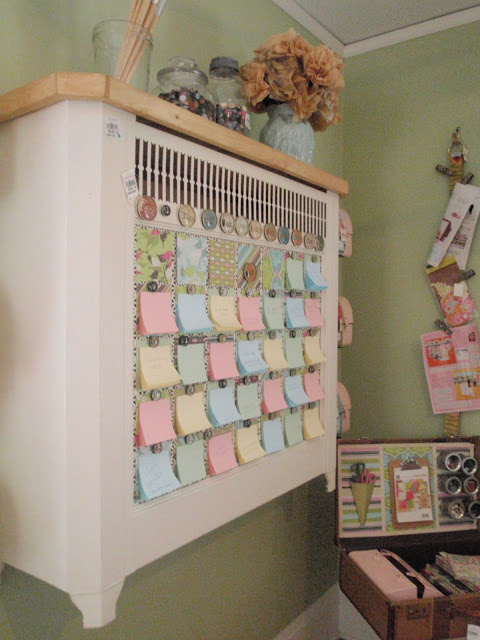
They hung a radiator cover and made it a magnetic wall calendar. You can also see the flower bouquet made of sewing patterns on top and the vintage suitcase turned crafting tote.
Here they made a storage/ work unit out of a potting bench.
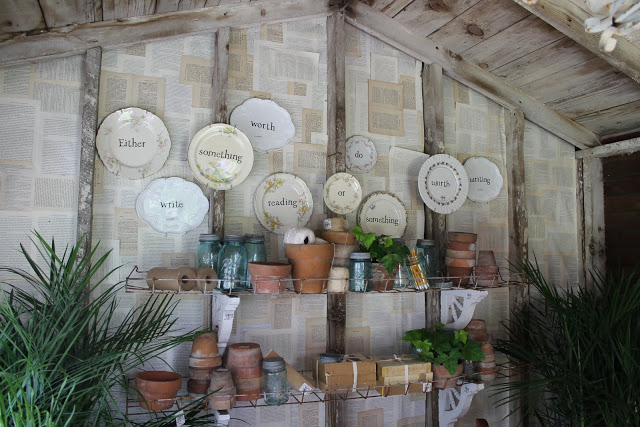
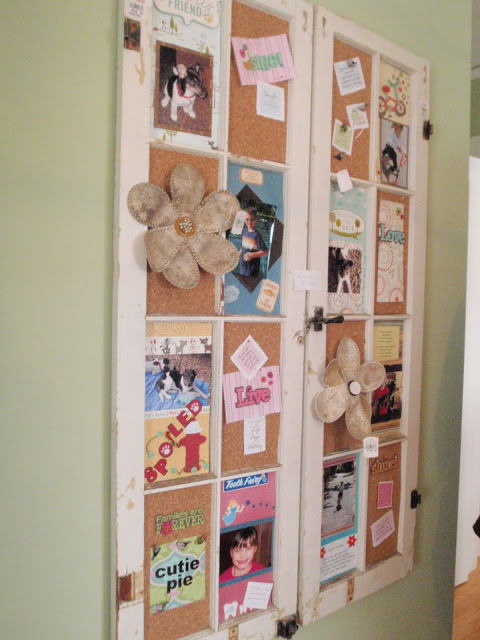
Cork added to window frames was used to create a spectacular bulletin board
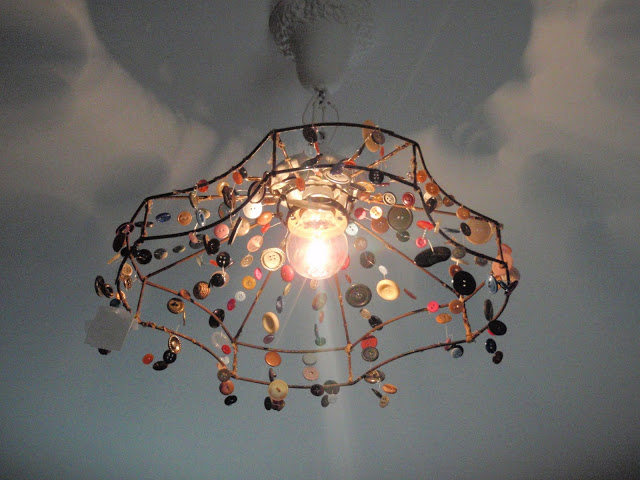
Love the light fixture made with vintage buttons!
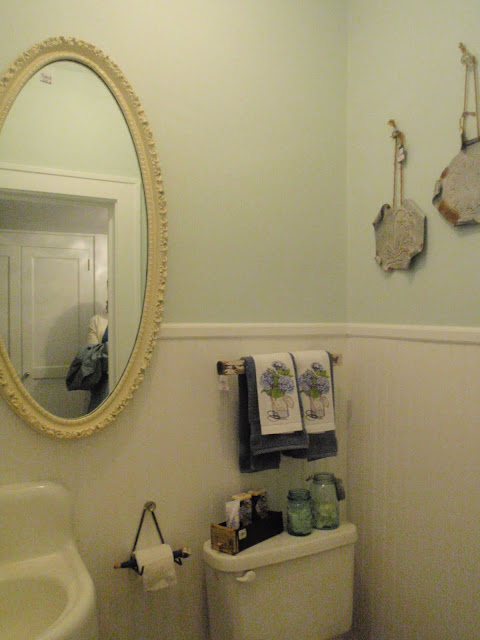
Lower Level Bathroom
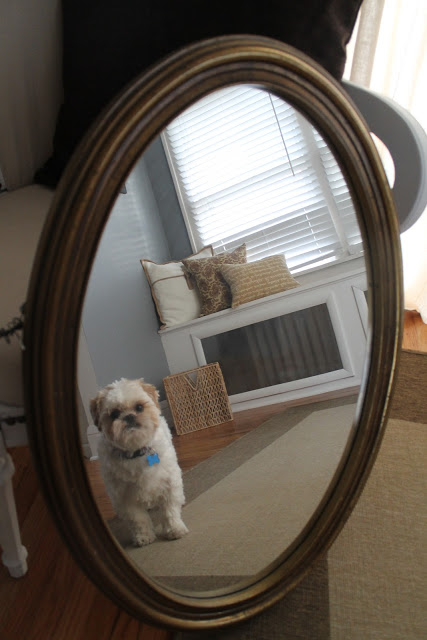
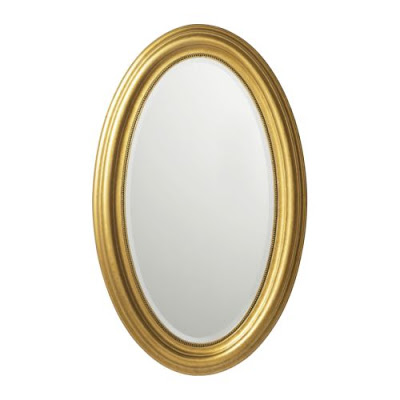
I loved the mirror in the bathroom, but this room didn't have as much decor as it did in their Holiday Idea House.
Hung metal artwork from thread spools.
For Dog Lovers
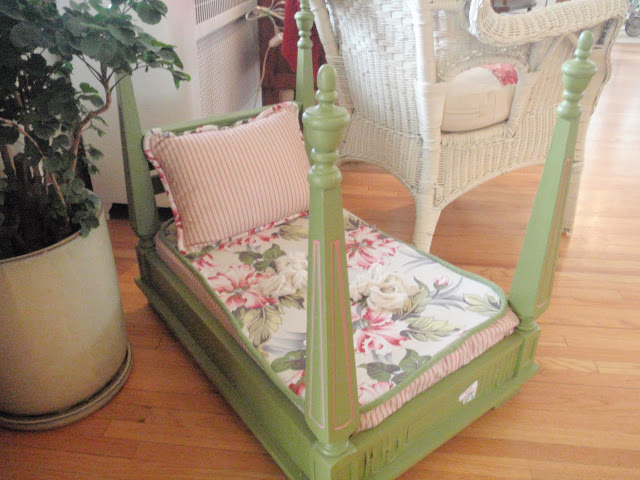
I had to show a couple things specifically for pups! In the living room was this dog bed made from a flipped over wood side table. So cute!
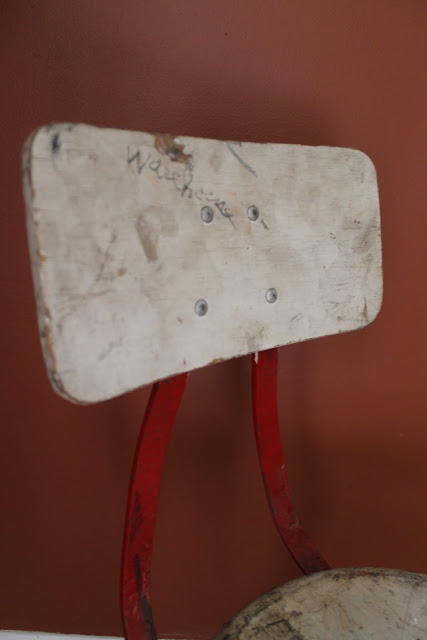
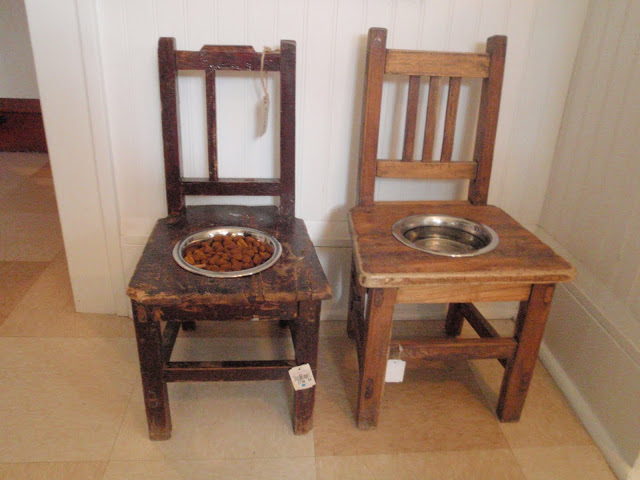
This was just adorable! In the kitchen they made doggie dishes our of a couple old children's chairs. I'd love to make these for Rocco and Sadie, but given their height difference it might not work :)
I also have to tell you that the house smelled amazing! They had so many flowers in each room, it was just delightful!
That's all folks! Wasn't it just sweet, romantic, and beautiful?
Did you get some fun new decor ideas? I know I did!
************************
PLEASE NOTE: In case you didn't read the top of the post, I just want to reiterate that this IS NOT OUR HOUSE and I am not employed or affiliated with Bachman's in any way (which means I did not decorate the rooms shown). I am a HUGE fan of the Ideas House and love sharing it as long as they allow people take photographs when they visit. It seems some people have been confused about that and I would NEVER want to take credit for something I did not work on. There, I feel better now :)
Hope you found some inspiration, thanks for stopping by!