I am really excited about this DIY post! If you have checked out our blog before, it is very obvious that I am obsessed with 2 things: Chalkboards (here and here) and Antique Crates. Turns out it is really hard and expensive to find 6 antique crates of around the same size for our Spare Room project. So, I decided to make my own Vintage Inspired Crates! Here is a look at the first little beauty I made yesterday!
This idea started when we failed miserably at making shelves in my new closet space. I ended up finding a new idea after I found some beautiful inspiration that I wrote a post about here.
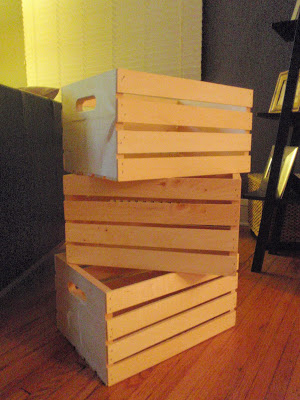
I ordered these crates from JoAnne's, they were only $9.99 each and measure 18"Lx12"Wx9.5"H. I was so excited when I got them in the mail! I ordered 6 total, here are 3 of them.
Just because I have to, here is a gratuitous Rocco photo in one of the crates- you know, to illustrate the size :)

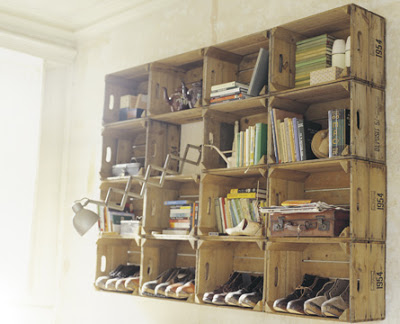
I love the structure of these crates, but the plain unfinished look is NOT what I am going for. So we are going to take these plain crafty looking crates.....
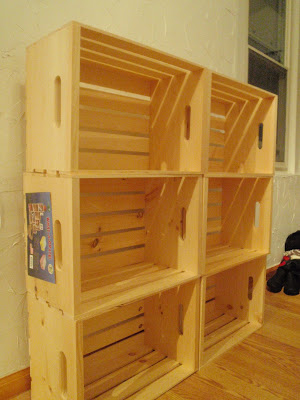
and make them look something like this!
So Let's Get Started on the DIY Steps!
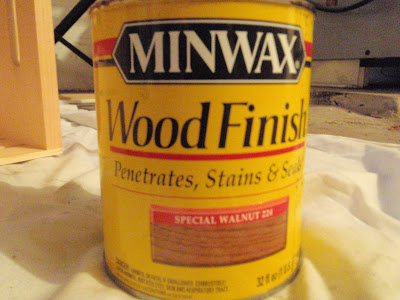
The first step was staining the wood so they would have more of an antique look (because fresh from the craft store doesn't look very chic). I used Minwax Wood Finish in Special Walnut 224. I looked at a swatch of it at Home Depot and thought that the color had a gray-ish antique shade to it AND it was only $6.69.
I used a lambswool brush to apply the stain in nice even strokes
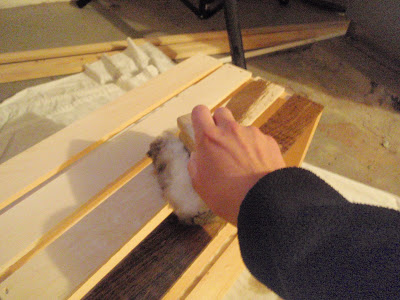
I really liked the way the stain enhanced the wood grain detail, and made it appear more aged and unique.
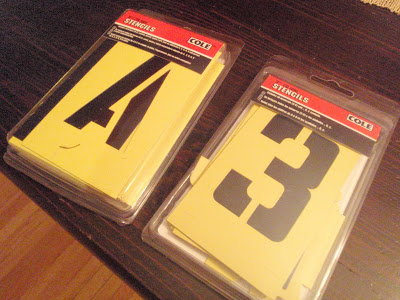
After the stain dries, it is time to add your own letters/ numbers to the crates for a more personal vintage look (similar idea to what was in my inspiration photos). I got these stencil packs at Home Depot for $1.99 each, a total steal and very industrial looking- perfect!
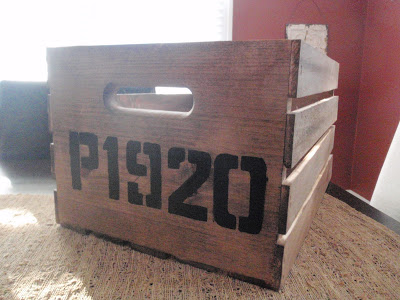
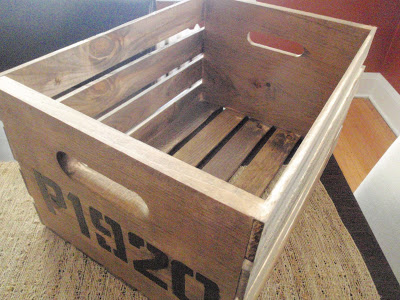
I wanted to use letters/ numbers that mean something to me (because I am a sucker for sentimental art and decor). For the first crate I used "P1920". The letter "P" stands for my grandma and grandpa's last name, Pierson. The "1920" is the year both of them were born. So, there's the special meaning!
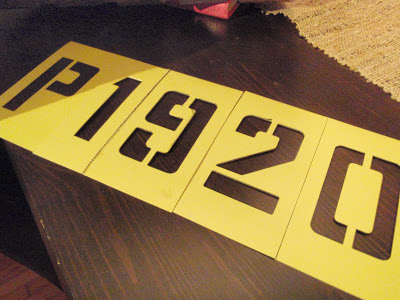
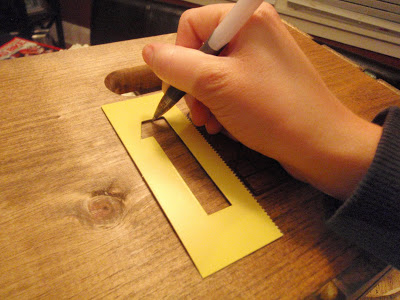
I measured out where I wanted the letters/numbers to line up, then used a pencil to outline the stencils.
Next, I painted inside each number.
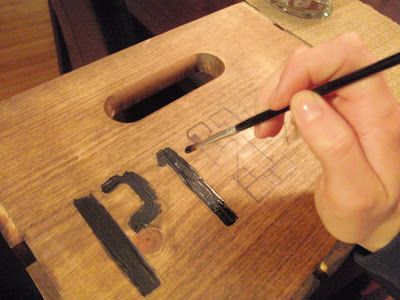
A tip for anyone that tries this, use a small tip brush. I started with something larger and it was very hard to make neat lines. So I switched to a small brush.
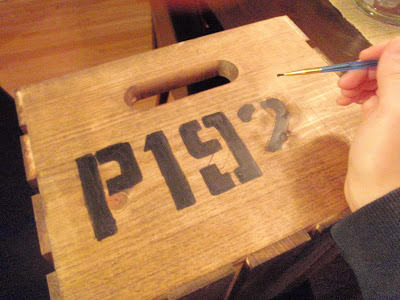

Once you're done letting it dry you'll end up with something like this! Totally cute!
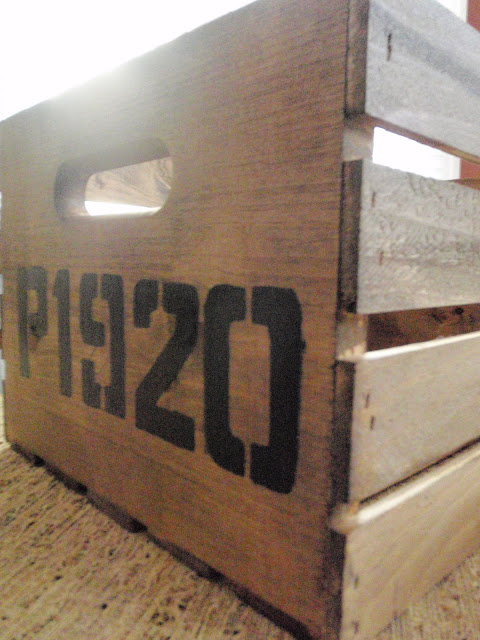
I grabbed a couple of my actual vintage crates to compare the look (old vs. new)
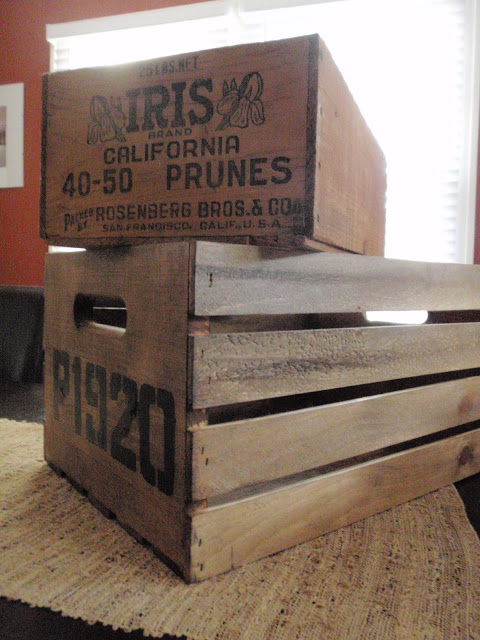
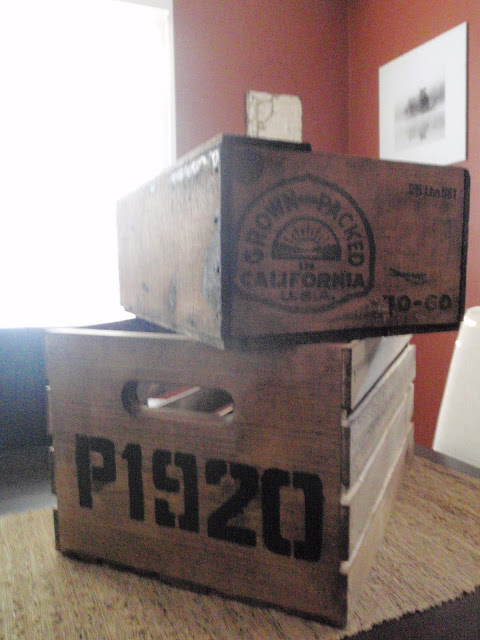
I totally think my creation passes for a vintage look! I couldn't be happier with the end result.
Now, I just need to 'antique' 5 more, crazy I know! But I think they are going to look great once I put all 6 together to create a shelving space. I plan to use a different sentimental number/ letter combinations on each crate, but they'll maintain the same uniform look and placement. I will definitely write another post with the photos of them all together once they are finished. I hope someone out there tries this out and makes their own DIY Vintage Crates, it was really fun!
I joined up at The Lettered Cottage's How To's Day Linky Party! Link up!
