I just got back from China today and sure enough I came home to a nice surprise! Alex finished up the floor in the spare room off of our Master! So... that means we can get started on fixing and decorating the space, yay!
The last time we blogged about this room we wrote about our plan for the space, and in the post before that we removed carpet from the room. We decided on using that laminate wood flooring we found when we went to Home Depot since it was budget friendly.
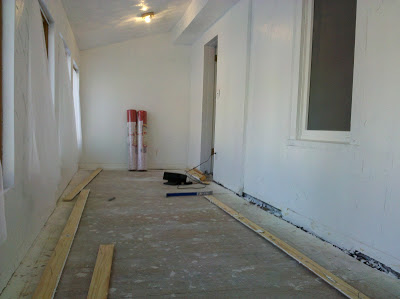
So here is where Alex started. First he had to pull all the baseboards off of the walls so there was room to install the flooring. The flooring needs to be 1/4" from the wall so it has room to "float" as well as expand/ contract with humidity.


The last time we blogged about this room we wrote about our plan for the space, and in the post before that we removed carpet from the room. We decided on using that laminate wood flooring we found when we went to Home Depot since it was budget friendly.
So here is where Alex started. First he had to pull all the baseboards off of the walls so there was room to install the flooring. The flooring needs to be 1/4" from the wall so it has room to "float" as well as expand/ contract with humidity.
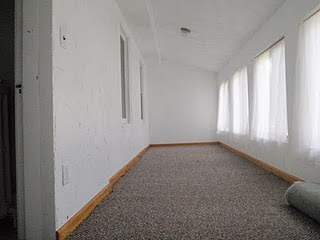
Here's a look from the other end from the room.
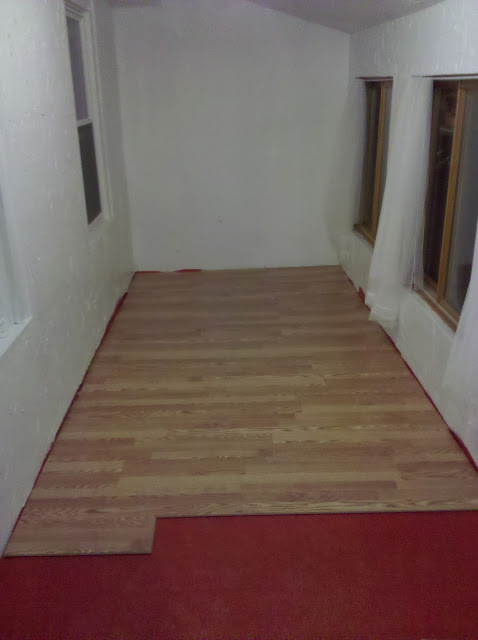
Next, he cut and laid the laminate floor underlayment (the red stuff you see under the wood flooring). Then began cutting the wood laminate with a miter saw and piecing them in to fit.
Here is the other end with only a couple feet to go.
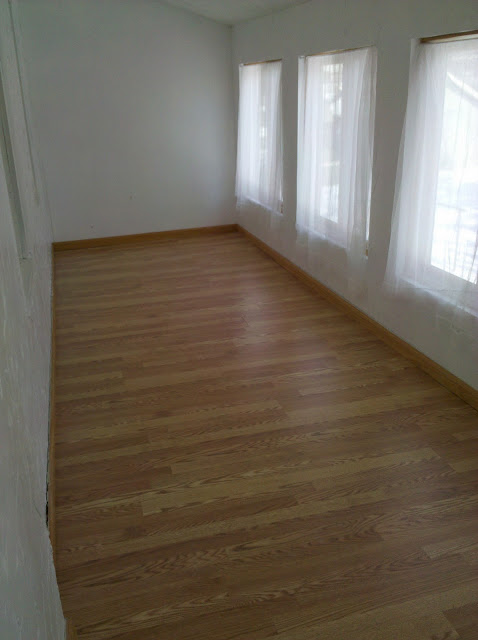
Here's a look with the floor complete!
So much better than before with the icky carpet...
Another view...
Our next steps are going to be dividing the room into 2 useable spaces and looking for the right pieces to make my dreamy dressing room/ closet! I also need to figure out what window treatments we should use for the room, so sick of the cheap Ikea ones! If you have any cute ideas for the window treatments let us know!
As far as the budget we spent $175.98 on the wood laminate flooring for the space (160 sq ft), $119.94 for the underlayment, and $9.97 for a flooring pull bar (which is used to tighten boards together in tight spaces). So we spent $305.89 to redo the floor, we originally thought it would be less but the underlayment doubled the estimate when we realized we needed that too. Overall the look is so much better and I know once we are finished we will be using that room a lot! Can't wait to start decorating it soon!
***Check us out and everyone else in the DIY Showoff's Project Parade!
***Check us out and everyone else in the DIY Showoff's Project Parade!