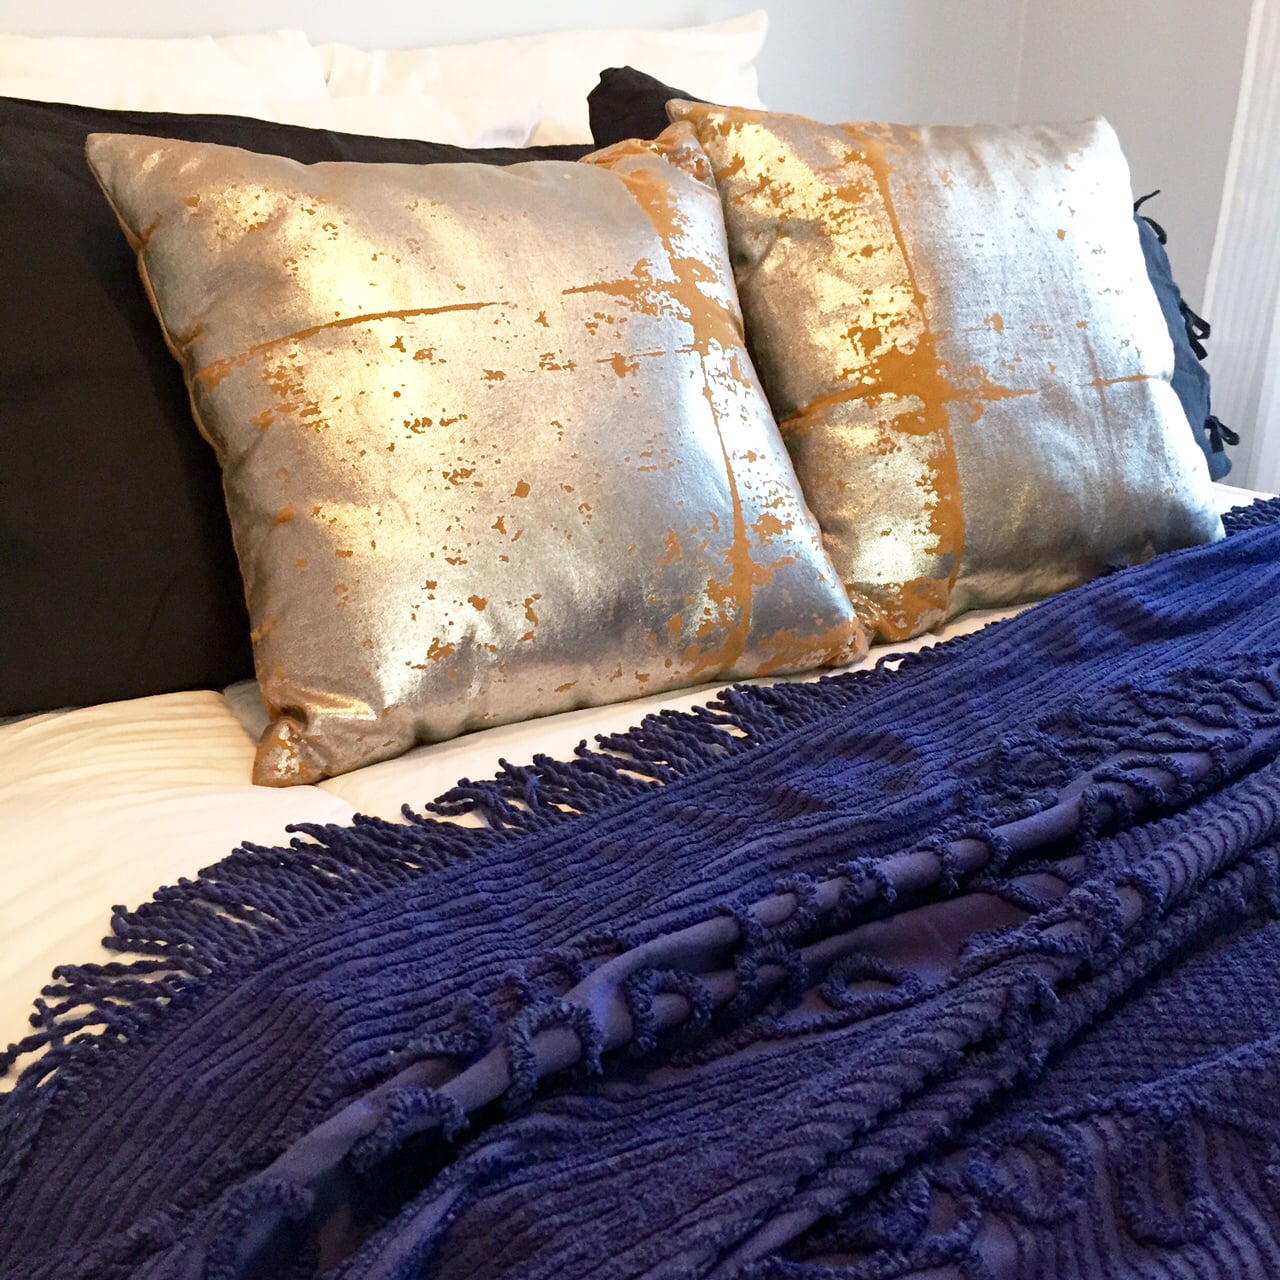
Did you happen to notice that beautiful, richly colored chenille bedspread from our guest room that was included in our Apartment Therapy Home Tour photos?
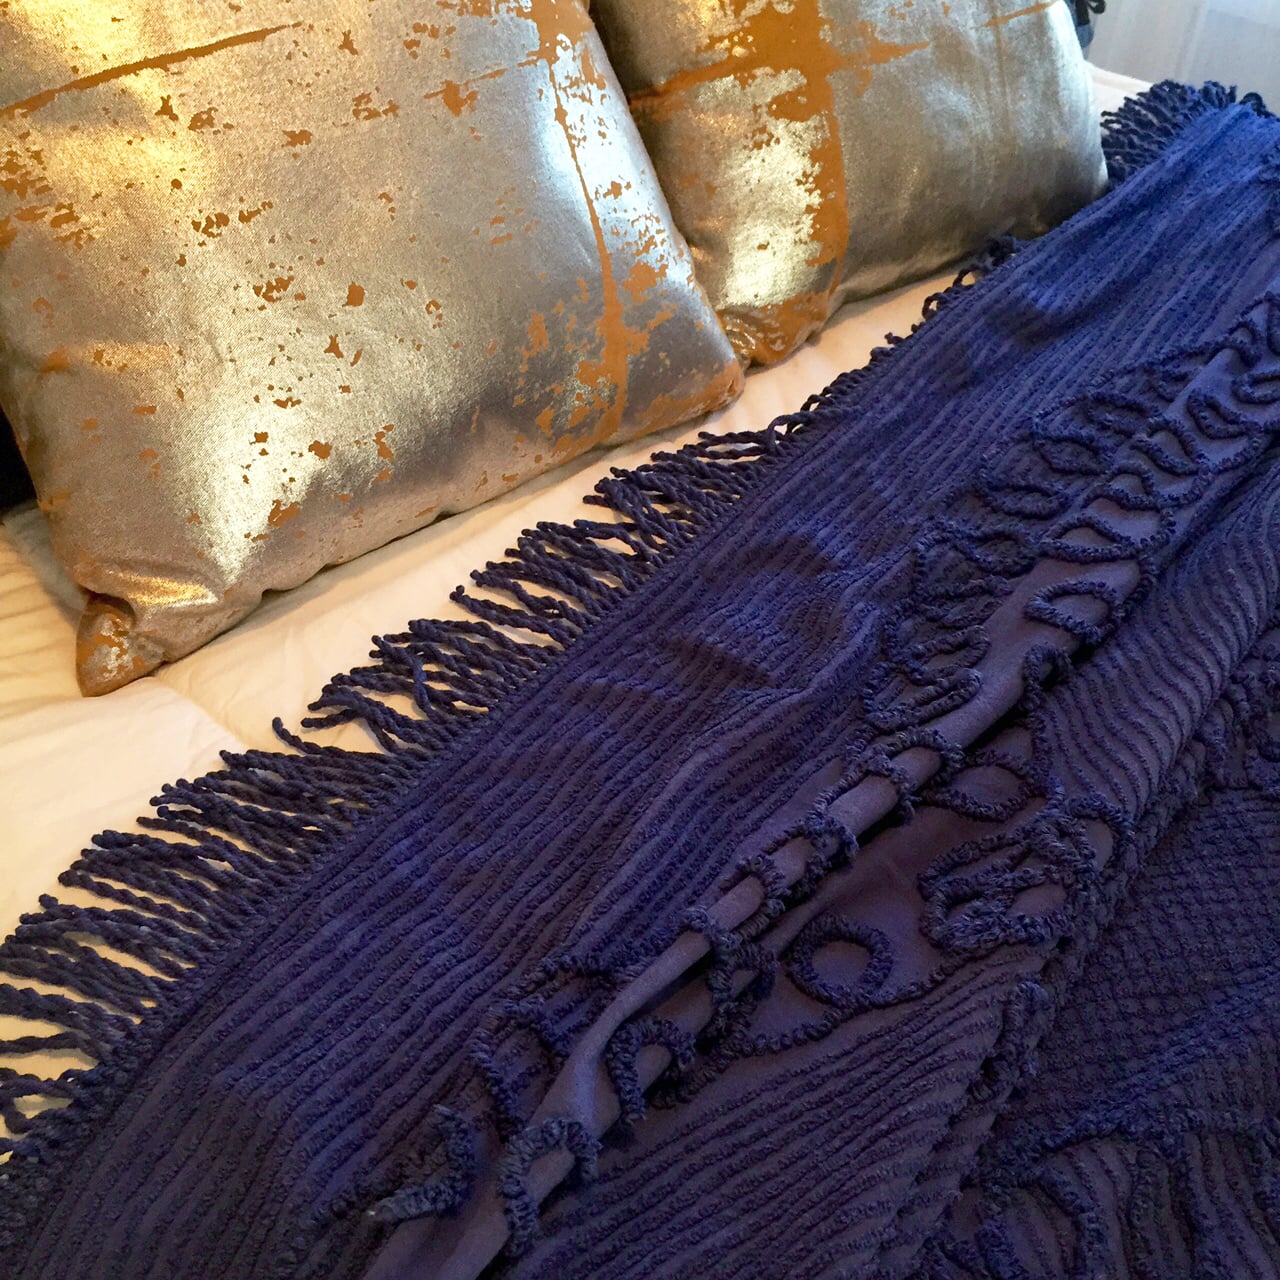

Fun, funky, surprising and lovely all at the same time right?
Would you have guessed that it is the same bedspread as the one shown below? It looks sweet but there's just this sort of, icky and old cottage-y kind of vibe to it, right? Funny. It's just the simple change of color that completely renews the style of this old bedspread for a more modern appeal, who knew?!
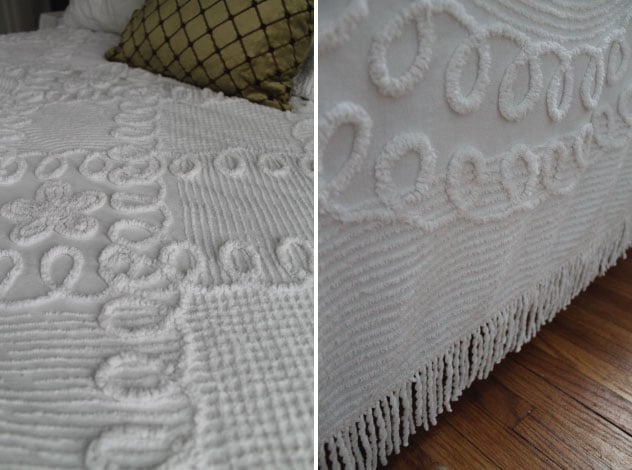
The bedspread before my DIY indigo dye project, this tired look needed a modern update or it had to go!
Years ago I had picked up the bedspread at a thrift store for just $8.00. It reminded me of a bedspread that my grandma had and being the sentimental weirdo that I am, I just had to take it home. Sadly, the problem with using the bedspread in our home was in that statement alone- it just looked too grandma-esque for us.
Reluctantly, I folded it up and stored it in our linen cabinet...for about 5 years. Then on a random day last fall, my co-workers, Jeff and Natalie, brought in an old patchwork quilt that they had dyed a dark indigo blue color. It looked so fresh and new but still maintained its handmade charm and worn details, it was the perfect balance. I loved it, I wanted it, but I couldn't have it. Then it dawned on me- I COULD DYE THAT OLD CHENILLE BEDSPREAD BURIED IN THE CLOSET!!!!!!!
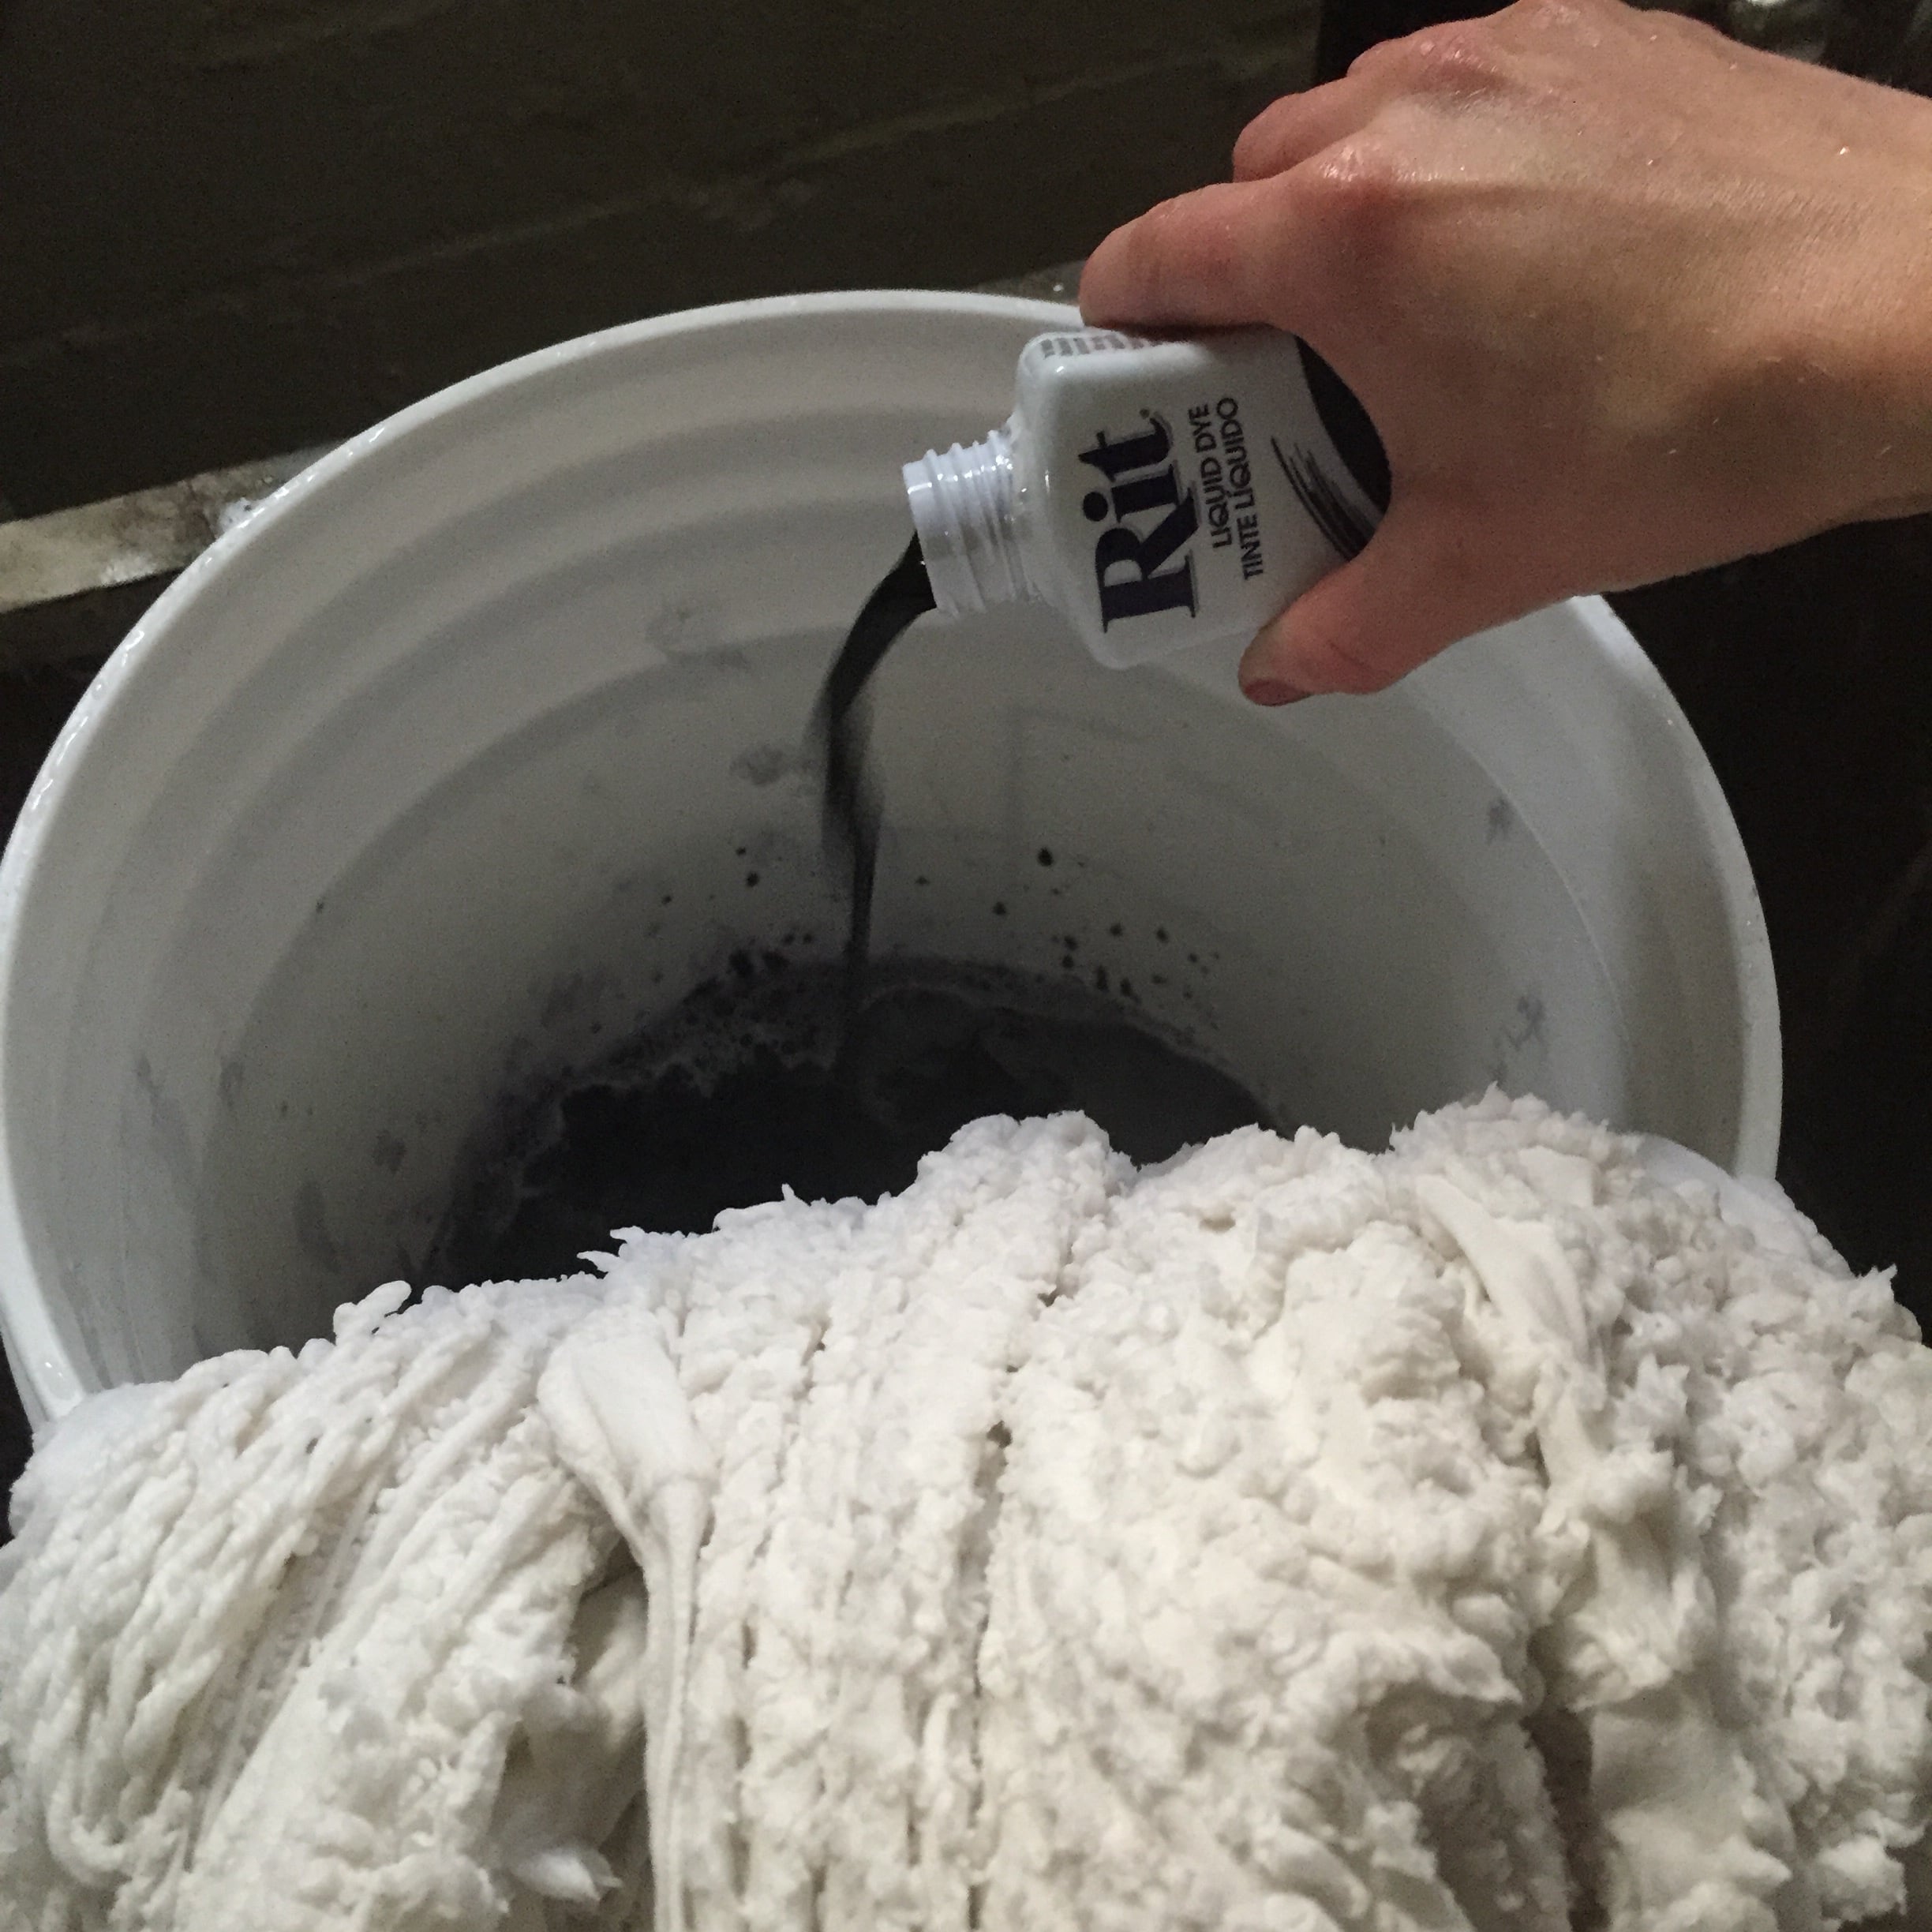
The updated indigo version totally revives the look and still keeps it's familiar charm. I'm still in love with the results of this DIY project- and it was so easy too! Here's how I dyed that old bedspread using:

- 2 bottles of Rit Dye
- Vinegar
- Table Salt
- 8 Gallon Plastic Bucket
- Rubber gloves (highly recommended!)
I brought the items listed above along with the bedspread down into our scary old basement and used our messy old utility sink as my space for the project. I figured that would be best to avoid permanently staining or dyeing any of our sinks or our washing machine- I know that is what is instructed on the Rit Dye bottle but I still don't trust it! I'd rather just play it safe and use one of our large plastic buckets for the dye bath!
Other than that, I followed the instructions that were listed on the bottle for the most part, but I can say that I HAD to dye it, wash it, dry it, and then do it all one more time to get the deep rich color. So if you are giving it a try too, be sure to plan on dyeing it TWO TIMES!
I began by filling the 8 gallon bucket with hot water and submerging the bedspread into the hot water making sure it was completely and evenly saturated. Then, with the wet bedspread removed from the bucket, I added the table salt, vinegar, and bottle of Rit Dye to the hot water. After stirring the mixture around a little bit, I VERY CAREFULLY plopped the wet, soggy bedspread back in the dye bath (bucket).
Once the soaked bedspread was fully re-submerged into the dye bath, it was time to SLOWLY move, rotate, agitate, massage, etc. the bedspread in the dye. NOTE: whatever you want to call the "moves", I made sure to "move" it very carefully and slowly because if that dye splashed anywhere else, I knew it was not likely to come off anytime soon ;)

I wanted to be sure that the bedspread ended up with a rich, even color, so I guess you could say that I overdid it, making sure that every little nook and cranny was absolutely sure to soak in the dyed color.
I let it soak in the dye bath for an 1 hour before going back for another round of moving and grooving, followed by another hour of soaking. Afterward, I pulled the dyed bedspread out of the dye bath, rang it out by hand, and let it hang/drip dry in our basement for a couple days. Once it was dry I put it through a heavy duty wash cycle in our washing machine and again let it air dry.
After all of that, once the bedspread was completely dry, the color just wasn't as rich and saturated as I had hoped. So I did it all again. Every step, one more time- YES, say it with me... ONE. MORE. TIME!
After the second go-round, the color had deepened significantly and the bedspread appeared just the way I had envisioned it from the start! SUCCESS!!!
What do you think of this DIY dye project? Were you surprised at the difference the color made too?
Are you dyeing to dye something of your own to give it a new feel? If so, what is it?!
I know I was inspired by Jeff and Natalie to tackle this project, so I'd love to know if the inspiration rubbed off on you too!