Carla Like It Is

Sunroom

How the Sunroom Ended Up

Kayd RoyComment
Now, where was I again with my house projects, hmmm.... Oh yea, the Sunroom!  Seems like forever long ago when I began changing up the look of our sunroom but I finally got around to adding in a few finishing touches and I'm calling it complete... for now at least :)
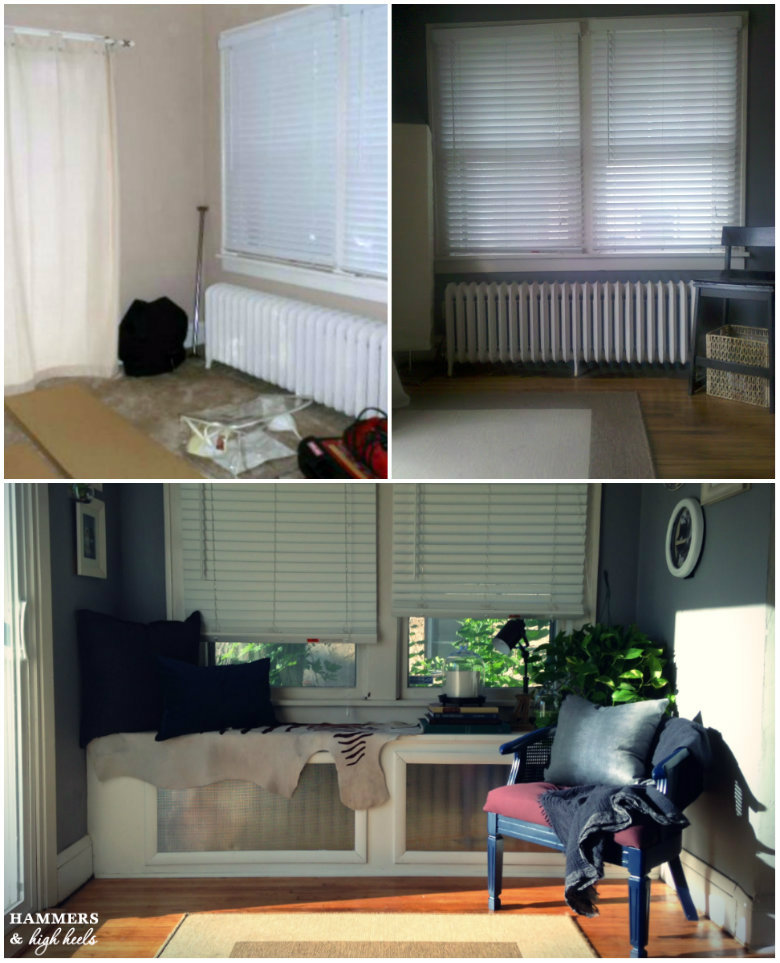
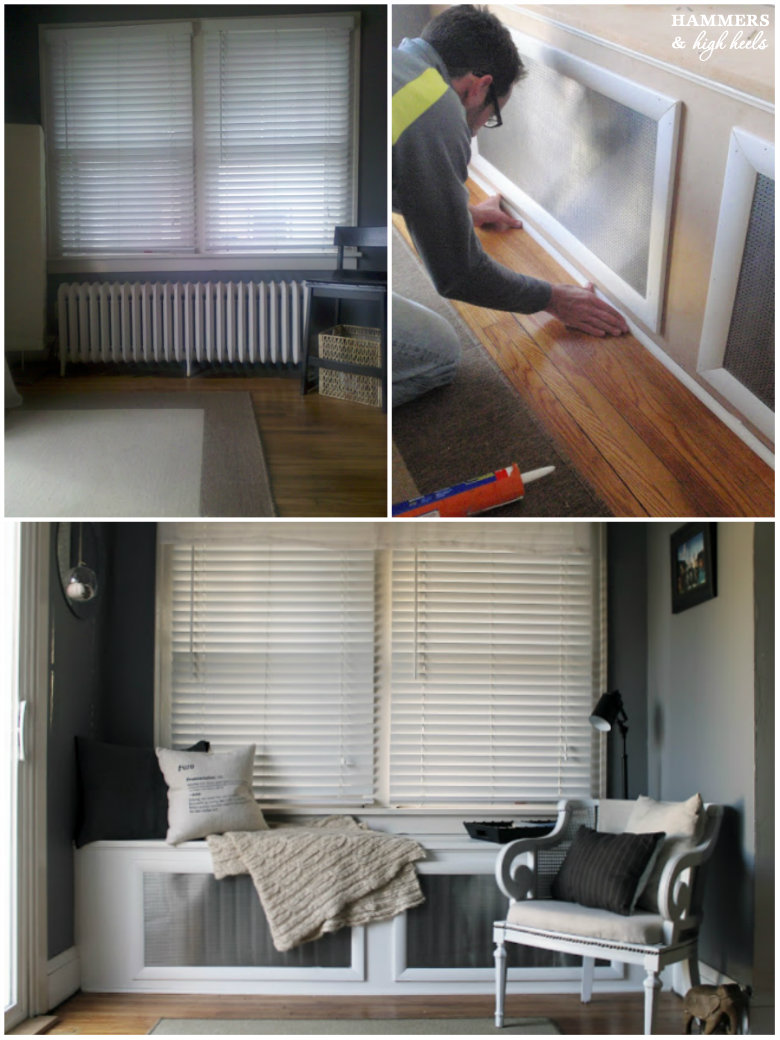
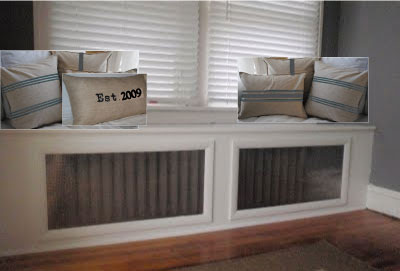
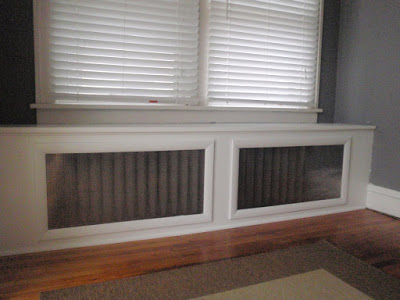
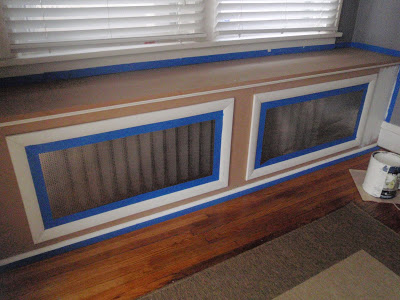
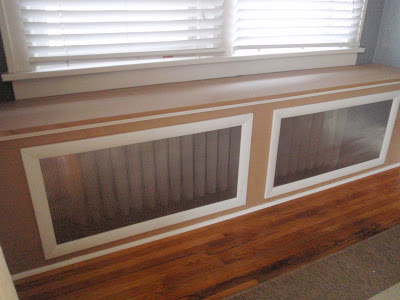
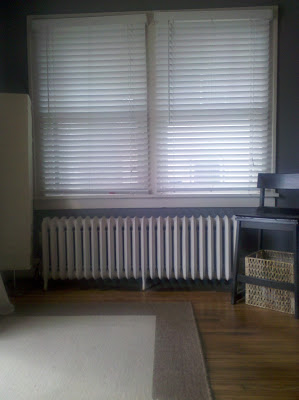
The images shown on the left above are various "before" photos of our sunroom- 2009 when we moved into our home, 2010 after we painted the room and refinished the wood floors, and 2011 after Alex built the radiator cover/bench.

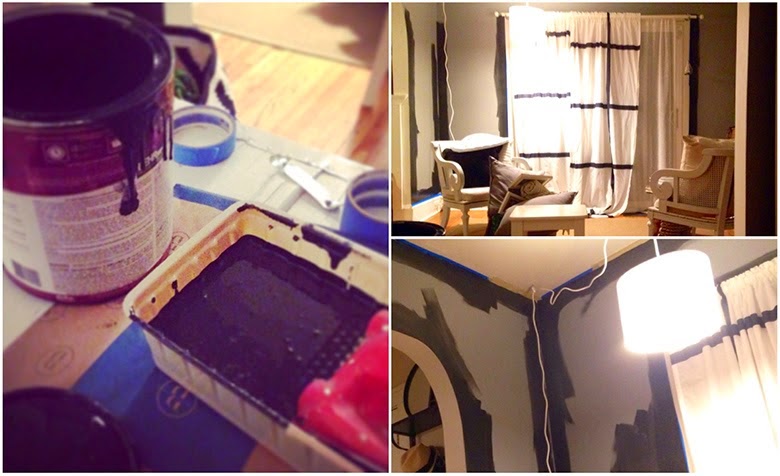
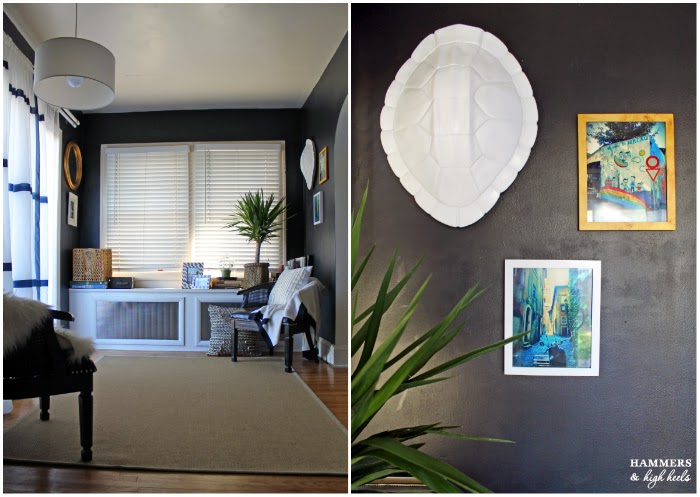
This sort of spontaneous room update started with changing the paint color to the darker black/blue paint (same color that we used in the kitchen, Martha Stewart Francesca from Home Depot).
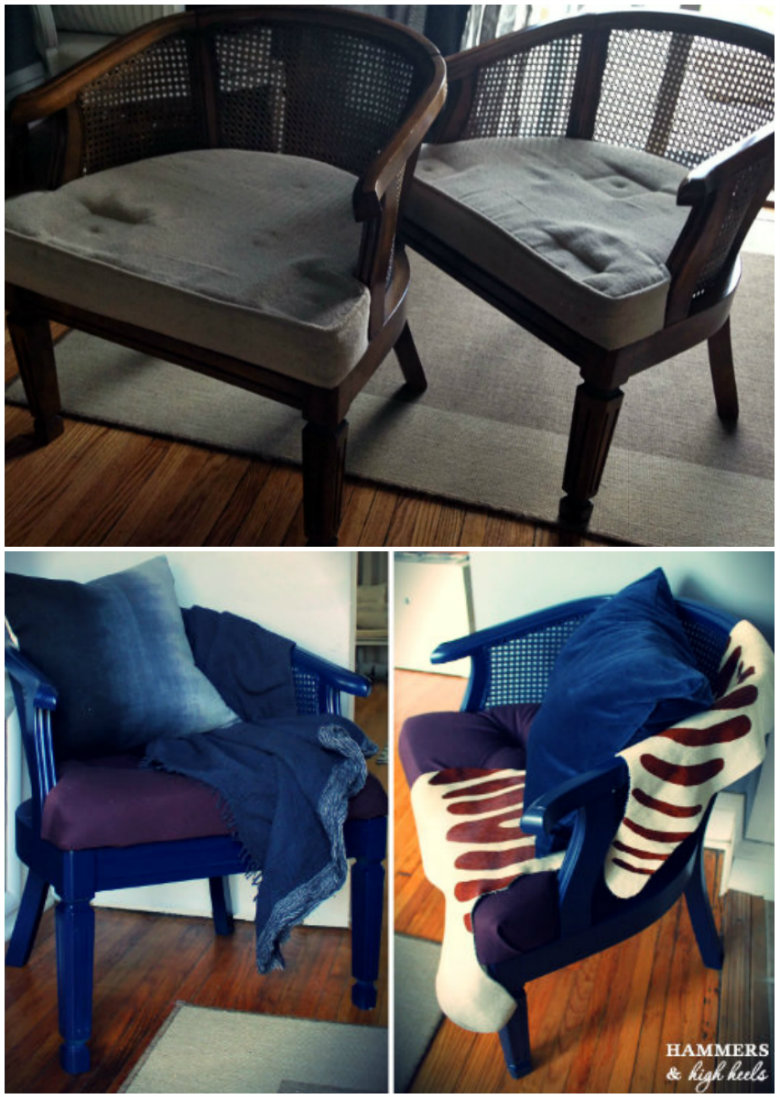
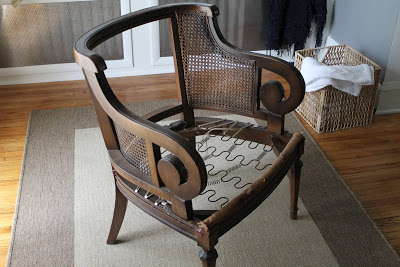
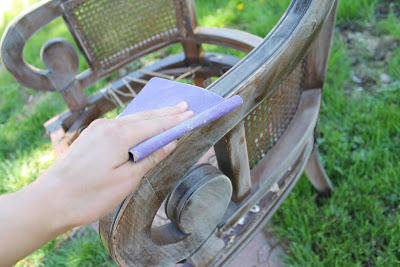
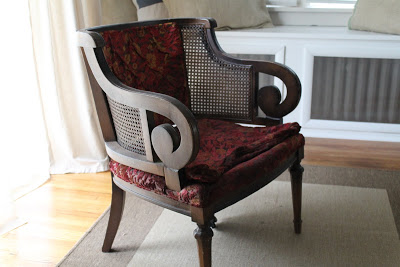
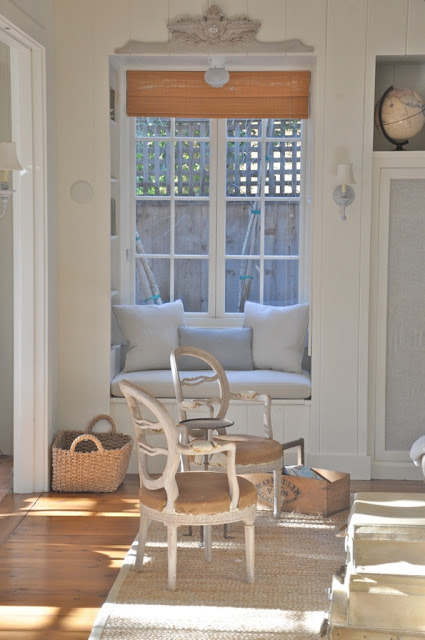
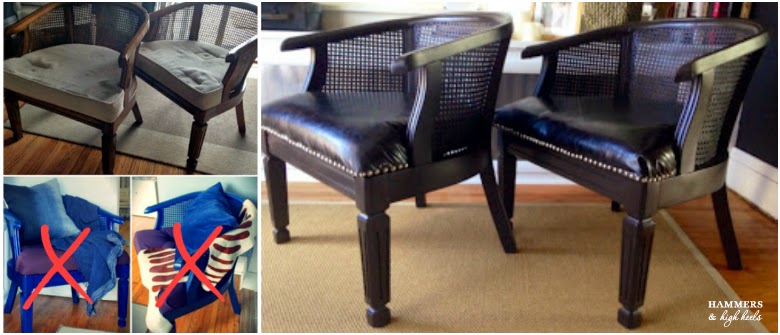
The next change I tackled for the room was redo #2  on the set of chairs I picked up at a yard sale last summer.  Yep, making the chairs blue with a maroon seat cushion was a really poor choice but I did learn how to tuft a seat cushion at least!  Not a total waste I guess?
I admitted my DIY mistake and made my wronged chairs look right with a new coat of paint on the wood, faux leather upholstery, and silver nailhead trim.
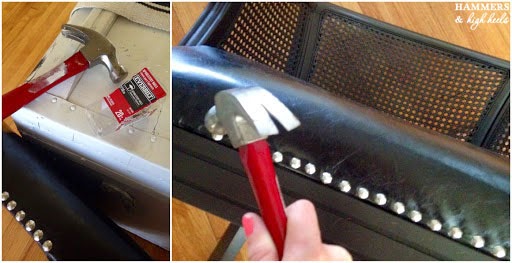
Click here to see the second chair redo (updated to black & added nailhead trim)

After painting the room and fixing the chairs, the sunroom project took a pause... a VERY long pause.  
- PAUSE -
[Insert NYC, my 30th birthday, Hong Kong, China, Toledo, filming a tiling project, Alex in Europe, big business partner meeting at work, and last but not least my unlucky ER visit to get 16 stitches on my shin]
- PLAY - 

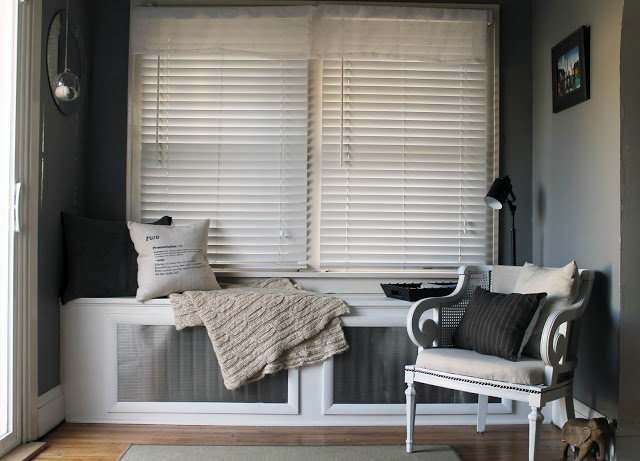
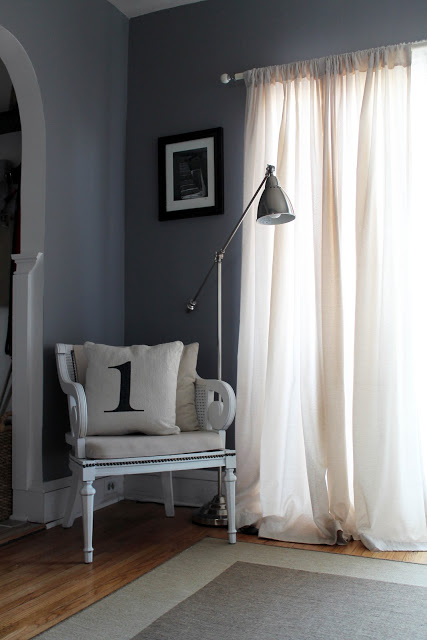
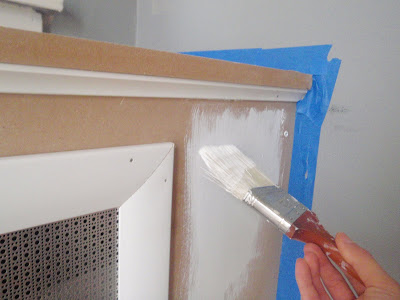
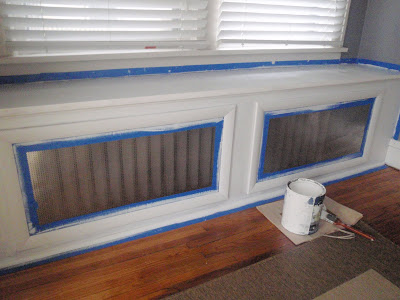
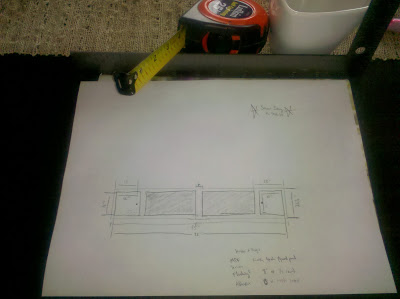
With all that craziness behind me, I had time to tinker and finish things up in the sunroom again!  The finishing touches included new wall decor, window treatments, light fixture, and repurposing/redecorating our DIY radiator cover/bench.
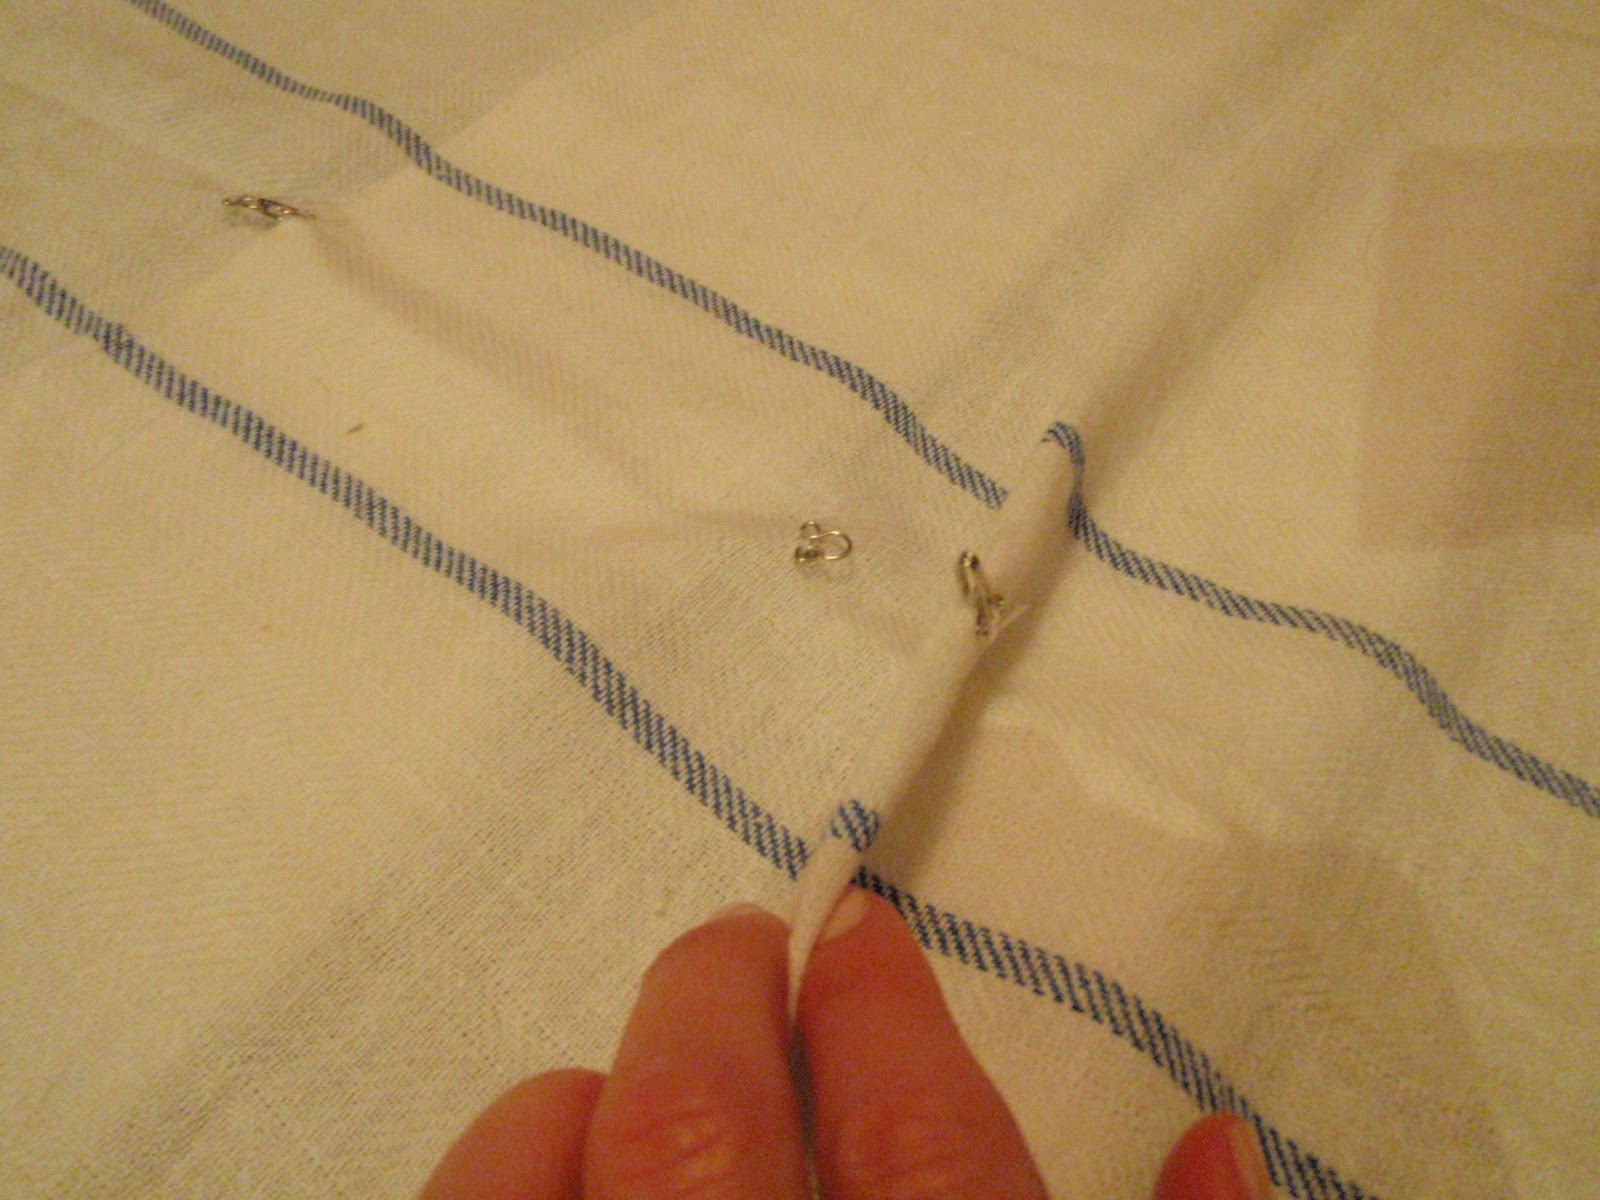
On a random Ikea trip I picked up the Marmorblad pair of curtains for $17.99 (not sure why I can't find them on Ikea's website, they are shown on page 264 if you have their 2014 catalog).  I thought the look fit nicely with the color and mood of the room and I liked the simple modern windowpane pattern.  
The light fixture was kind of a random experiment.  While at Ikea I found the $5 Hemma Cord Set and thought why not?  I was looking for something different than a floor lamp or table lamp when it came to lighting and so far I'm liking the change.  I might get a different shade for it, we'll see!

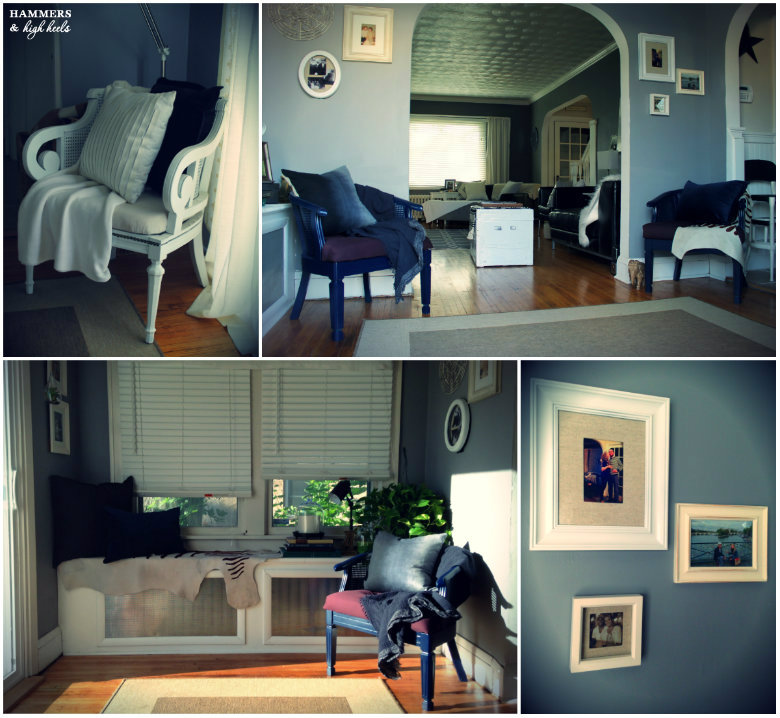
For the wall art I just shifted around some frames and mirrors I had in other places.  I used a mix of family photos and a few travel photos of Alex and I. 
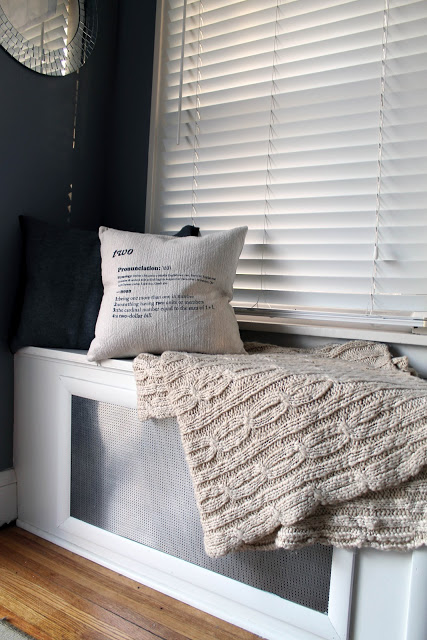
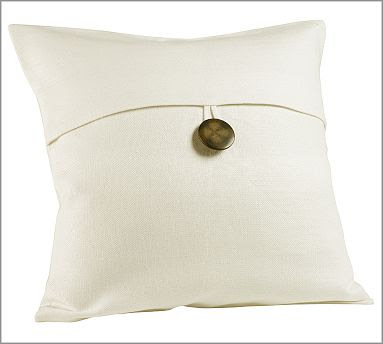
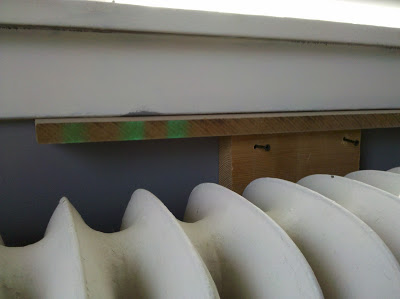
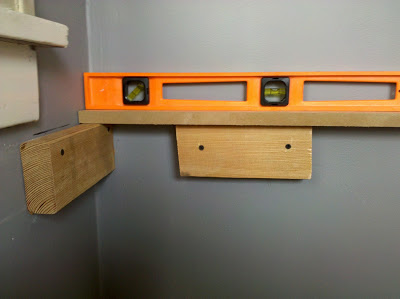
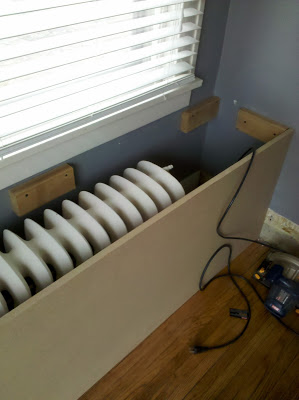
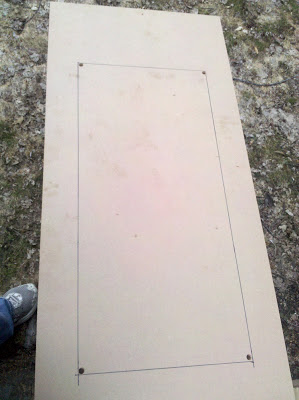
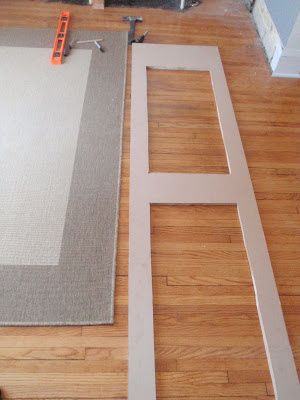
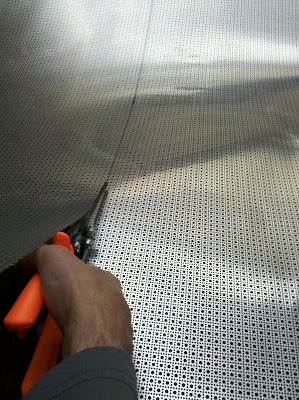
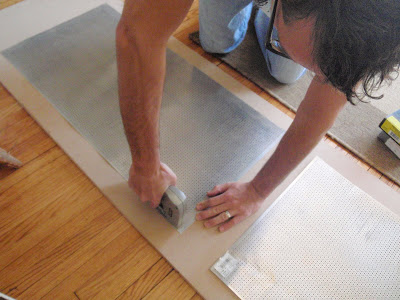
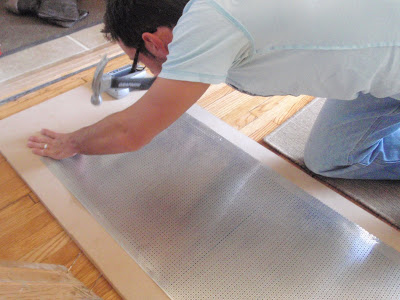
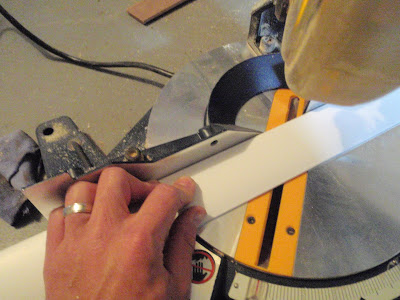
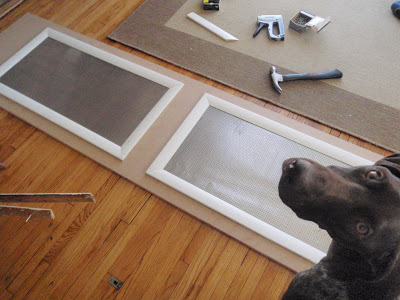
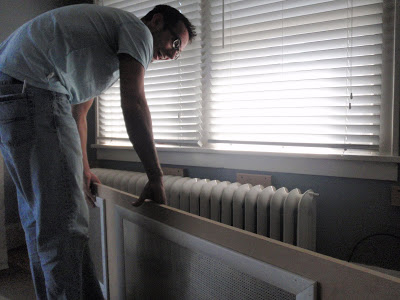
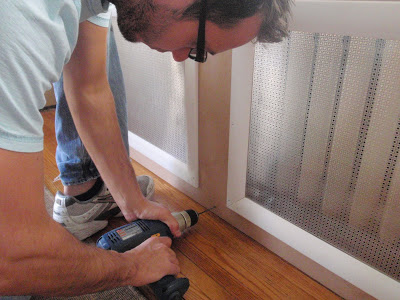
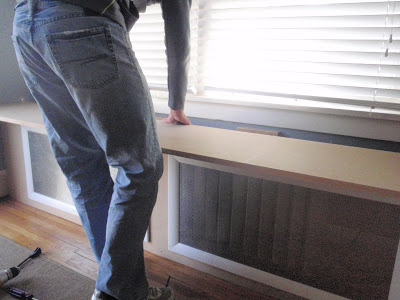
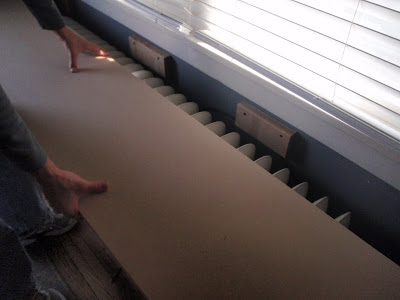
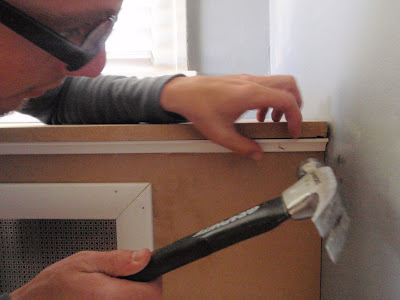
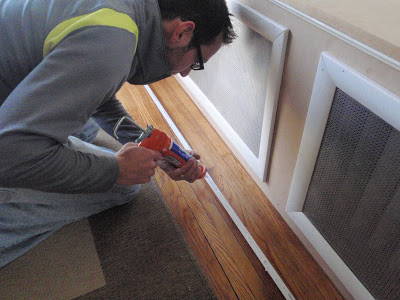
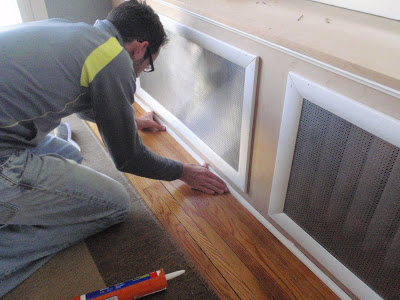
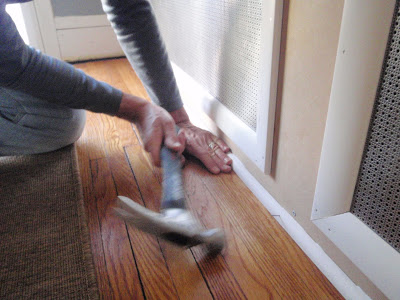
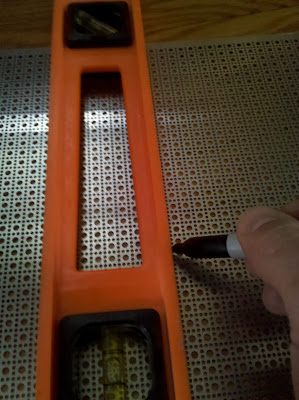
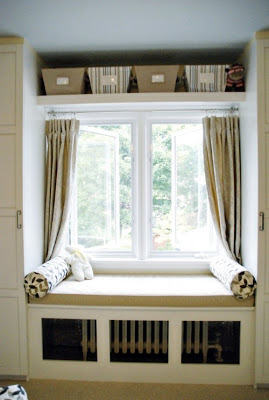
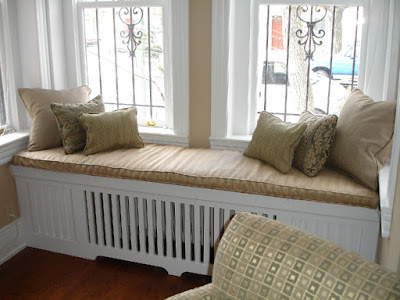
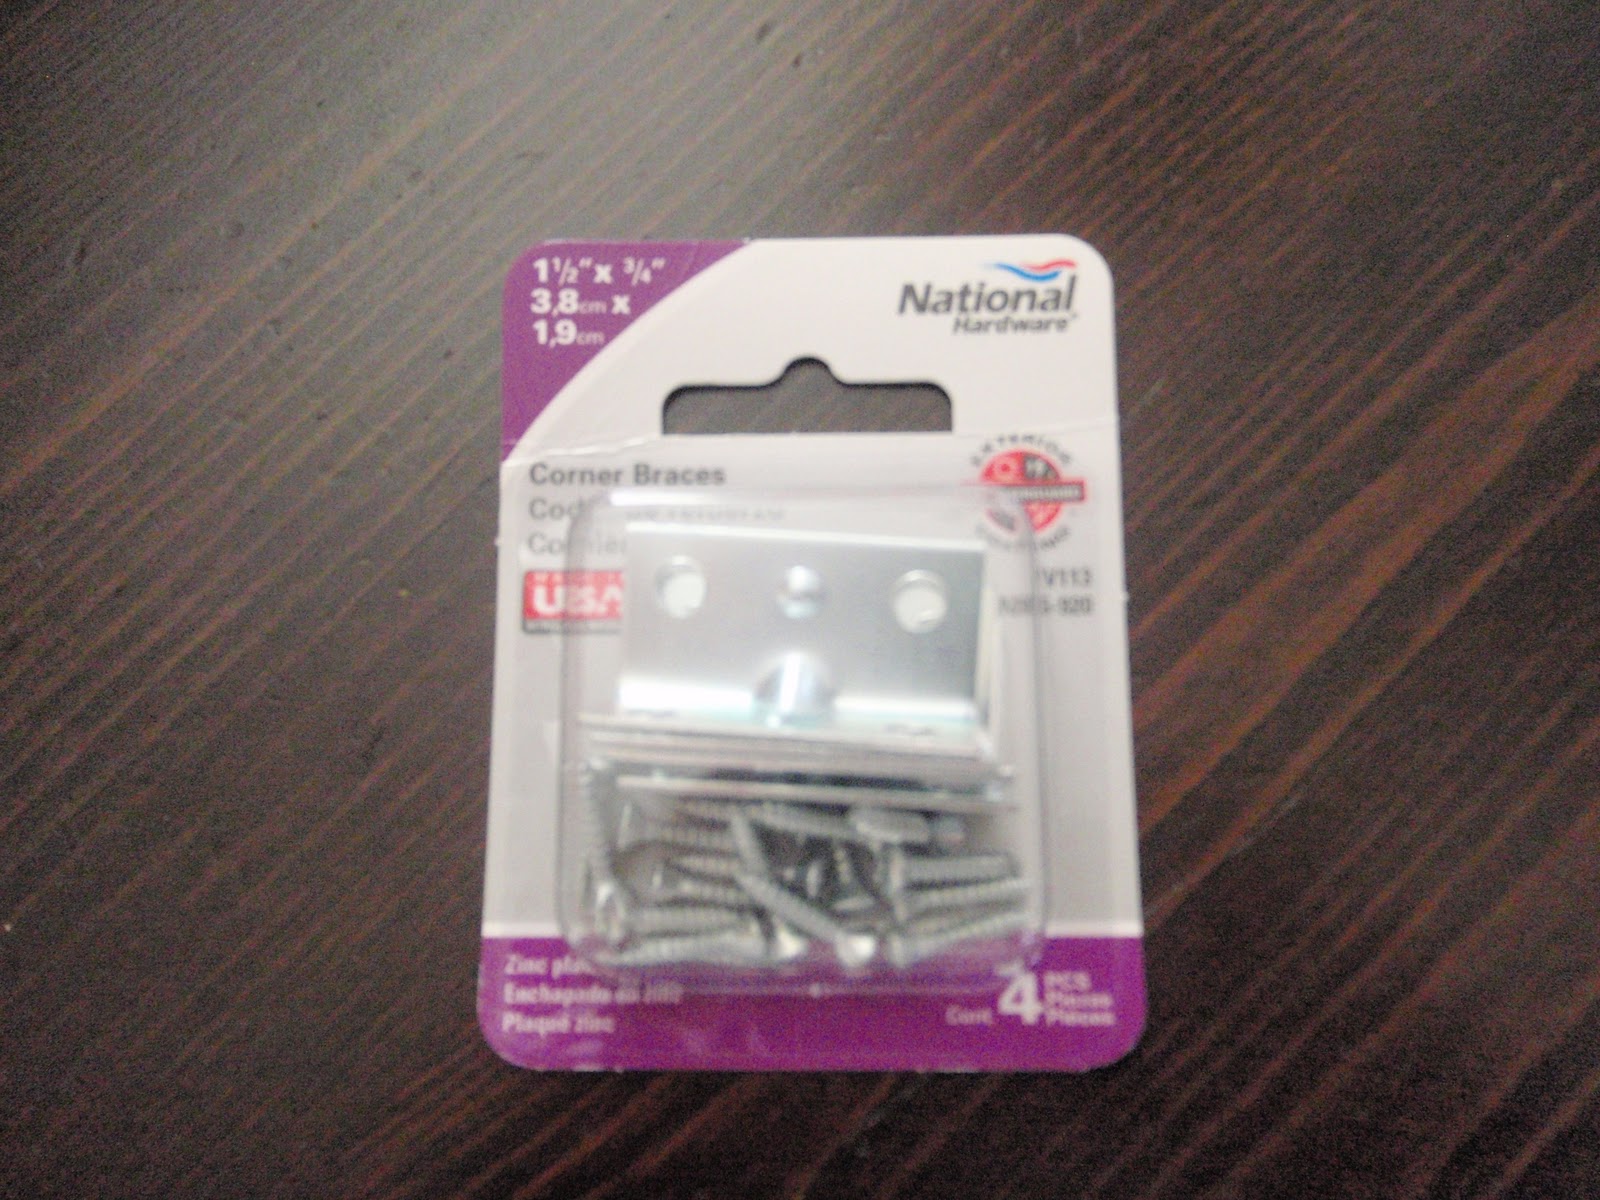
Over on our DIY radiator cover/bench (click here for the DIY tutorial if you are interested) I made the decision that it didn't make sense to have pillows on it because we never actually used it as a bench or sat on it really.  Instead, we mainly used it for storage and I kept my indoor plants there because the windows are south facing.  
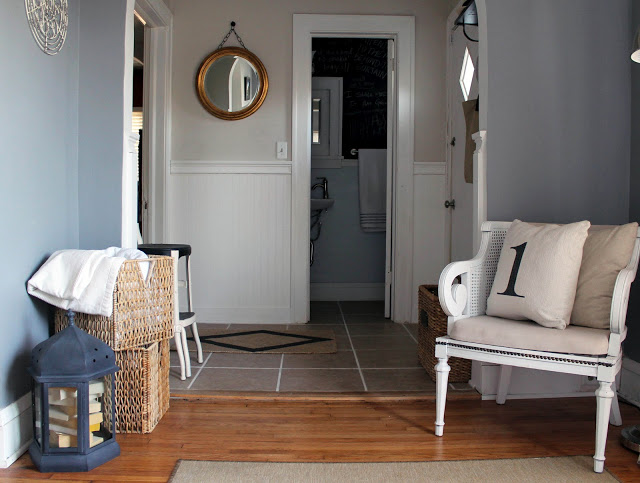
I also started keeping a basket of all the typical items I would bring outside at the end of the bench right by the door.  It came in handy a lot this summer, whether it was just me and the dogs sitting outside on the deck or if we had company over too.

That's the whole update in a nutshell!  I'd love to know what you think of the new look!

Do you like the updated look?

What are you favorite changes?

What else would you add or change in the Sunroom?

A Refreshed Look for the Sunroom

Kayd Roy4 Comments
As promised, here is an updated look at our Sunroom now that I've added my newly refinished chairs!  Naturally, with any updated look I always have to take a look back at where we really started (peach paint, ivory carpet, and all that blah)...
... in order to see where we ended up, and I'm loving this rich, crisp, colorful new look!

It's been a long road in this space going from peach walls to gray/blue, carpet to wood floors, radiator to covered bench seat (DIY tutorial here), and then decorating with some simple/vintage muted decor.

 Perhaps my colorful chair redo shows that we are shifting with our style a bit? 
 I know the look is bolder but I'm really digging it!  Although it's crazy to me, I know we've been in our house almost five years now and I think it is starting to get an eclectic look that reflects us, who we were, and who we are now as a couple.... 
Our rooms are filled with a more unique personalized touch instead of all the Ikea product we had when we got into our home and first apartment (no offense to Ikea, we LOVE Ikea, just happy that not every chair, photo, frame, and pillow are from there anymore!).

When it came to this room, who knew that refinishing some crappy old chairs, adding cowhide, a rich colored pillow or throw, and framed photos of happy memories of us and our family members would be the perfect mix of what we needed in our old (and sometimes also *crappy old*) house to make it feel perfect... or just perfectly like us :)


Anyone else know what I mean about a home starting to reflect you and the life you've been living?  How has your home and home decor shaped up?
What do you think of our Sunroom space look since adding the new chairs?
Do you like the color or do you like it more muted?

Lots of change and summer fun updates from us coming soon! Hope you'll be back to hear!

An Updated Look at Our Sunroom

Kayd Roy2 Comments
Back in our back entryway update post, I shared a little glimpse of our sunroom and it sounded like you wanted to see more!  I realized that the room looks much different than the last time I talked about it (and I even moved stuff around since the entryway post) so I took some new pictures to share!  Let's pop in for a look...
 Can you believe it used to look like this??? BLAH!
 The room started to take shape when Alex built a cover for the radiator (click here for that full tutorial- it is LONG).
 The radiator cover not only gave the room a formal touch but it allowed us to create this cute little reading nook!  It ended up being the perfect purpose for the room as it sits between the back entry and our living room. 
 In the beginning we only kept pillows along the radiator cover but it has ended up being more useful if dually used as a tabletop- Which also allowed me to bring my DIY chair pair chair together in the same room!  Along the cover next to the chair I added a reading light and a tray to keep books and magazines in. 
 PS- I will have a DIY post about that tray tomorrow too!

Even with both chairs in the space it is still nice though to cozy up in the corner against the pillows!
Opposite to the radiator cover is the opening to our back entryway and "mini" chalkboard bathroom.
 Behind the other DIY chair is a larger floor reading lamp from Ikea. 
That about rounds out the space as it is now.  Last year we used this room to display our Christmas Tree so you might get another look at it during the holiday season!

Lastly, did you happen to see this little guy hiding on the floor?  It is a little wood carved elephant figural that Alex got years ago at Target when they had their Global Bazaar stuff.  I had to mention him because there's kind of a story that goes along....
 After we moved into our house, I thought little mister elephant was silly and wanted to get rid of it. Alex refused and sometime around there named him Milton.  Over the past couple years, I have dropped Milton on my foot, maybe more than once or twice, and I've definitely tripped/kicked him several times- which all resulted in some kind of pain and cursing, but Milton has grown on me.  Anyway, I had to share my love/hate relationship with Milton


Does anyone else have a "Milton" decor piece at home too? 


What did you think of our Sunroom decor?

I will be back with my Studded Tray DIY tomorrow!

Chair Update: The Icky Chair Gets A Fresh Start

Kayd Roy9 Comments
Although the chair isn't completely finished I wanted to post an update since I have quite a bit of work yet to do on this guy. As usual, this is taking a bit longer than I thought it would (wa-wa). 

Here is where we left off at in the last blog post about the Icky Chair I picked up for $10.  I finished up tearing off the upholstery and got the chair ready to prep for paint.
I then used medium grit sandpaper to lightly sand the wood so that the paint will adhere better.
Once that was done I got to spray painting!  I used Rust-oleum's Painter's Touch Ultra Cover in Heirloom White (the same color we used on that old stool). 
Spraying away!
Here is how it looks now with 2 coats of paint, so much better!  I think it is slowly getting a bit more glamorous.  I love how well it coordinates with our DIY radiator cover now that it is white.
Now, the challenge is going to be making a seat cushion and somehow filling the seat back.  I will need to get some supplies for that and find some cute fabric to finish the look. 

I wasn't completely sure what final look I wanted to go for so I checked back in my Jayson Home post for some inspiration.  I loved all of their vintage chairs! 

I thought this bench with white wood and darker linen fabric was lovely.
I also liked the look of these white armchairs with dark gray upholstery.

I'm going to head out to the fabric store and see if I can find something I like in one of those two looks.  I also plan on picking up some nailhead trim to attach onto the cushion for a more polished look.

I'll make sure the next update on this chair is the full 'after' look, sorry for another teaser post, but I just couldn't wait to share after I got it painted!

Also...
I'd like to ask, which look do you prefer for my chair redo?  The dark gray upholstery?  Or the darker linen fabric?  I'd love to hear your thoughts (or other ideas) in the comments! 

Linked up at Sarah's Linky Party

My (Icky) $10 Chair Needs A Redo

Kayd Roy7 Comments
Now that we have the radiator cover done and decorated, it is time to spruce up the rest of the Sunroom.  On a random trip to Bauer Brothers Architectural Salvage I found this chair buried in a dark scary corner of their warehouse.  I thought given the appropriate little 'face lift', it could be a cute little vintage chair!  So I haggled my way to a super deal at just $10! 

I love the shape of the chair, but really.....that was about it.
 
 The dark wood and the nasty old upholstery have to go! ICK!
First, I just threw away that cushion (it was bascially destroyed anyway).

Then I took some pliers and started to tear away the upholstery.
It wasn't as easy as I thought it would be.  There we sooooo many staples!
Then I discovered that the inner foam cushion had pretty much disinegrated into dust.  It was so gross!  I decided I needed to take this project outside.
I continued to pull off the upholstery and all the old batting.
Once I had removed the 'aged' cover, I had to go around the base (where I pulled out the fabric) and remove all the staples with needle nose pliers.  This part took a while (and made my fingers hurt)!
So here's where we are now.  When I first found it I thought the chair back was solid or had the metal springs.  So we are going to have to come up with something for the back and make a new base for the seat.  I am planning on painting it white so it matches the radiator cover and trim.
I hope I can find some pretty faric for the base and chairback. Wish me luck! 

To Be Continued...


 http://linda-coastalcharm.blogspot.com/

Radiator Cover Update: Visuals, Fabric and Those Sisal Coffee Sacks!

Kayd Roy3 Comments
I made all the pillows....ha, I wish, just kidding!  But isn't my little Photoshop magic visual fun?!?
After I made my 'Oops' floral pillows that just didn't look right, I took a trip back to back at my inspiration post.  I doing so, I realized that maybe I didn't need to go with a mix of different prints and patterns. All I wanted were a few basic yet stylish striped grain sack or linen like pillows and a couple with a little text or numbers.

So here is my new plan and all the goods I have ready to go to make it happen!

I found this cute set on Etsy and I knew I could make some like them because....
I also thought if I had some fabric paint I could make a pillow like this and write "Est. 2009" since that was the year we got our house and got married.  Love the sentimental stuff!
Swanky Cabbage
Also, I got my sisal coffee bags in the mail!  Yay!  Here is a look at the design and texture of the bags I received.
 They are pretty big measuring 20" x 30". To give you an idea here is a gratuitous Rocco photo illustrating how big the bags are compared to a small Shih Tzu.  My little 'Piggy' is so darn cute!
I'm thinking I could cut them down to make one oblong pillow or I could cut a small part of the stripe out and stitch it onto some softer fabric like on this pillow...
Yiayias
For overall color, I was thinking of doing a pale yellow stripe (as shown in the first photo), but now I am thinking gray might work better....
Or maybe a darker red?  Thought that might look nice with the coffee bag colors.  Or should I do a mix of both?
I have the sisal bags ($2.40 each), linen-like fabric (3 yards at $3.99/yd), foam brushes ($0.39 each), and fabric paint (3.79 for large bottle, $1.99 for small) ready to go!
I'll be measuring and cutting the fabric tonight and hopefully starting to paint them tomorrow.  If you have ideas or suggestions on color please let me know in the comments! 

Radiator Cover: Window Seat Decorating

Kayd Roy5 Comments
Now that we have a beautiful radiator cover (thanks to Alex's DIY skills!) that also doubles as a window seat, it's time I figure out how we are going to decorate it!  I have spent a little time searching for what I would like to decorate with.  It is also a little challenging because this room is open to our living room, so the styles need to coordinate/ compliment each other. Luckily, I guess my preferred style still hasn't changed all that much (surprise, surprise). 

*I still love... *
Flour sack type decorative pillows with printed text
Raised In Cotton
Neutral grays, blues, and light linen shades
House Beautiful
The crisp look of whites and grays mixed with natural sisal and burlap.
Interior Design Sense
*********
I also thought about Layla and Kevin's reading room redo over on The Lettered Cottage.  I love their mix of decorative pillows: solid textural white, printed burlap, printed stripes, and one fun embroidered pillow.   I think this might be a fun mix for our little window seat, although in greys and blues for our room of course!
The Lettered Cottage
 So, I'm hoping we can improve the look of our empty (although beautifully painted) radiator cover soon.

I started to do a little online shopping for the look I was going for.  Of course I found these beautiful Vintage Grain Sack Pillows at Pottery Barn that I just loved.  Although I did NOT love the $99.00 price tag.
Pottery Barn
That's when my friend Sarah informed me of an awesome online fabric store, oddly enough simply named Online Fabric Store.  They sell authentic used burlap sacks at really low prices!  I ended up ordering 4 of these printed sisal coffee bags for $2.40 each....
Online Fabric Store
And 3 of these burlap coffee bags also for $2.40 each

Online Fabric Store
It was a heck of a deal totaling $16.09!  I'm not going to use all of them on this project. I plan on making a couple pillows- depending on their condition- when I get them (which is in 5-7 business days). I'll be sure to let you know how they look once they arrive!  Hammers and High Fives for Sarah!  Awesome find!

  To coordinate with the burlap/ sisal pillows, I think I'll make a couple simple striped pillows like these.
Pottery Barn
Then add a couple simple white pillows like this one.  I think it would be really easy to make and I can pick out some cute buttons!
Pottery Barn
 Also(this part is for Alex), not sure if I will make a cushion for the bottom of the seat or buy one, but there will be a bottom cushion.
Alex was really worried about the cushion part of all this, silly boy!

So that's the plan!  I hope it works once I get all the materials together and my sewing machine going.  If you have any other ideas or suggestions let me know!

Radiator Cover Update: Painting Complete!

Kayd Roy6 Comments
I finished up painting the radiator cover today, hooray! If you'd like to take a look at how Alex built this cover, check our DIY radiator cover post.
So here is a 'before' look after I got the trusty blue painters tape in position.
Then of course an action shot... oooo... ahhhh!
Here is how it was looking after I got 2 coats finished.  I used Behr's Polar Bear paint from Home Depot.  Polar Bear is the shade of white we have on all of our trim and woodwork in the house. 
Now just for a look back, here is how the sunroom was looking before.
Here is how the room looking now with the radiator cover/ bench built and painted.

I can't wait to start the decorating now!  I plan to make a cushion and I'd like 2 pillows on each end.  Not sure if I will make them or buy them if I find something I like.  If you have any decor ideas let me know, I love suggestions!
---------
So where was Alex while I was painting 3 coats today???
Last night we went out to El Burrito Mercado in St. Paul for our friend Betsy's birthday dinner.  Alex found that the menu offered a burrito called 'Burro Gigante' that he just had to order.  The burrito was 2 feet long (as illustrated below). Boy was he geeked to see his odd looking dinner selection.
So anyway, my handy husband has been out riding his bike all day to burn off some of those 10,000 calories he consumed (that he is now regretting).  If you are wondering, he managed to consumed all except about 4 inches of that burrito before he called it quits.  In the case of Alex versus the giant burrito, the burrito won.

DIY Steps To Build Your Own Radiator Cover

Kayd Roy17 Comments
What a day!  Alex finished up building our radiator cover/ bench (minus paint)! Hooray!!!
  Check out the inspiration and Alex's first steps in this post.  I'm really excited to share this DIY project because it is a great way to add something unique and useful to older homes with radiant heat. 

 Again, here is what the space looked like before, it was the perfect spot to build a radiator cover and make a nice window seat.
Here's a picture of Alex's design. Note the 2 shaded rectangles. This is where he will cut openings and place decorative sheet metal to allow heat to transfer into the room.
Just to warn you, this is a pretty long DIY post detailing how Alex built the cover.  Also, we haven't finished painting it so we don't have official 'afters' yet (sorry, it's already been a long day filled with lots of F-bombs courtesy of my hardworking hubby). But don't worry I'll get on that this week!
So let's get to it!

To start, Alex had to pull off the floorboard trim to make room for the cover since it would sit flush to the walls.
Check out the lovely exposed lathe and plaster from 1924.
Alex attached 2x4 sections to the main wall using a strip of MDF board as a height guide, in order to create a frame for the back and sides of the bench.
Here's a look at one of the back and side 2x4's drilled into their level places.
Then Alex measured and cut a section of MDF board for the front facing part of the cover. We spent just $25 for the large sheet of MDF board that we needed for this project.

Also- there are 4 total 2x4 braces to support weight in the back of the bench (you can see 2 of them here). There are additional 2 up front as well.
Once he had the front piece cut to size, it was time to cut out the openings where the decorative sheet metal would be placed.  We spent $30 on one 3x34' piece of sheet metal.
Alex measured where the openings would be to a slightly smaller dimension than the actual pieces of sheet metal. He then used a large drill bit to make pilot holes in the corners for the jigsaw.
Here's a look once he cut out both openings for the cover.
Next he had to cut and measure the decorative sheet metal pieces to fit the openings.
Once he had his guide lines drawn he used tin snips to cut the decorative sheet metal.
Alex used a staple gun to 'pin' the sheet metal in place.
Then used small nails to secure the sheet metal to the MDF board.
The next step was adding trim over the openings.  We spent roughly $10 on the few pieces of trim we needed.  Alex used his miter saw to cut the trim to frame over each opening.
Then he nailed the trim in place around the openings.
After cutting 8 pieces of trim and framing them to the front of the bench/cover here is how it looked!  Awesome right?!?  Sadie was sure excited about it!
Then it was time to install the front cover board.
Alex slid it snugly into place flush with each wall.
He then drilled a pilot hole that would be used to anchor in the front board to the 2x4 sections he had previously secured to the floor to frame in the bottom section.
Here he is slowly screwing in the front board to the 2x4 behind it (He lost his Phillips driver bit so he had to go about it the old fashioned way....)
Next we went outside to cut more MDF for the top part of the bench (sorry I missed the picture of this, but just measuring and sawing).
Then we plopped it on top!
Here is a closer look as Alex slides it into place.
 The top sheet of MDF was then secured to the front and rear framing blocks using just 2 standard wood screws. This allows for access to the radiator should service be necessary and to bleed them in the fall.   
PS- we learned a lot about bleeding radiators through this project thanks to our blog friends- Hammers and High Fives for you guys!!! We're always learning here!
Alex then used a few nails to secure the cover trim to the front board. 
The last piece he had to add was a section of quarter-round at the bottom.  He measured and cut the trim, then used the PowerGrab to secure it in place.
 Yay! Sticking in that last trim section!
 Then he battened the hatches with a couple more finishing nails.
 Drumroll....
Here is the final product (sans paint) after building!  Total price on this DIY project $65.
I'm so excited, it looks beautiful in place, like it was already meant to be there.
I will get moving on painting this bad boy, and can't wait to break out my blue painters tape!  Then I get to buy and/or make some decorative pillows and cushions for this bench!  Yes! More DIY projects ahead!

Hope everyone had a great weekend, it was pretty cold here in MN (even snow)! But we made the best of it and got a lot done! Hope to see you tomorrow for an inspiring post about decor, you won't believe all the ideas!

*Update 4/23/11: The Radiator Cover is now painted, check it out here!

The Lettered Cottage

The 'Hottest' Seat in the House: Alex Designs a Radiator Cover and Bench!

Kayd Roy9 Comments
While I was away in Chicago and Grand Rapids, Alex got to work on a new surprise project!  I was soooo excited when I saw what he was working on when I got home!

We have a small room on the backside of our house that is adjacent to the living room. In this room sits a long radiator that is sandwiched between 2 walls.  Take a look...
 We always thought this would be a perfect spot to build a radiator cover/ sitting bench.  Here are a couple images to get an idea of what we are talking about...
Houzz
Isn't it an awesome way to add nice window seating and reclaim what would have been unuseable space!?!  It also means that I get to make some new cushions and pillows to style up this little space! Yes!!!!
PLS Custom Design
 So, here is a picture Alex took of his game plan for the DIY radiator cover/ bench.
We have all the supplies and Alex has been working away for a few days on the cover.  For now this is a little preview of where he is at, but we will have more detailed DIY post to come once we get finished up!
Just for fun, here is a shot of Alex's worker buddy (aka a gratuitous Rocco photo).

Working hard? Hardly working?  You be the judge :)
I'll continue to take photos along the way while Alex and Rocco work and the post should be up in a few days!
Happy Monday!

DIY Tiered Grain Sack Window Shade Tutorial

Kayd Roy8 Comments
Ready for the DIY Grain Sack window shade tutorial mentioned in our last post?  Let's get to it!

Now here are the supplies you need to get started:
1. Grain sacks or fabric
2. Wood trim to hold the shade (I used scrap wood in our basement...free!)
3. Staple gun
4. Scissors
5. Sewing thread
6. Sewing needle
7. Seam ripper
9. Measuring tape

It is likely you might already have most of these things in your house, so this is a cheap and easy project!  The only thing I bought were the two $6 vintage grain sacks from the antique store!
First, I measured and cut the piece of scrap wood trim to fit each window frame.
Alex did a quick cut on our saw for me.
Next, (and this is the LONGEST step if you are using real grain sacks) grab your seam ripper and open up the grain sack so it is no longer a functional sack but a flat piece of fabric. I couldn't believe how long this took, they really use industrial strength thread on those things!
Once I got done seam ripping, this is what our grain sack looked like laid out.  Aren't the stripes gorgeous!?!
I then had to do a little ironing to make sure the edges were flat and crisp.
Next, you will grab that staple gun and staple the fabric to your wood trim piece.  In this case Alex did it for me, I did one staple and got nervous I was going to mess up the fabric.
Here is what it looks like with the staples, fabric and wood.
I used a thinner piece of wood trim, so the staples did shoot through to the other side.  We used pliers and bent them down flat to the wood so they were no longer sticking out. 

Once you bend the staples down (sorry I don't have a picture of that, drat!) you will turn the wood trim downward so the fabric covers the staples... ready....
...and turn! 
Now is the fun part!  Creating the tiers!  Depending on the size of your fabric, you can do as many tiers as you want.  Our grain sack measured 36" so I only did 2 tiers.  Here is what it looked like from the back.
To be honest, I didn't use a mathematical formula for the placement of the tiers.  I just folded the fabric evenly 2 times. Sorry, I hate measuring!

To give you an idea of the size of the tiers on my 36" piece of fabric, I did 2 tiers that measured 4" when folded.  The top of the bottom tier should fold right up to the bottom fold of the top tier (see above photo on this description, I know that was confusing!).
Once you know the placement of your tiers, iron them to make crisp, clean folds.  This will also help them to lay nicely once they are hung.
Now the secret weapon!  Hook and Eyes!  This was my super simple idea for this DIY project.  I thought hmm... I already have a bunch of these in my sewing kit and they will hold nicely and be functional as well if I ever want to open the shade.  If I went out to the store to get them, I probably would have purchased larger ones just because they might be easier to use with the shade in the long run. So if you go out to get them, I would get ones that are a bit larger!
I did 3 across each tier, so if you do the same you will need 9 hook and eyes for each shade.  I did a simple tack down with my sewing needle.  Nothing too complicated so if you aren't a super savvy sewer this will still be easy.
Here is a look at one complete hook and eye on the bottom tier.
Then here are both tiers with hook and eyes sewn in place.
To illustrate the functionality here is a look when the hook and eye is unclasped.
The last step is adding these L brackets to the back of the wood trim piece and hanging to your window frame. 
 Yes!  We are done!  Again, here is a look at the completed product!  So simple and gorgeous!
Here is how it looks now with the Vintage Grain Sack Window Shades!  It added sooooo much personality!  I can't believe how great they turned out!
Our Guest Room definitely got a nice upgrade with these little $6 vintage grain sacks!  I can't wait for the next time we have company staying over, this room is just too sweet!  I can't wait to redo our Master Bedroom, I'm totally ready for that challenge!

*** We just added this to the Lettered Cottage's How-To's Day , the DIY Showoff Project Parade and Coastal Charm!  Link Up!***


DIY Club