Carla Like It Is

Guest Room Redo (s)

Guest Room: "Afters".... Take 4!

Kayd Roy21 Comments
This is sooooo long overdue, but our Guest Room is finally in one (beautiful) piece... finally!
The last time we ever mentioned our Guest Room was in this post, written before Thanksgiving last year.  I had promised to show the "newest version" of our Guest Room, post tornado repair. I was wayyyyy off on that timing... I know, bad blogger!  Since then I actually had most of the room set up and decorated but I kept thinking it wasn't complete or that it was missing something.  I finally realized that it won't ever be completely perfect, and by then I will most likely want to change up the whole room (for the 5th time).  Ha!

In case you aren't familiar with our Guest Room 'story', it has actually been changed up 4 times already in the past 3 years.  Let's quick take a look at versions 1, 2, and 3....

Guest Room Redo: Take 1,  Action!
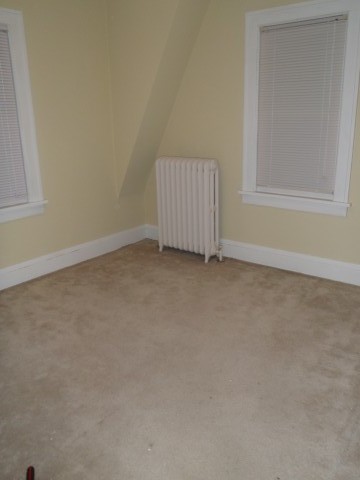
When we first moved in, the Guest Room was pale yellow with white carpet.  We promptly started this redo by removing the icky old carpet and adding a closet door where one didn't exist (just had a curtain hanging).
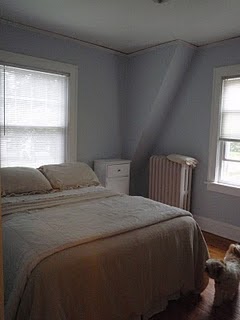
After that Alex sanded and refinished the wood flooring and we painted the room Behr's Cumberland Fog.  We fit a bed and a couple other pieces of furniture in there and called it good for the time being. 
At least our guests had a place to sleep right? But yes, nothing special about version #1 of our Guest Room.

Guest Room Redo: Take 2, Action!
Alex and I got super lucky when it came to version #2.  Layla and Kevin Palmer of The Lettered Cottage were in Minnesota and looking to redo a room for someone... and we were chosen!  Woo-hoo!
Beautiful right?  I loved all the vintage details and the way they set up everything we picked out while shopping.  The Guest Room certainly came along way with their help!

Guest Room Redo: Take 3, Action!
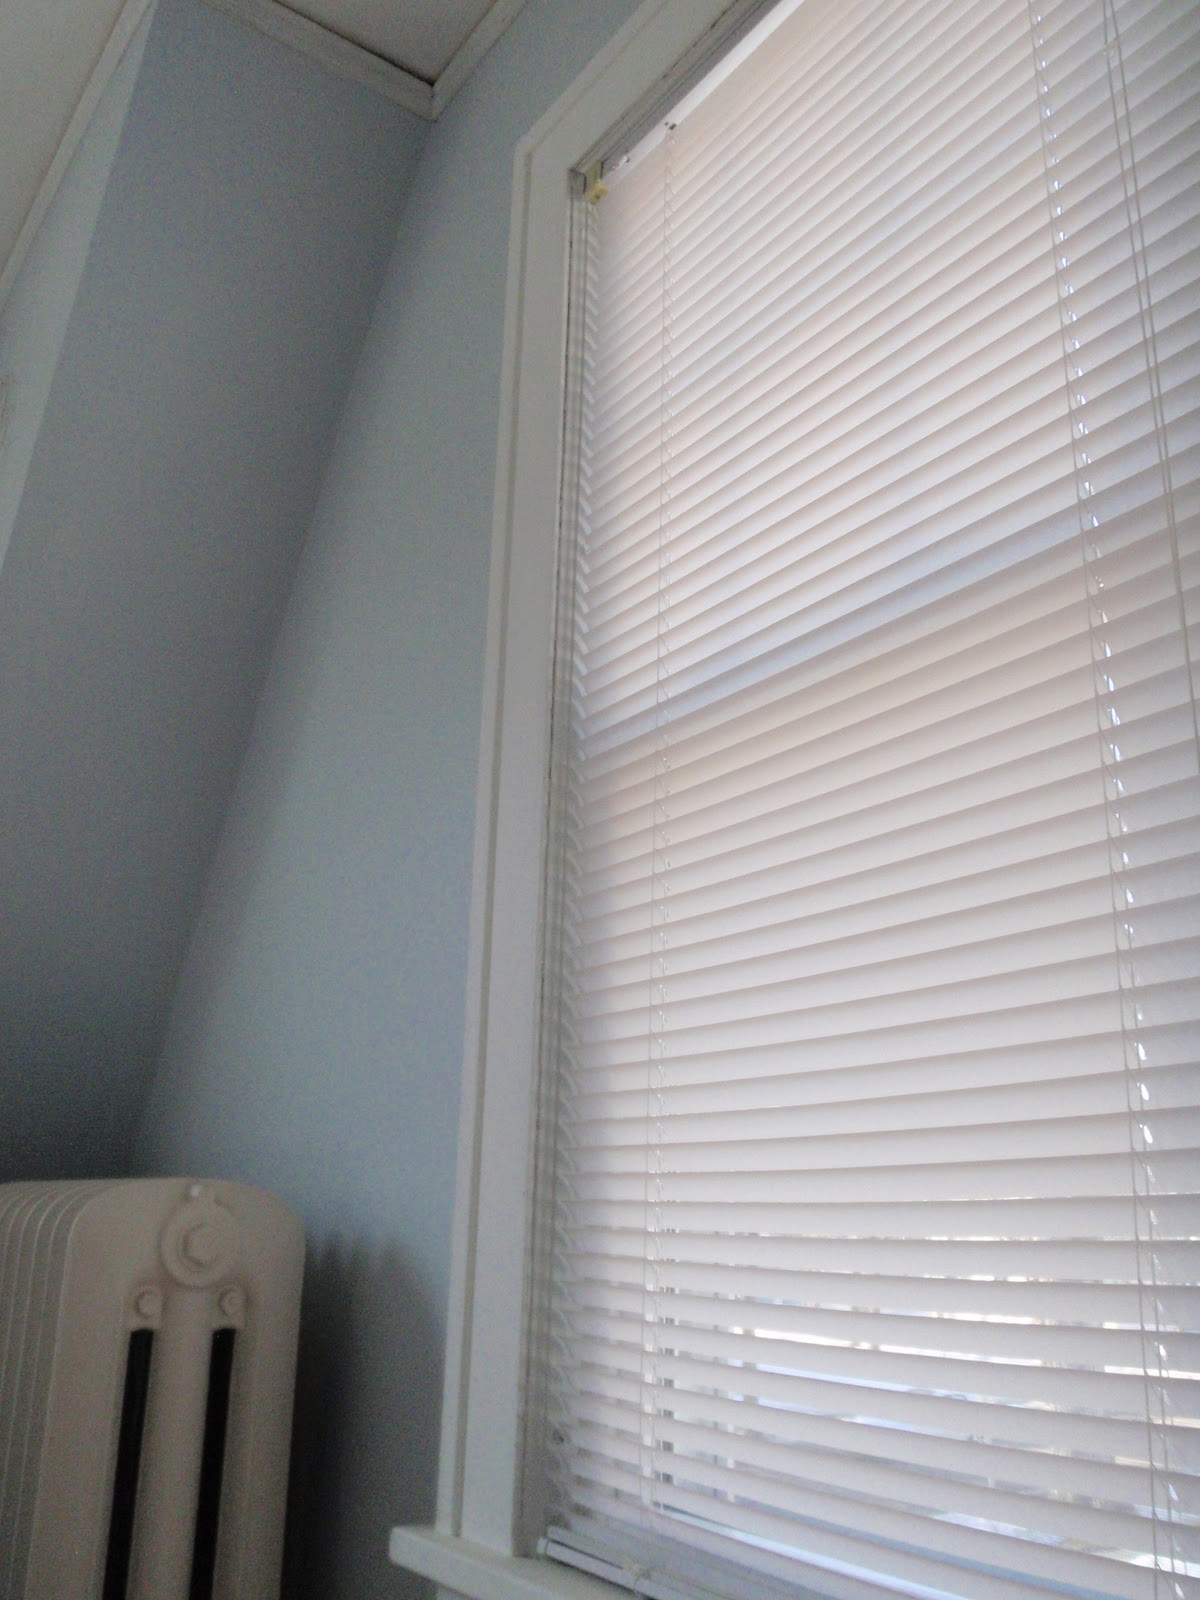
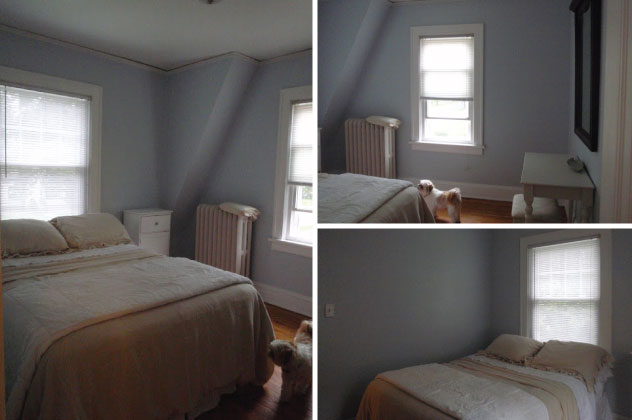
Version #3 of our Guest Room wasn't very different from what Layla and Kevin did because I loved it so much.  The only little changes were adding those DIY vintage grainsack window shades, a new textured white duvet cover, and I moved the vintage dressform into my dressing room/ sewing space. 

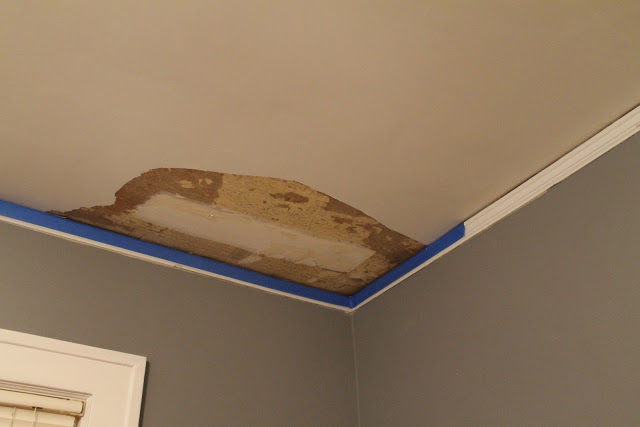
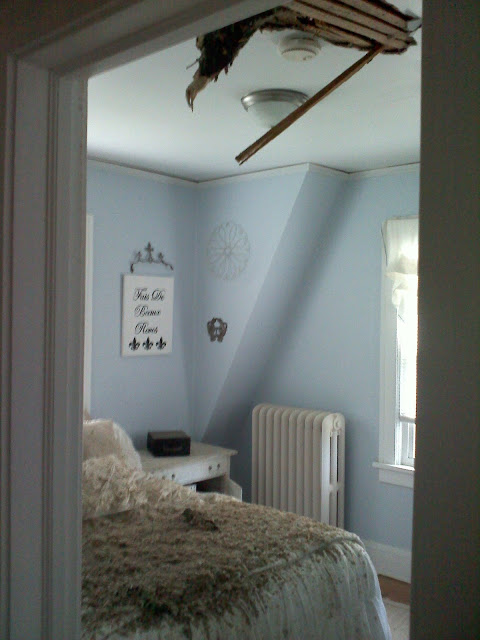
Then, our Guest Room along with our home, neighborhood, and neighbors experienced something totally unexpected that prompted our Redo #4- the May 22nd, 2011 "North Minneapolis" tornado...
  The neighborhood was a complete mess, yuck, I hate looking back at these photos!
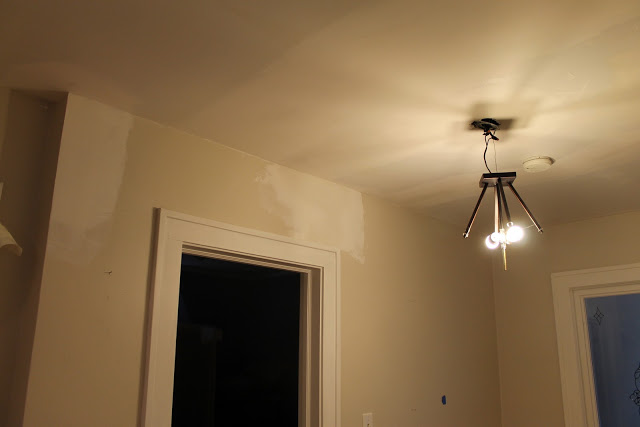
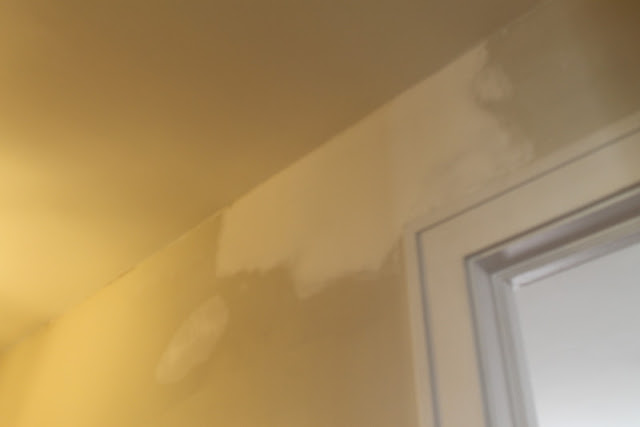
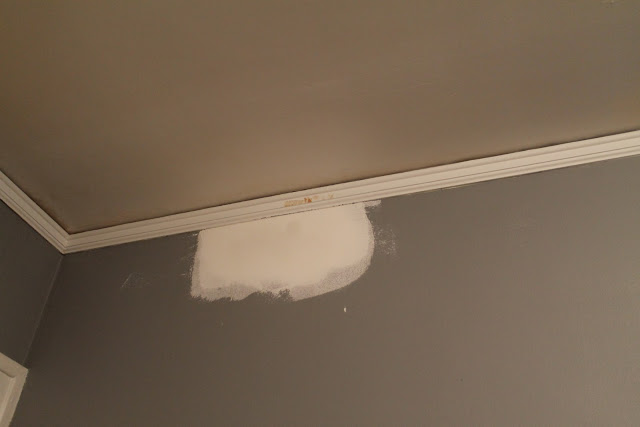
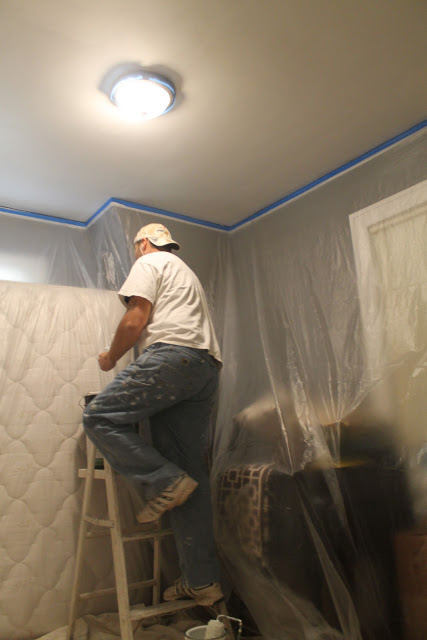
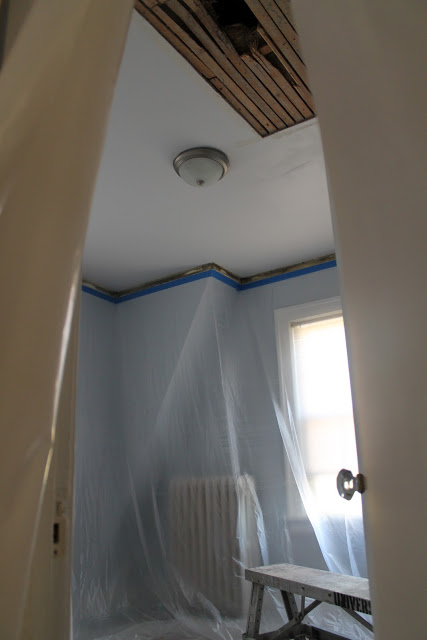
Luckily, we were safe and the worst of our damage was having part of our oak tree come through the attic and into our Guest Room...
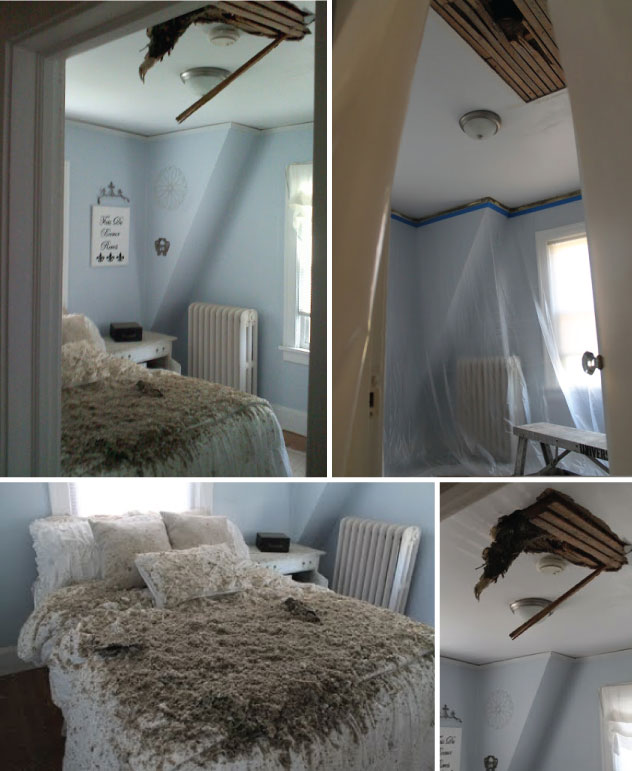
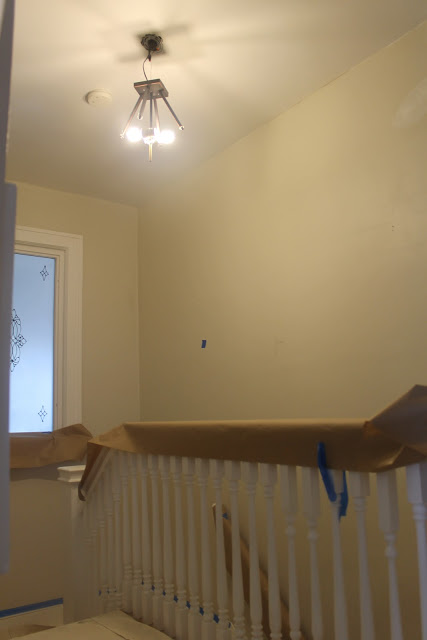
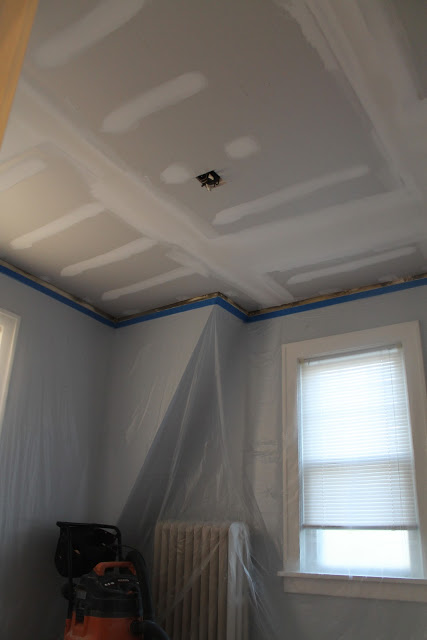
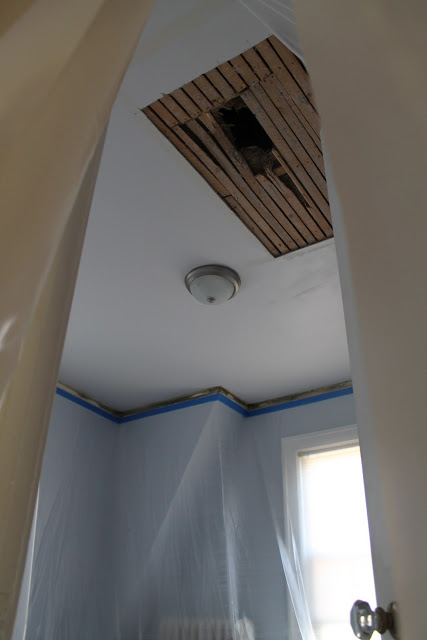
The whole repair and recovery process took until the end of the year, but thankfully all of this is behind us.  Which leads us to where the room is at today...

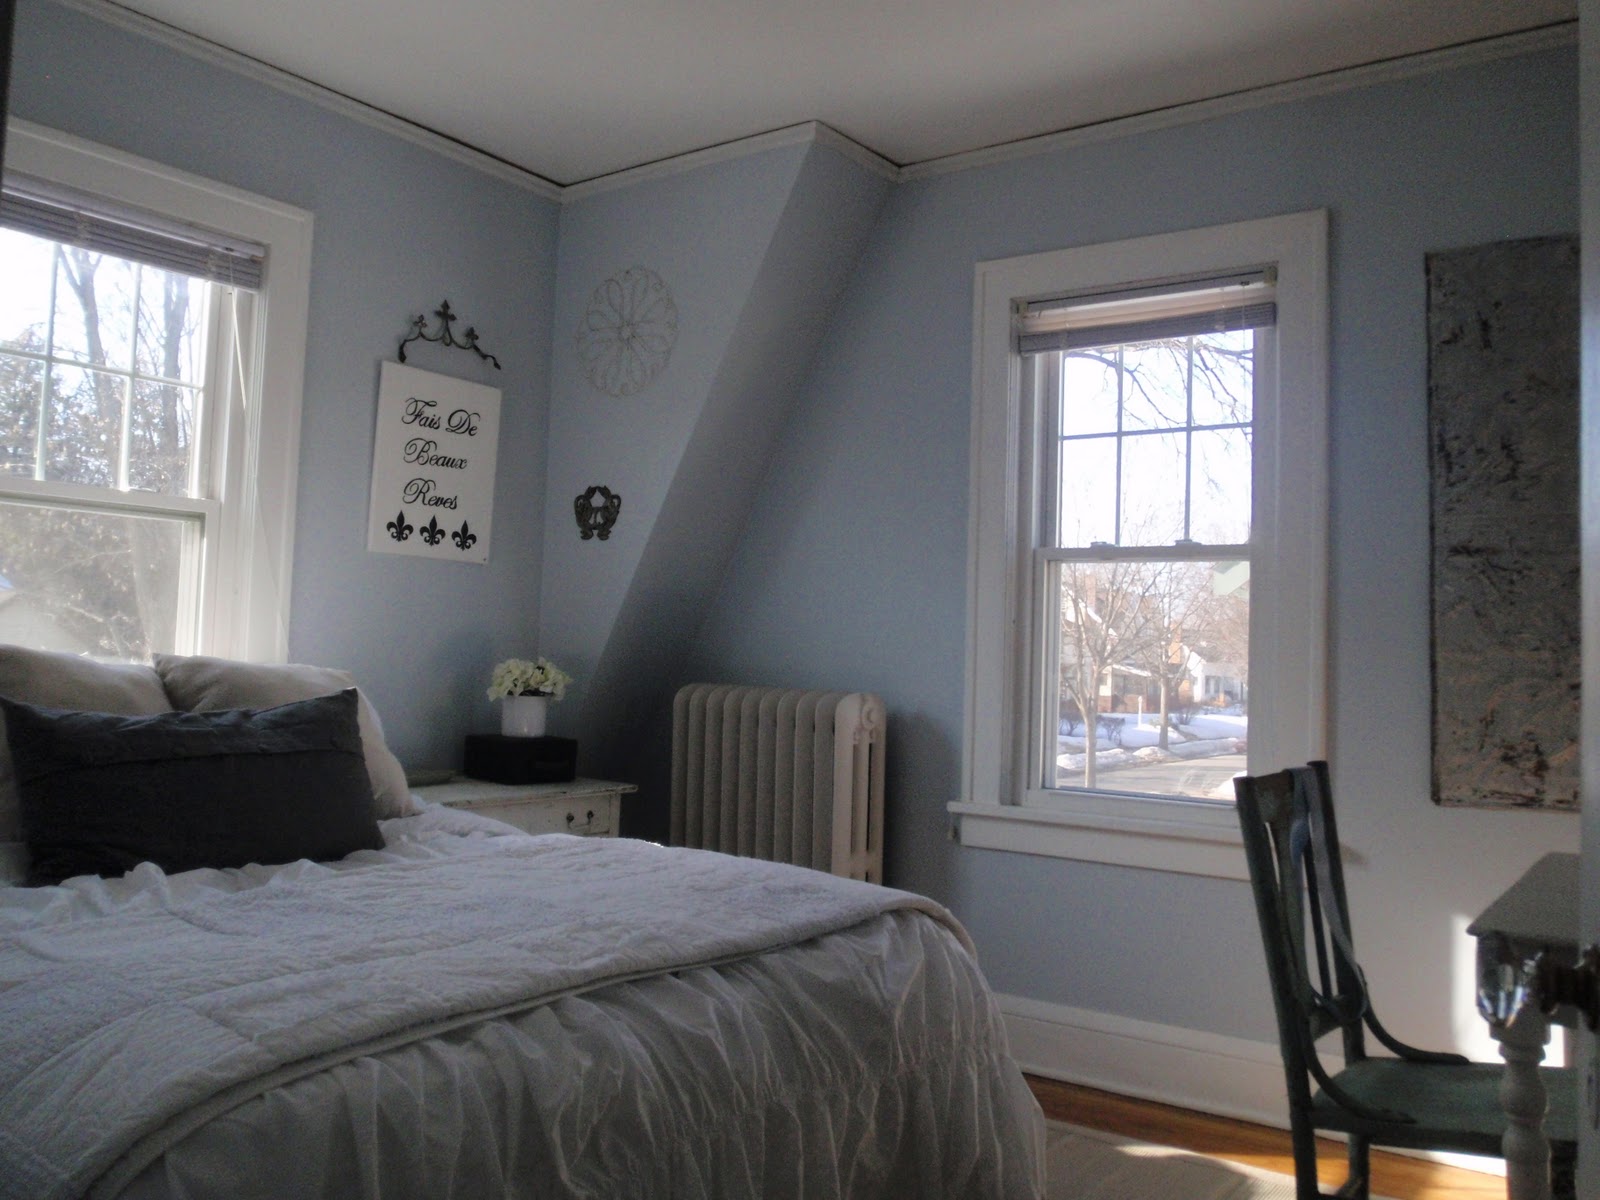
Guest Room Redo: Take 4, Action!
 Once the ceiling was all closed up we started putting the room back together.  Since we were starting from scratch we decided to change the way the furniture was set up and add a couple new items including these window sheers from Target and an antique mirror (that we removed some weird flowers from).
Hope you are ready for lots of photos now! 
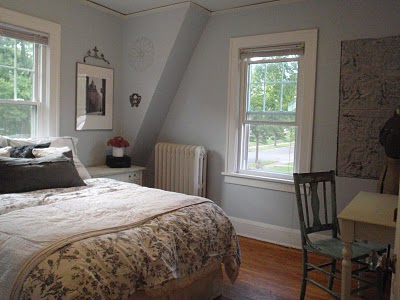
Here's a look at the whole room now (Shih Tzu not included).  I guess the room is a little more feminine and elegant than the previous version?
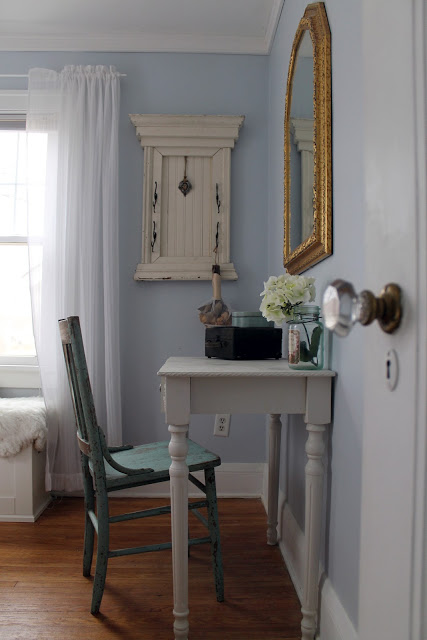
Our biggest layout change was moving the bed away from the window and against the longest wall.  I kept the same desk and chair but added in that new antique framed mirror.
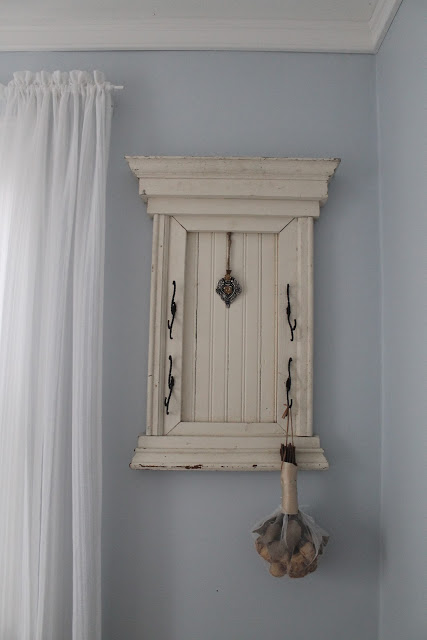
I got this vintage framed wall hook from the St. Paul flea market more than a year ago for $18.  Glad it finally has a home in the Guest Room, I just love it!  So unique!
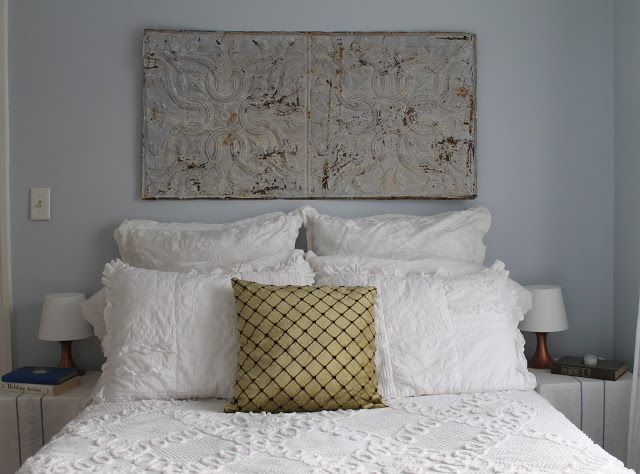
Our main reason for moving the bed against the longest wall was so we could hang that large vintage tin tile above the bed in place of a headboard.
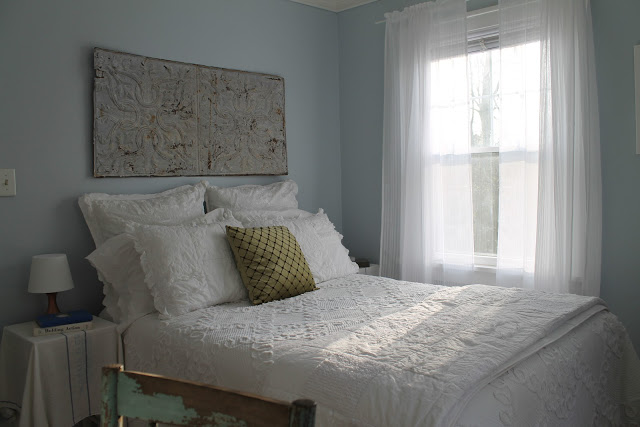
I still can't believe we scored that tile for only $20!  So perfect with our paint color.
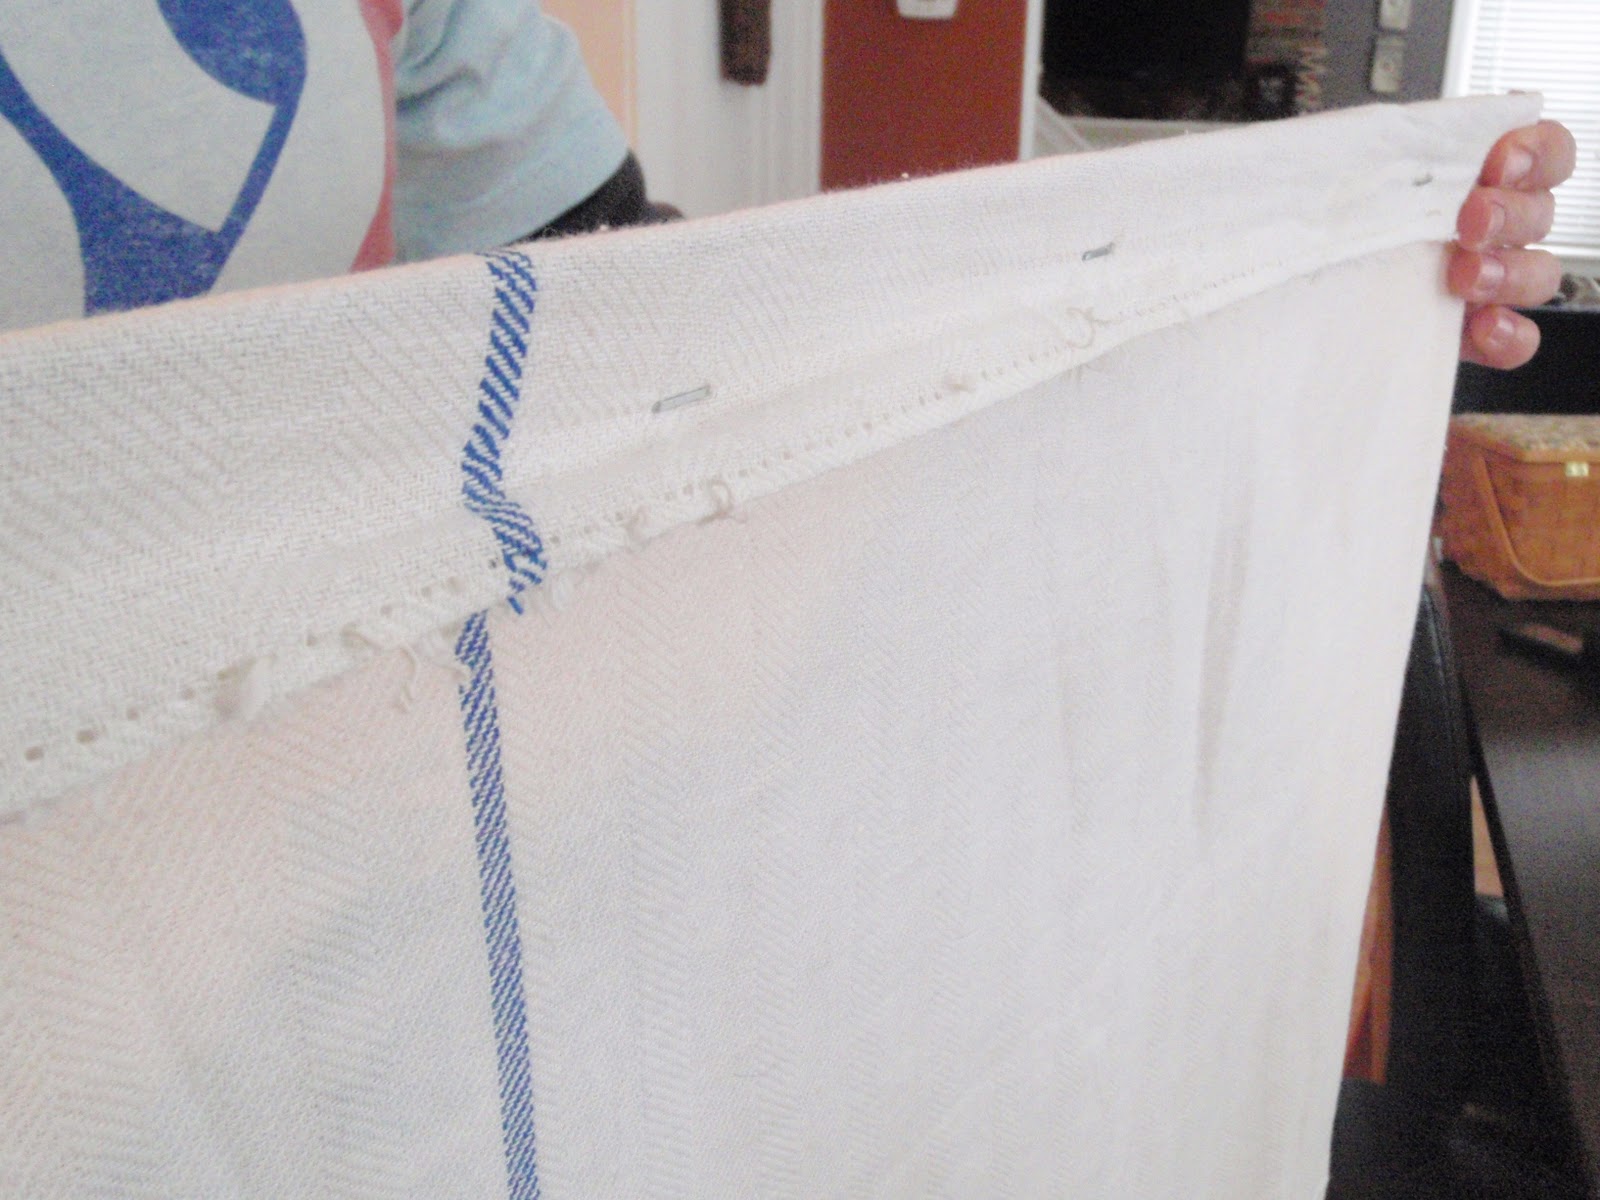
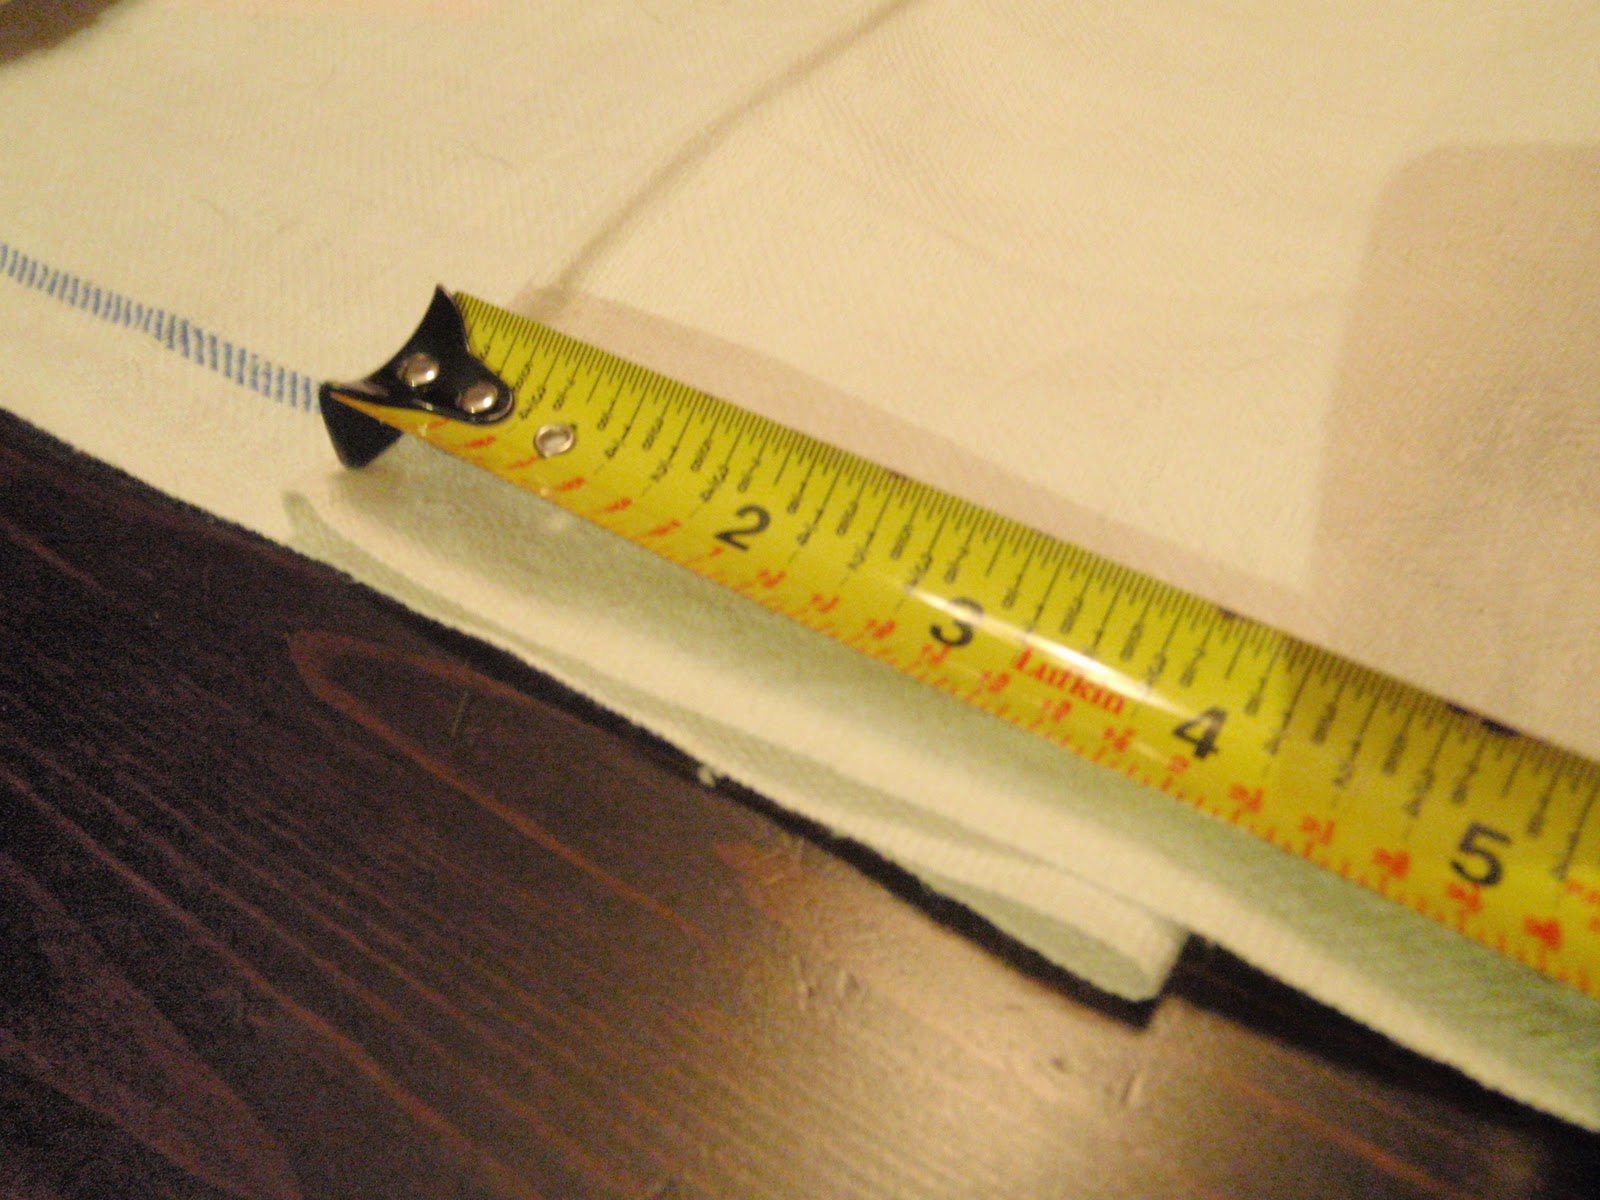
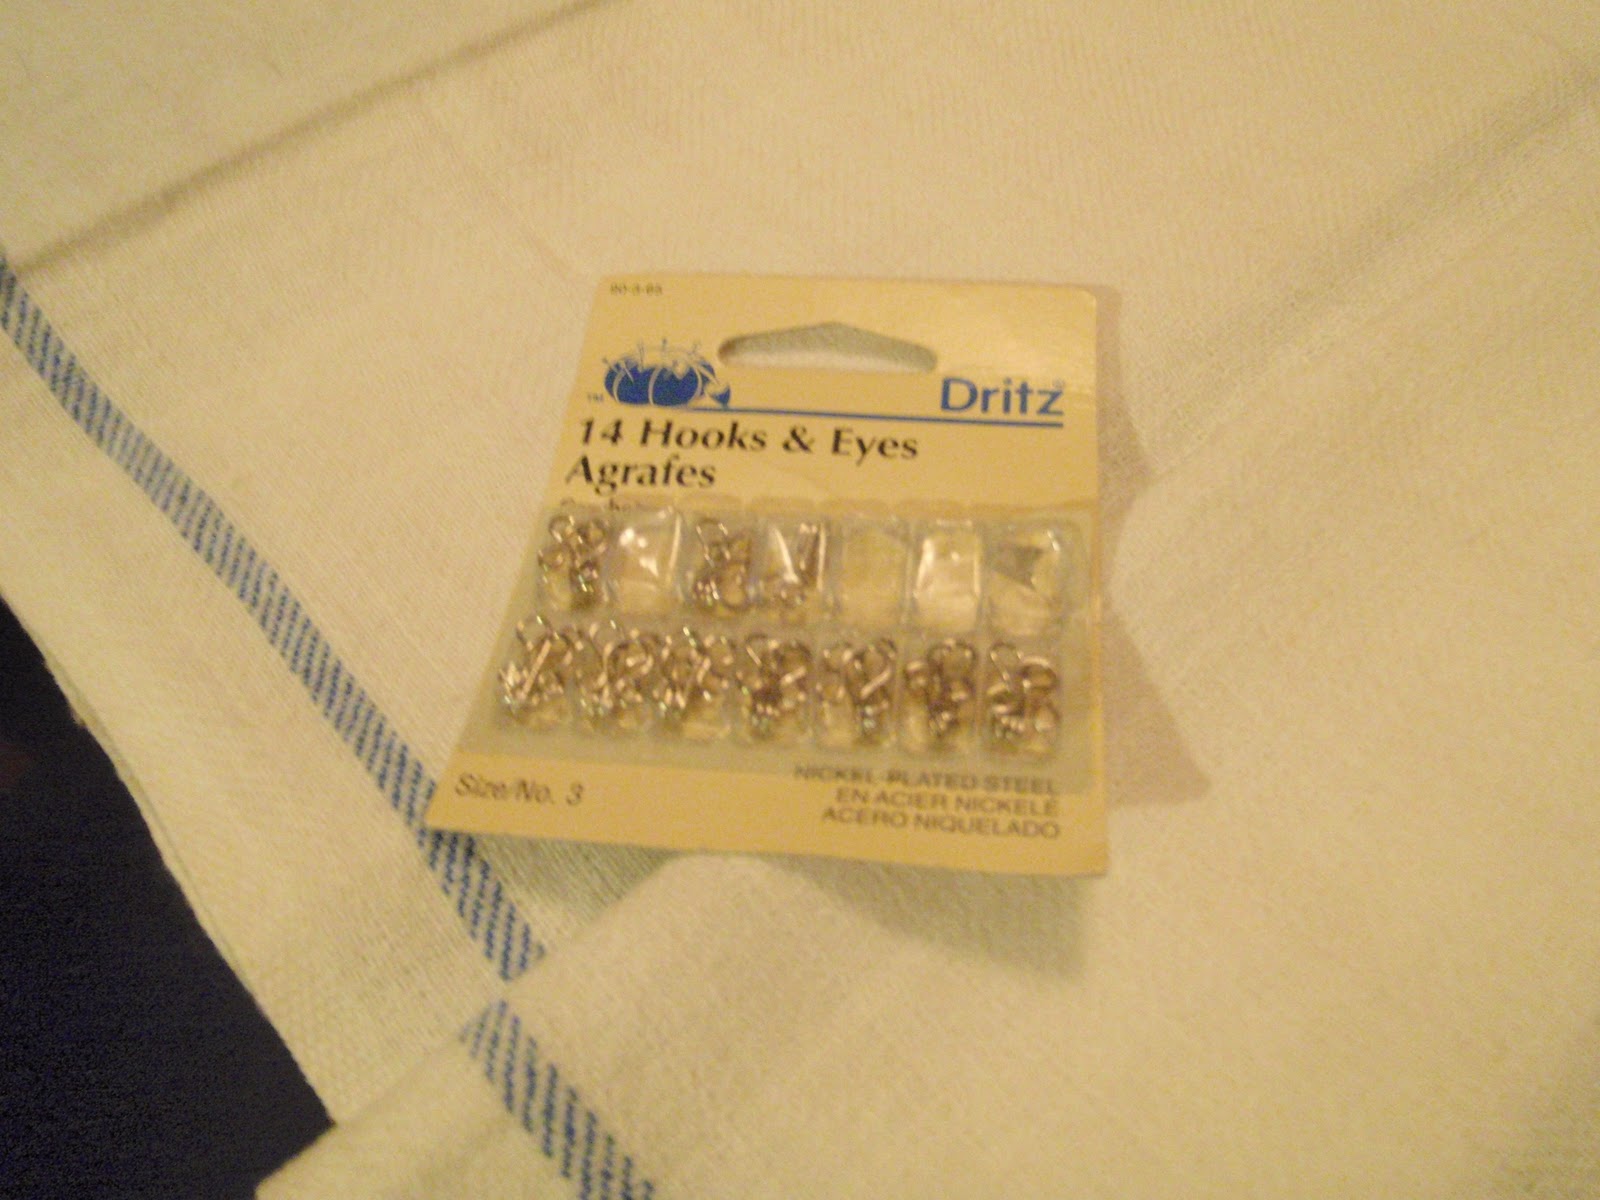
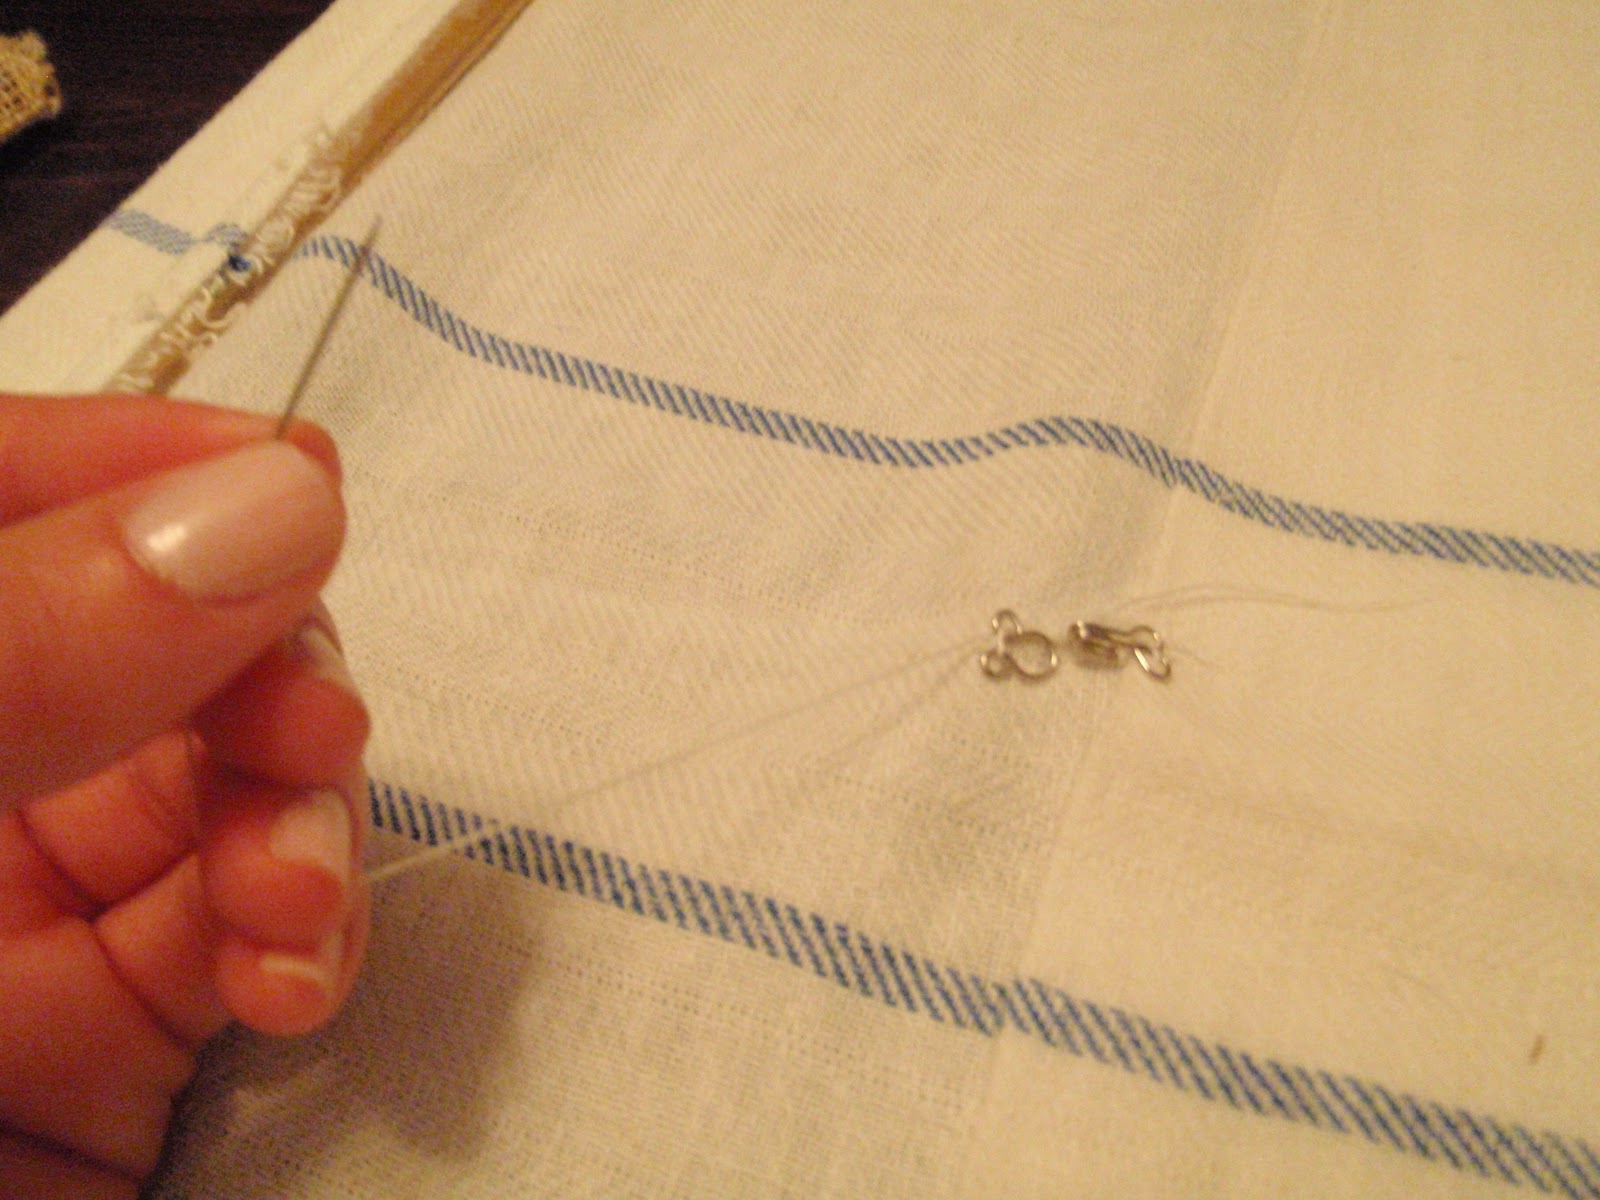
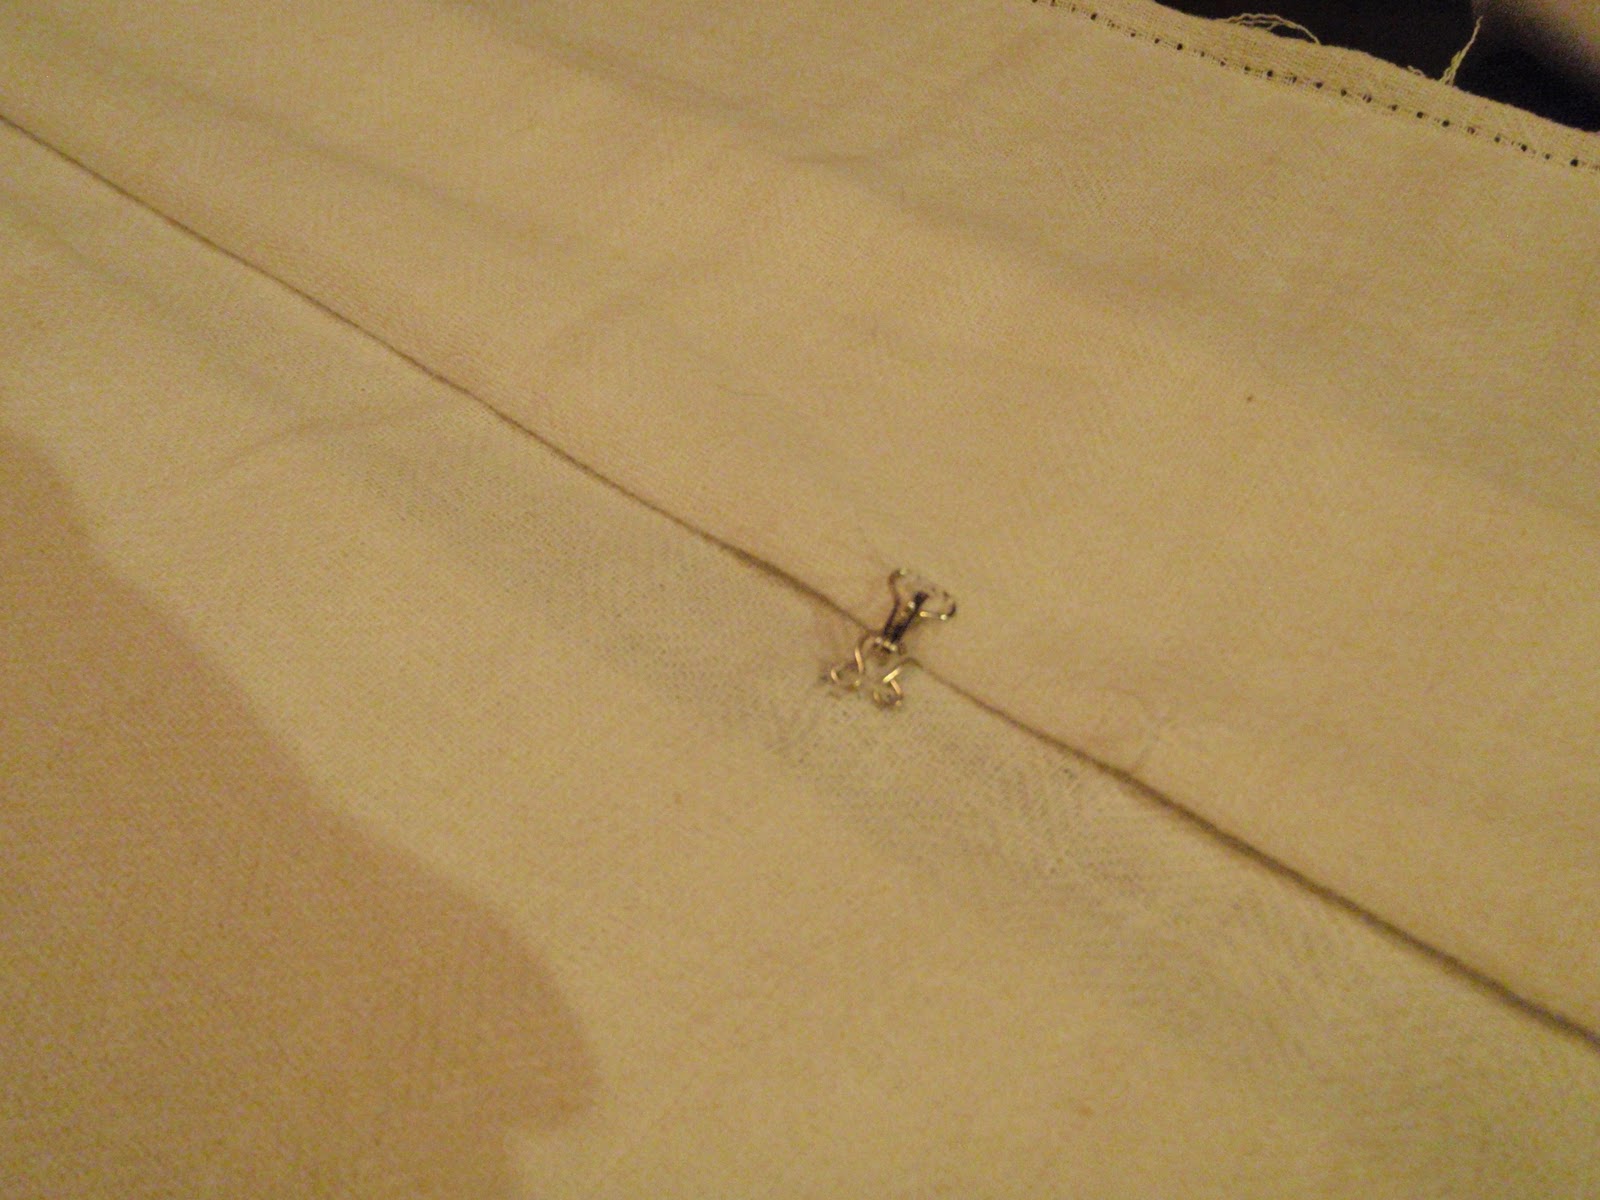
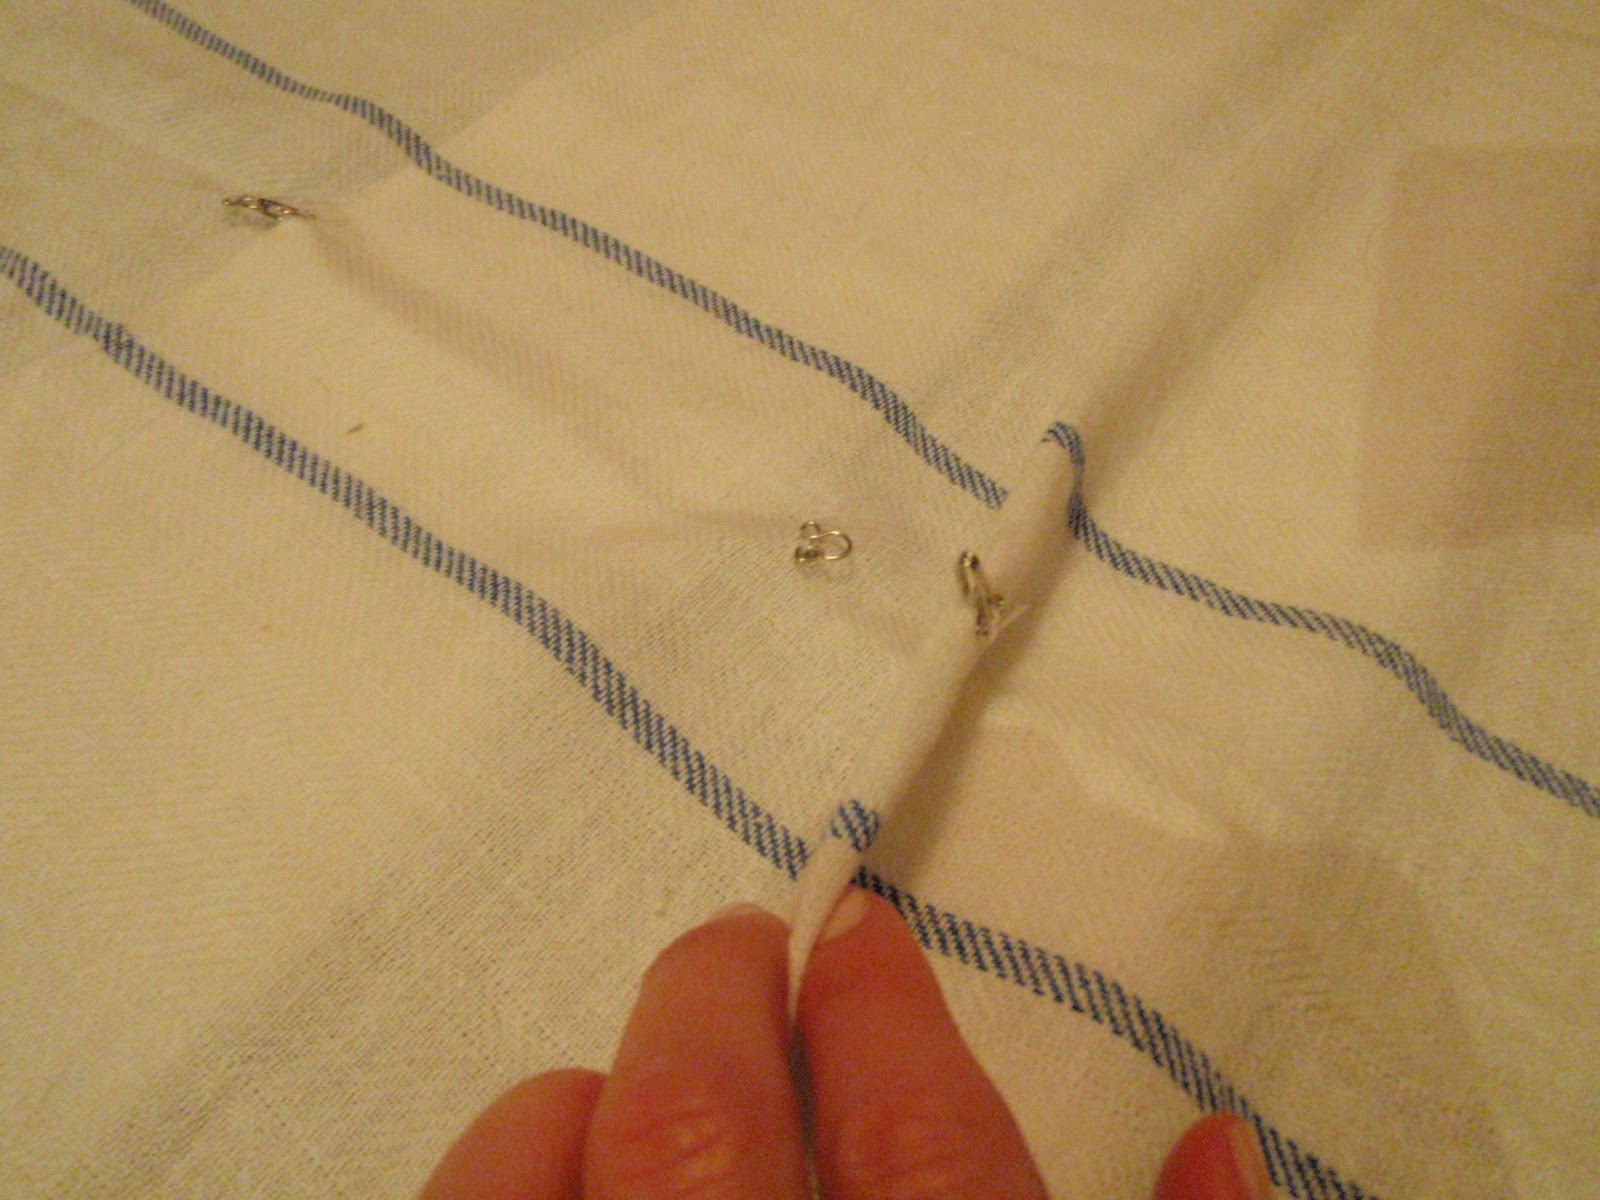
I used two old stools from Ikea that we had in our basement as the nightstands on each side.  I covered them with the vintage grainsacks that were formally used for the window shades.  Our fun little creation was drilling a large hole into these old hardcover books and placing a candle in the center. 
Now, I know Fire Marshal Bill wouldn't approve of the book/ candle combo, it's more for a fun little decorative accent :)

The bedding is a combination of Shabby Chic sheets & shams from Target along with....
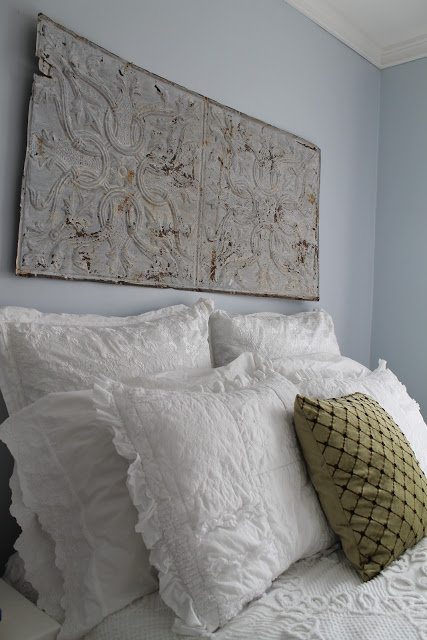
This chenille bedspread I picked up at a thrift store for $8.00!  My grandma had one just like it in a pink/ white color combination, I couldn't resist! After washing and bleaching it looked fresh and beautiful.  I love the pattern, texture and the little tassels around each side.
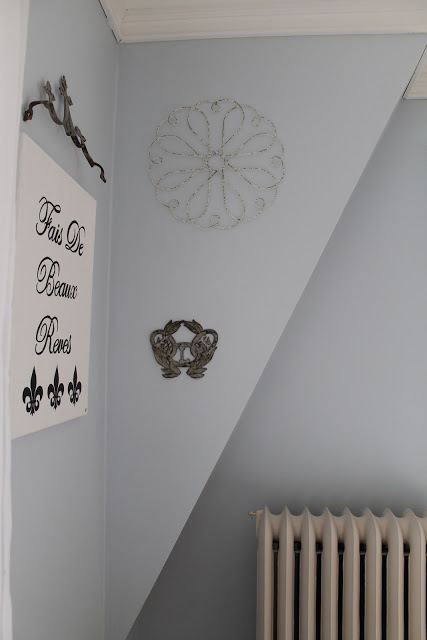
For the other wall art, I painted this little canvas that says "Sweet Dreams" and kept the widow's peak above it.
The metal wire charger and vintage grave marker also remained in their old spots.
Lastly,
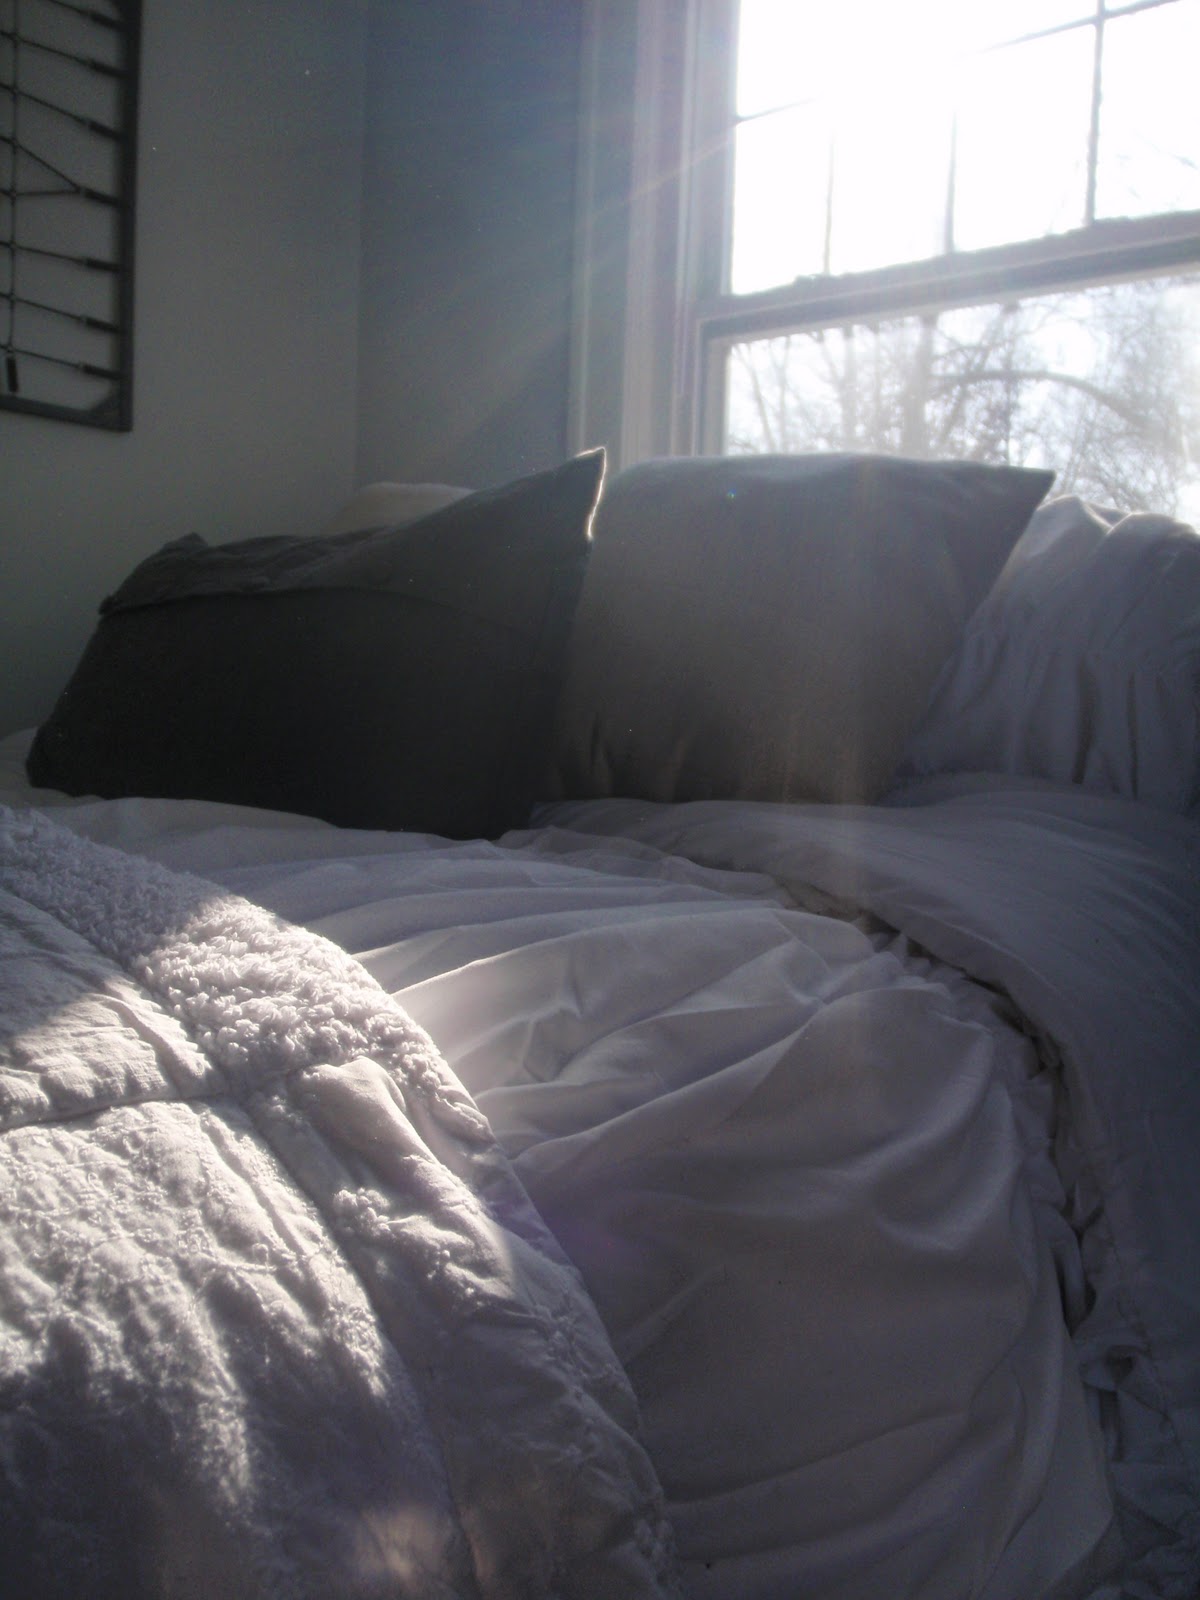
Did you notice a certain fluffy, curious little cutie-pie sneaking into my Guest Room pictures? Ever since I added that faux sheepskin throw to that window seat, Rocco has made it his little afternoon lounging spot.
  I was pretty shocked when he continued to sit there while I ran to grab the camera since he usually ruins cute photographic moments.  Thankfully, I got a bunch of cute photos of him and I love that he became an accessory for the room, haha!  He matches the color scheme and feel of the room pretty well, right?!?

So that's it! 
What did you think of Guest Room version #4?

My parents are coming for an Easter weekend visit soon, can't wait to get actual Guest feeback then!

********************************

Linking this post up!


Interior Repairs Update: All Patched Up & The Ceilings Are Painted

Kayd RoyComment
 A couple weeks ago I was able to share that the hole in our Guest Room finally got patched up. Even though that was a HUGE step, we still had some work left upstairs that needed to be taken care of by the contractor before we got the house back in our hands.  Their work included removing and patching up the water damage on the walls and ceilings in the Guest Room, Office, and Stairwell/Hallway as well as getting them repainted. I was really excited about the ceiling considering I have had to paint some of the ceilings before and it is NOT a fun job!

Here's a look in the Stairwell/Hallway.  The walls were scraped and patched where the water damage occurred.


Then, the painters got set up to get the ceilings repainted.

It's been a really echo-y space for five months :)

Over in the Office they did more patching.


Then covered the room up to paint the ceilings as well.

The plastic got all loud and crazy once they turned on the fans for drying.

Lastly, of course is the Guest Room...

Here is how it looked after the hole was patched.

And now with the ceilings finished and painted.  I could barely believe my eyes when I saw this, the room looked normal again. Now this is kind of silly but totally true: When the two paint guys brought me upstairs to look at the work I actually started to tear up/cry when I saw the Guest Room. It was totally bizarre and awkward, but it just felt like such a relief! Almost like the whole tornado thing never happened! I managed to hold back from full on sobbing as best as I could because the paint guys looked really uncomfortable. At least it made for a funny story when I got to tell Alex what happened!

So now the house is back in our hands!  Alex and I decided to take on painting the walls DIY style instead of the contractor to save on cost and so that we don't have to figure out more timing to schedule work (it has been a pain with our dogs).  In the Guest Room, we have decided to keep the Cumberland Fog paint color.  I really thought I wanted to update it to a dustier blue but when I saw the room looking normal again I totally changed my mind.  I think it is special the way it is now.

Alex finished up doing some touch up paint and we were able to move the furniture back into the room. Although we still need to install the crown molding, it felt great to get the furniture out of the other rooms and back into the Guest Room (the clutter has been driving me nuts!). 
Stay tuned for more progress in the Guest Room, we are going to have some fun changes in store!
Notice the layout looking different?!?!

*************

See you tomorrow for our last cheesy fun Halloween post!  Rocco and Sadie are excited to show you their costumes!

A Whole Ceiling In the Guest Room, Attic Insulation, and Our Giveaway Winner!

Kayd Roy2 Comments
In case you haven't heard...
 Well, five months later I am so, so, sooooo happy to finally annouce that we no longer have a hole in our Guest Room!  AT LAST!!!
Even better?  We have insulation put back in our attic too! I was beyond happy to see the guys from St. Croix Insulation again.
The last time we saw them was back in August when they came by to suck out all the old/ damaged insulation.  Once this beautiful Summer like weather departs and the cold comes back to town we can actually turn our heat on without watching it all shoot out the roof.

It feels so good knowing our house is getting closer to 'normal' and I can't wait to have all of the repairs finished up.  We are now waiting on painting for the interior and sanding/ refinishing our floors.  Means I really need to get going on picking my paint colors, eeek!

Now, onto our

Thank you to everyone that left a comment to enter! It felt a bit scary putting out our first giveaway, but I am happy we got responses!  I will have to do another one soon!

Alright, drumroll..... the Pawmetto Pet Treat winner is...

Carol from The Polka Dot Closet! Shoot me an email with your address and they will get shipped out right away!  I hope Martin and Billie enjoy their fun new treats from Pawmetto!
For those that didn't win, you can get 20% off an order using the code (blogpromo9).

That's a wrap!  Happy Monday everybody!

DIY Tiered Grain Sack Window Shade Tutorial

Kayd Roy8 Comments
Ready for the DIY Grain Sack window shade tutorial mentioned in our last post?  Let's get to it!

Now here are the supplies you need to get started:
1. Grain sacks or fabric
2. Wood trim to hold the shade (I used scrap wood in our basement...free!)
3. Staple gun
4. Scissors
5. Sewing thread
6. Sewing needle
7. Seam ripper
9. Measuring tape

It is likely you might already have most of these things in your house, so this is a cheap and easy project!  The only thing I bought were the two $6 vintage grain sacks from the antique store!
First, I measured and cut the piece of scrap wood trim to fit each window frame.
Alex did a quick cut on our saw for me.
Next, (and this is the LONGEST step if you are using real grain sacks) grab your seam ripper and open up the grain sack so it is no longer a functional sack but a flat piece of fabric. I couldn't believe how long this took, they really use industrial strength thread on those things!
Once I got done seam ripping, this is what our grain sack looked like laid out.  Aren't the stripes gorgeous!?!
I then had to do a little ironing to make sure the edges were flat and crisp.
Next, you will grab that staple gun and staple the fabric to your wood trim piece.  In this case Alex did it for me, I did one staple and got nervous I was going to mess up the fabric.
Here is what it looks like with the staples, fabric and wood.
I used a thinner piece of wood trim, so the staples did shoot through to the other side.  We used pliers and bent them down flat to the wood so they were no longer sticking out. 

Once you bend the staples down (sorry I don't have a picture of that, drat!) you will turn the wood trim downward so the fabric covers the staples... ready....
...and turn! 
Now is the fun part!  Creating the tiers!  Depending on the size of your fabric, you can do as many tiers as you want.  Our grain sack measured 36" so I only did 2 tiers.  Here is what it looked like from the back.
To be honest, I didn't use a mathematical formula for the placement of the tiers.  I just folded the fabric evenly 2 times. Sorry, I hate measuring!

To give you an idea of the size of the tiers on my 36" piece of fabric, I did 2 tiers that measured 4" when folded.  The top of the bottom tier should fold right up to the bottom fold of the top tier (see above photo on this description, I know that was confusing!).
Once you know the placement of your tiers, iron them to make crisp, clean folds.  This will also help them to lay nicely once they are hung.
Now the secret weapon!  Hook and Eyes!  This was my super simple idea for this DIY project.  I thought hmm... I already have a bunch of these in my sewing kit and they will hold nicely and be functional as well if I ever want to open the shade.  If I went out to the store to get them, I probably would have purchased larger ones just because they might be easier to use with the shade in the long run. So if you go out to get them, I would get ones that are a bit larger!
I did 3 across each tier, so if you do the same you will need 9 hook and eyes for each shade.  I did a simple tack down with my sewing needle.  Nothing too complicated so if you aren't a super savvy sewer this will still be easy.
Here is a look at one complete hook and eye on the bottom tier.
Then here are both tiers with hook and eyes sewn in place.
To illustrate the functionality here is a look when the hook and eye is unclasped.
The last step is adding these L brackets to the back of the wood trim piece and hanging to your window frame. 
 Yes!  We are done!  Again, here is a look at the completed product!  So simple and gorgeous!
Here is how it looks now with the Vintage Grain Sack Window Shades!  It added sooooo much personality!  I can't believe how great they turned out!
Our Guest Room definitely got a nice upgrade with these little $6 vintage grain sacks!  I can't wait for the next time we have company staying over, this room is just too sweet!  I can't wait to redo our Master Bedroom, I'm totally ready for that challenge!

*** We just added this to the Lettered Cottage's How-To's Day , the DIY Showoff Project Parade and Coastal Charm!  Link Up!***


DIY Club

An Update In Our Guest Room and Window Treatments

Kayd Roy11 Comments
Our guest room got a little bit of freshening up! Let's take a look at this lovely space once again as the sunshine beams in.
Do you know what we changed up?  The bedding! I am really excited to show it off!
To take a look back at the evolution of this room, here it is before we removed the carpet and painted the walls.
Here it is after Alex refinished the wood floors and painted the walls with Behr's Cumberland Fog.  It was better, but still just a little bland.
Then we got SUPER LUCKY when Kevin and Layla Palmer from the Lettered Cottage came and went junkin' with us and redid our room!  It was awesome!  Layla used the existing bedding we already had at the time and it looked totally perfect!
After a few months I had an itch to change the bedding to something that was just white and textured.  What do you think?  Still like the look? 
I left everything else the same way Layla had decorated it in September because, I still love it as is and we always get compliments on the room when we have guests over. 
Here is a closer look at the new bedding.  The duvet has a rouched texture and if you are curious it is the Home brand from Target.
The quilt is the same Shabby Chic Quilt I had in September.  Still in love with it!  I loved all the different textures on the patches of the quilt.  The pillow is a bolster from Ikea.
Here are the pillow shams that match the duvet and quilt.  Just dreamy!
Oh, I did make one other change.  I replaced the framed photo with this canvas painting I made that says 'Sweet Dreams' in French.
So what are we still missing in here?  Window treatments, ugh, I need window treatments everywhere I think and it isn't my strong suit picking them out.  When Layla and Kevin redid the room they wanted to pick out window treatments for us, but we didn't have enough time that day.
All we have in there are these ugly plastic blinds.  Ick! 
So, I'd love to hear any suggestions for what kind of window treatments we should get!  There is one challenge though.  Since this room is so small the bed only fits in there when it is butted up against the window.  So, long drapey curtains won't work.  All I can think of is bubble or tie up shades.  I would love any other ideas or suggestions!  Please sound off in the comments!

Thank you, thank you! Have a good weekend!

PS- Since I was out of town most of this week I will not be doing a Head Over Heels post.  I wanted to catch up on some house posts so stay tuned for next weeks, it will be awesome!