I am very excited to feature this awesome DIY project. Why? Because it was done by my amazing sister Holly and brother in-law Brian (and obviously because it is an awesome DIY project)! Check out their new DIY Built In cabinets and shelving surrounding their fieldstone fireplace!
Holly and Brian live in Michigan, so I heard by phone that Brian had been working on some built ins (it still kills me I can't see this stuff in person). Then just a couple of weeks ago she sent me a photo of the finished product... I was amazed! It was too good to not share on the ol' blog, especially when she told me that Brian had photographed his progress! Hammers and High Fives to Brian for the sleek and stellar DIY spirit (I'm sure they're going to think I am an idiot for that one, tee-hee)!
Here is a picture of Alex, myself, Brian and Holly from their 4th of July visit to Minneapolis. Funny story, we all dressed for the red, white and blue theme, and Brian wore a shirt that said Germany :)
 |
| Fun fact: my sister is a whole head taller than me, I think she and Brian are sitting in this photo. She never requires high heels like I do! |
We actually all got married in the summer of 2009, not at the same time though of course- that would have been weird! After things settled down they decided it was time to build the house of their dreams. Long story short, they bought their land in January, started working on plans in April, dug the first hole in July, then finally moved in to their brand new home on Halloween in 2010. Their house is beautiful! They made sure to add some detail and character that you would commonly only find in older arts and crafts/ craftsman style homes. This detail shines through in their arched hallways and thoughtful woodwork throughout the house. Maybe I'll get to show you more someday (wink)?
Since Brian is pretty handy, he did leave a few projects for himself instead of having the builders do them. This was the case for their built ins around the fireplace.
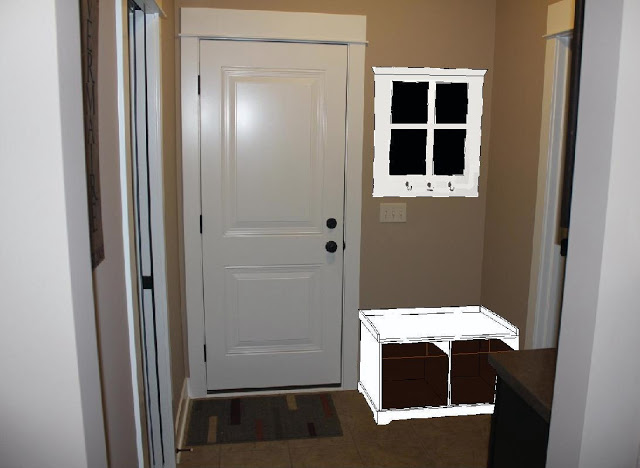
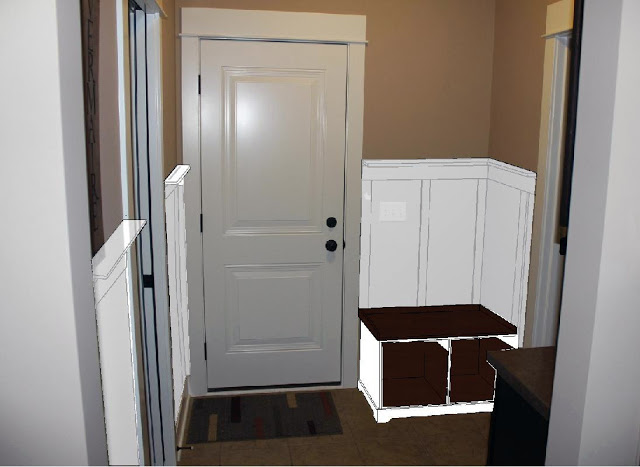
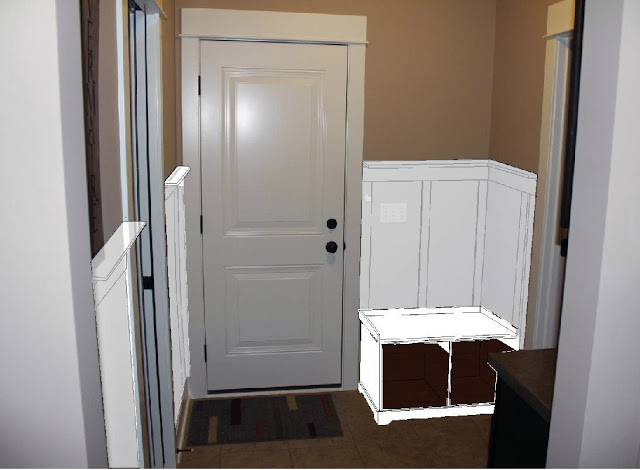
Here is a 'before' photo:
They knew they wanted some nice cabinets and shelving for storage and decor.
Here is Brian's list for this DIY project:
Combination of 2x4's/MDF for the base structure.
MDF for the cabinet bases and side pieces of the vertical shelf unit and base cabinet shelves.
Poplar for all the trim (including face frames, door frames, crown molding, upper shelf frame)
Maple Plywood for the shelving with a Poplar piece for the front edge trim.
1/4" maple plywood for the door inserts (and side of right cabinet to get the "panelized" look)
Note: All shelves and cabinet base top edging was routed with a 3/16" router bit.
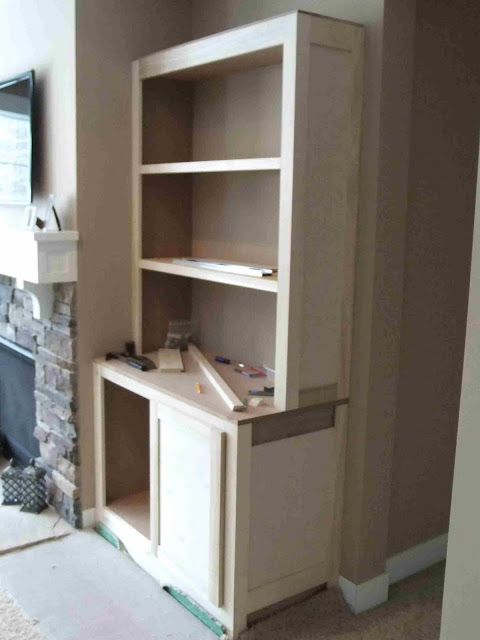
Brian got started by framing in a base for the DIY built in using 2x4's and MDF.
He then built each cabinet section separately, here is a closer look.
Next, the cabinet frame went into place.
With the cabinet bottom in place, he built in (get it?) the top of the shelving unit using more 2x4's and MDF....Just look at the progress!

With the bones of the left side complete, Brian started in on the right side with the same process. Hmmm, I wonder what they were watching? Anyway...
Here is a look with both base cabinets built
Then he added the shelves on both sides. Here you can see he added the 1/4" maple plywood to the exposed right side for that 'panelized' look. He framed the 4 sides of the panel in with the poplar trim.
Here is a closer look at the 1/4" maple plywood 'panel' before he added the poplar trim to all sides.
Ooohhhh.....Aahhhhh
Then he placed the rest of the poplar trim on the front of the shelves and top of the unit.
Looking good right?
Lastly, it was time to bust out the trusty blue painters tape and paint them white.
Almost done...
Now before I show the 'after' again, we have to look back at the 'before' for dramatic effect!
So here was their fireplace before...
...and here it is after Brian's big crazy DIY project! Gorgeous right?!?! Now Holly just has to get creative and go crazy decorating the shelves!
The total cost of their DIY built ins was around $400.00. Which is less than half of the $1,000.00 they were quoted from their contractor, pretty awesome savings right?
I hope you enjoyed this DIY journey! Special thanks to Holly and Brian for letting me share their project on our blog! If you love their new built-ins be sure to tell them in the comments!
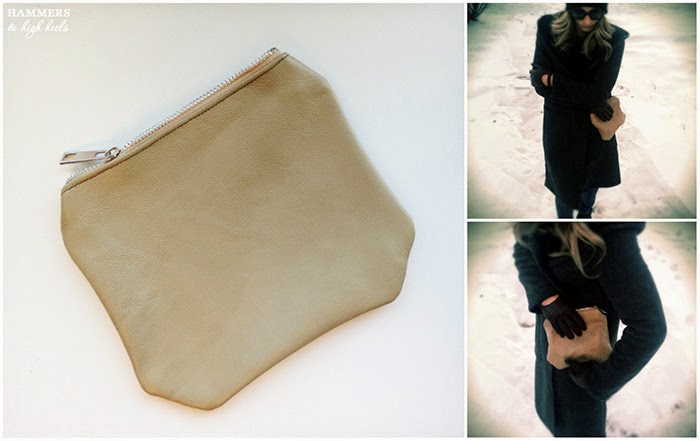 Not gonna lie, it's a pretty simple update honestly :) Glad that I went ahead and tried it though because I still use my zippered clutch/pouches all the time and after a year, it's pretty nice to have something a bit different to make the ol' zippered clutch look new and fresh!