Another Master Bedroom redo to-do conquered!
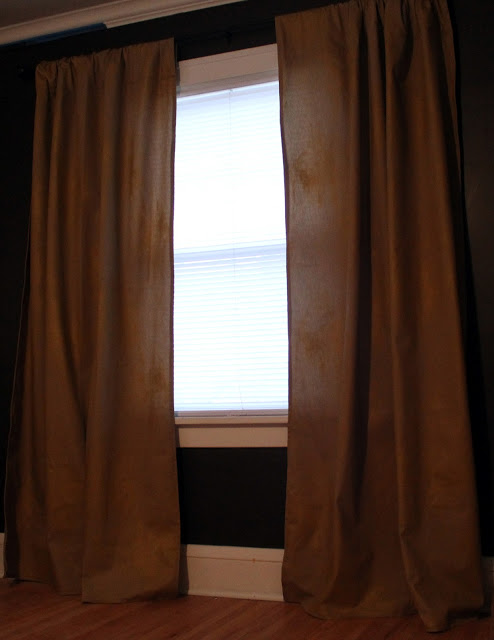
After hitting my salvage stops this past weekend, I was also able to tackle sewing our window panels with the fabric I picked up at S.R. Harris. Here's a look at one of the windows....

Currently, all we have for window treatments are those crummy white plastic blinds and I am dying to totally get rid of them. We might replace them with some other kind of shade to block light and provide privacy. But ideally, I'd want those curtain panels to block more light in addition to a shade (you know, for sleeping in on the weekends of course). Yep, it totally stinks and I probably have to bust out my seam ripper and add in a drapery lining, booo!
In the meantime, I did take pictures while I was sewing the curtain panels so I could share the project here on the blog. Here are the DIY sewing steps for making some basic window panels, enjoy!
In the meantime, I did take pictures while I was sewing the curtain panels so I could share the project here on the blog. Here are the DIY sewing steps for making some basic window panels, enjoy!
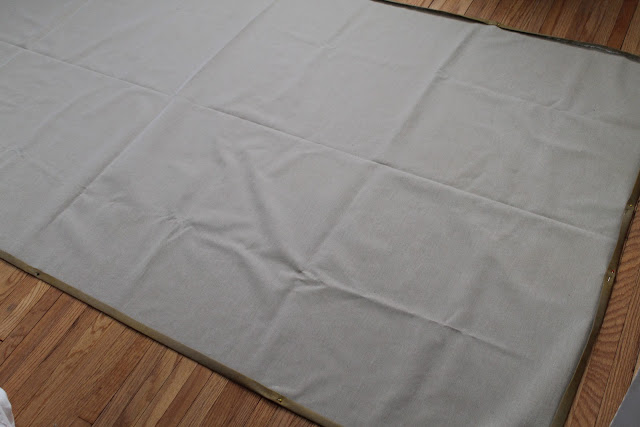
First, take your measurements and cut the fabric to size (include an extra 5 inches or so if you are going to put the panel on a curtain rod). Then, lay out your fabric out for ironing and pinning.

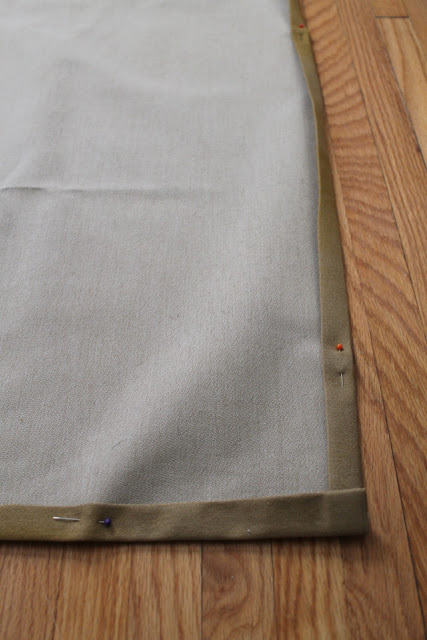
I did a 0.5" double turned hem on all sides of the fabric. Basically you fold all the edges in a half inch, iron them so you have a nice crease, then fold those folded edges another half inch, iron again and pin the double turned hem you just created in place.
Here is a closer look at my hem pinned up and ready for sewing. Make sure to fold the side hems in first and the bottom hem last.
Now for the rod pocket, fold the top part of the fabric down, iron and pin in place for sewing.
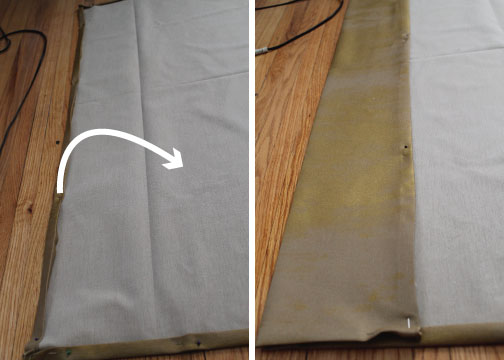
Note: I like to do all of my ironing and pinning in one big step, so if you do the same make sure you don't sew your rod pocket shut! I sew all the hemmed edges in one step, starting at the bottom of the rod pocket and ending at the rod pocket on the other side. Then I sew each rod pocket hem separately.
Here is a closer look at the rod pocket fold. You can see that I pinned all the hemmed edges in place, then folded down the pocket.
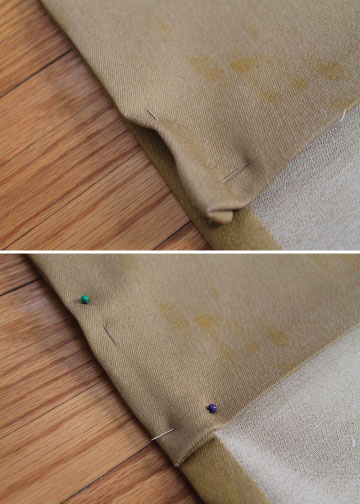
After folding it down I removed the pins out and placed them back in the same spot but this time, on the outside fabric.
Then you are all done with ironing and pinning, time to hop on your sewing machine and make some window panels!
***********
While I got busy sewing, Alex took on the task of installing the drapery rods. I picked up these rods at Marshalls for only $16.99! Their "Compare at $30.00" sticker was totally right, everywhere else I went the decent oil rubbed bronze rods were $30 to $50. I am pretty happy with that under $20 per window price :)
Alex successfully installed the rods and we hung up the curtains!
Like I said, I still think I need to add a drapery liner and once I get to that task I will make sure to show you how I went about doing it (and hopefully I won't destroy the curtains in the process).
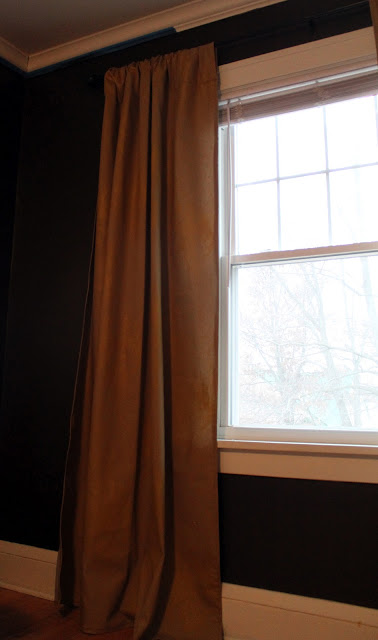
Regardless of the liner issue, Alex and I are very pleased with the look of the curtains in our room. But, it is also the first time we have added curtains in our bedroom, so of course it looks amazing to us :)
What do you think? Do we need the liner?
Hope the sewing steps are helpful too!
What do you think? Do we need the liner?
Hope the sewing steps are helpful too!